Do you have a question about the Babboe Curve and is the answer not in the manual?
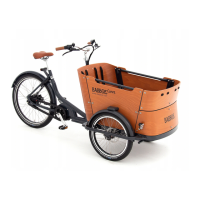
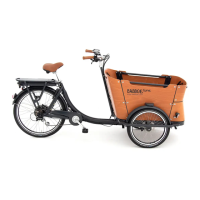
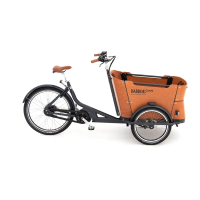
Congratulates user and outlines manual's purpose, including assembly and usage.
Emphasizes correct assembly order for safety and identifies bike sides.
Lists parts included in Boxes I, II, and III for thorough inspection before assembly.
Details necessary tools for assembly and provides general guidance for the process.
Instructions for attaching fenders and steps to the front frame.
Guide for securely attaching the two front wheels to the frame.
Procedure for joining the front and rear sections of the bike.
Steps to connect the steering dampers to the front frame.
Instructions for mounting the steering tube onto the front frame.
Details on adjusting and securing the steering stem and handlebars.
Guide for attaching the saddle to the saddle pin and tube.
How to connect the front brake cables to the brake levers and wheels.
Instructions for mounting the bottom plate of the cargo box.
Steps to attach the curved rear panel to the steering tube.
How to attach the rear connection profiles to the bike's back plate.
Instructions for attaching the left and right side panels to the cargo box.
Guide for connecting the steps to the side panels of the cargo box.
How to attach the front connection profiles to the side panels.
Instructions for attaching the lower part of the front panel to the subframe.
Guide for attaching the upper section of the front panel.
Instructions for attaching the holders and seats within the cargo box.
How to secure the 3-point seat belts for the cargo box seats.
Instructions for installing the internal bars in the cargo box.
Guide for correctly attaching the left and right pedals.
Instructions for mounting the front lights underneath the steps.
Guide for installing the lock onto the fender and wheel.
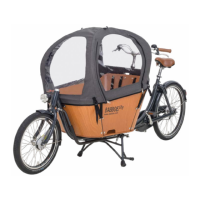
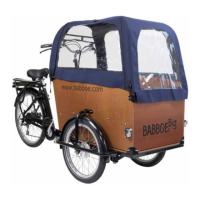
Advice on riding the cargo bike, tire pressure, and available accessories.
Details on warranty conditions, frame number, and required maintenance.
A log for recording bike maintenance activities and service providers.
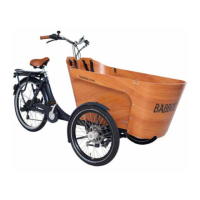
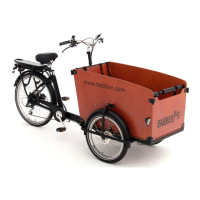
| Type | Cargo Bike |
|---|---|
| Frame Material | Steel |
| Type (Electric or Non-Electric) | Available in both Electric and Non-Electric versions |
| Gears | 7-speed |
| Wheel Size | 26 inch (rear), 20 inch (front) |
| Category | Cargo Bike |
| Motor (Electric version) | 250W |
| Battery (Electric version) | 36V |
| Color Options | Black, Blue |