30
Instructions For Use
9.2 Sony™ Printer
1. Connect the printer USB cable to an available USB port on the Sherlock 3CG™ TCS Display.
2. Ensure the printer is plugged in and powered on and the printer display window reads “READY.”
3. Press the wheel on the right of the printer display window.
4. Use the wheel to scroll to the “COMD” option.
5. Press the wheel to enter the COMD menu.
6. Use the wheel to scroll to the “CO:897” option.
7. Press the wheel to apply the CO:897 option.
8. Wait approximately one minute until the printer display window reads “READY” at which point the printer is ready to use with the
Sherlock 3CG™ TCS display.
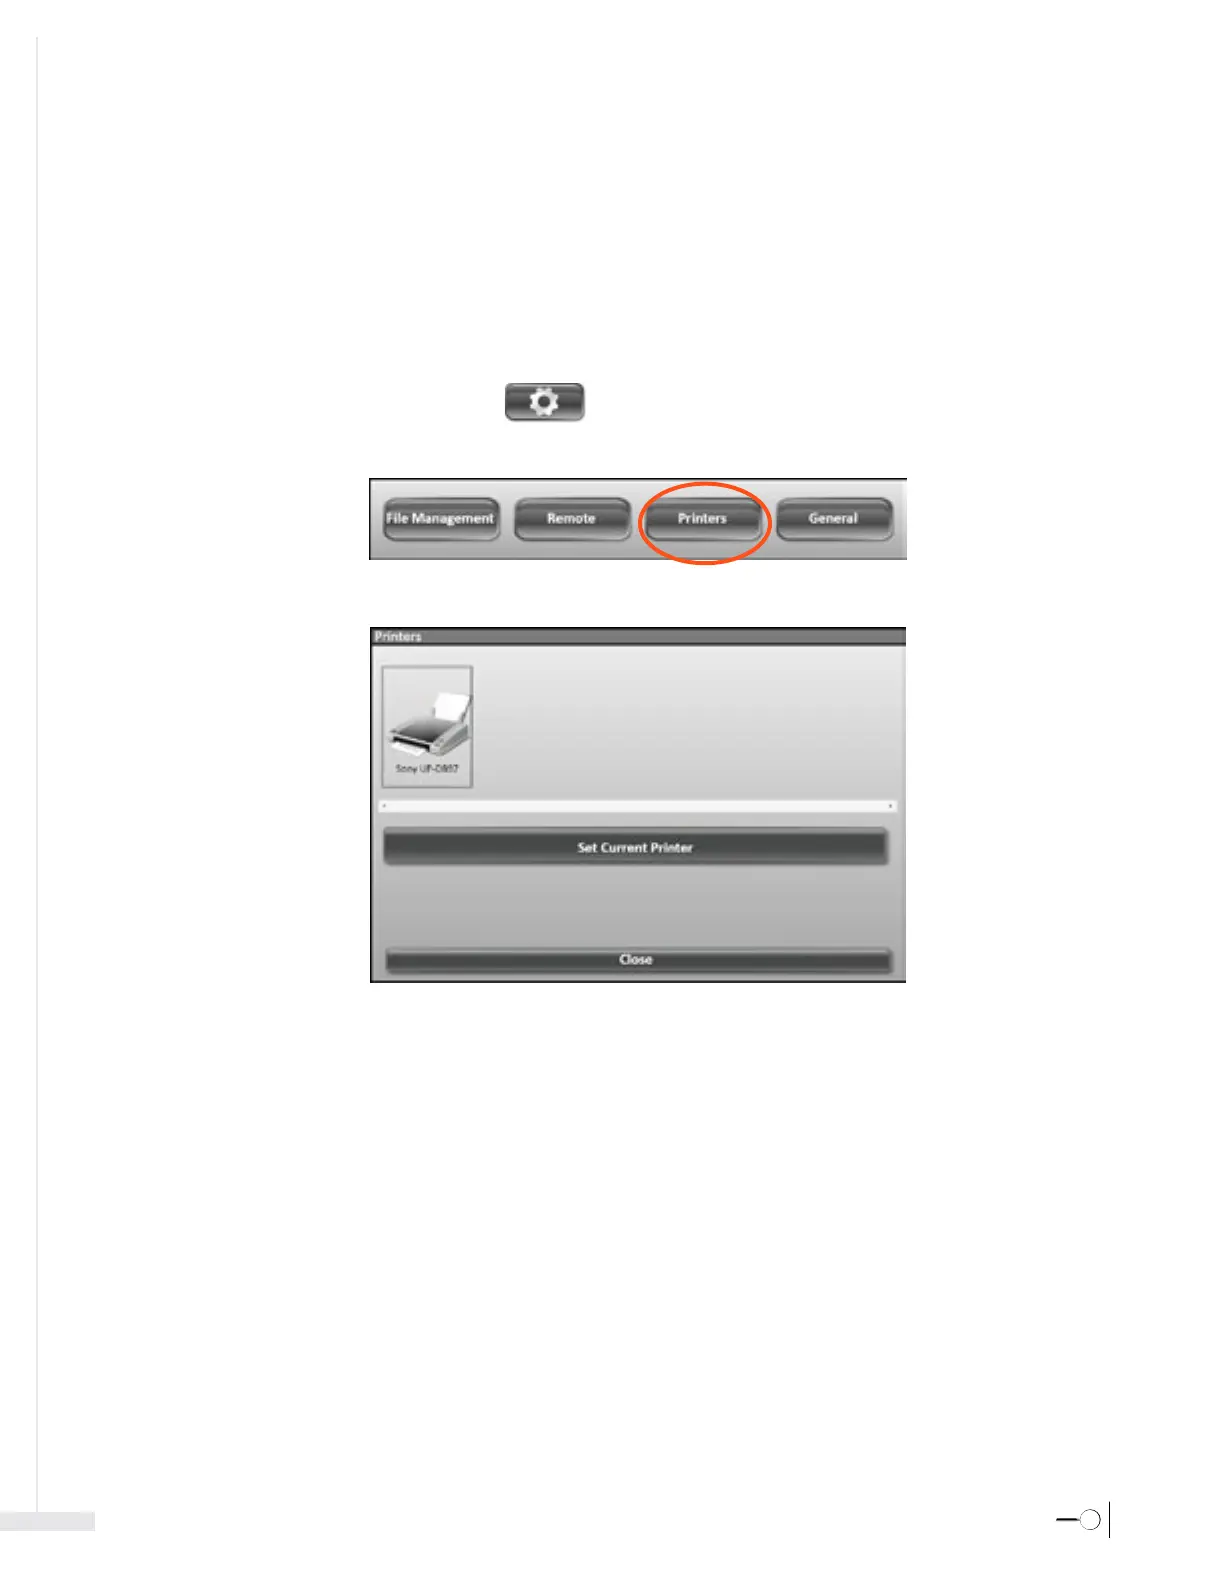
9. Select the Settings icon from the Application Toolbar.
10. Select on the Printer button from the menu that appears.
11. Select the Sony™ printer icon.
12. Select the “Set as Current Printer” button.