28
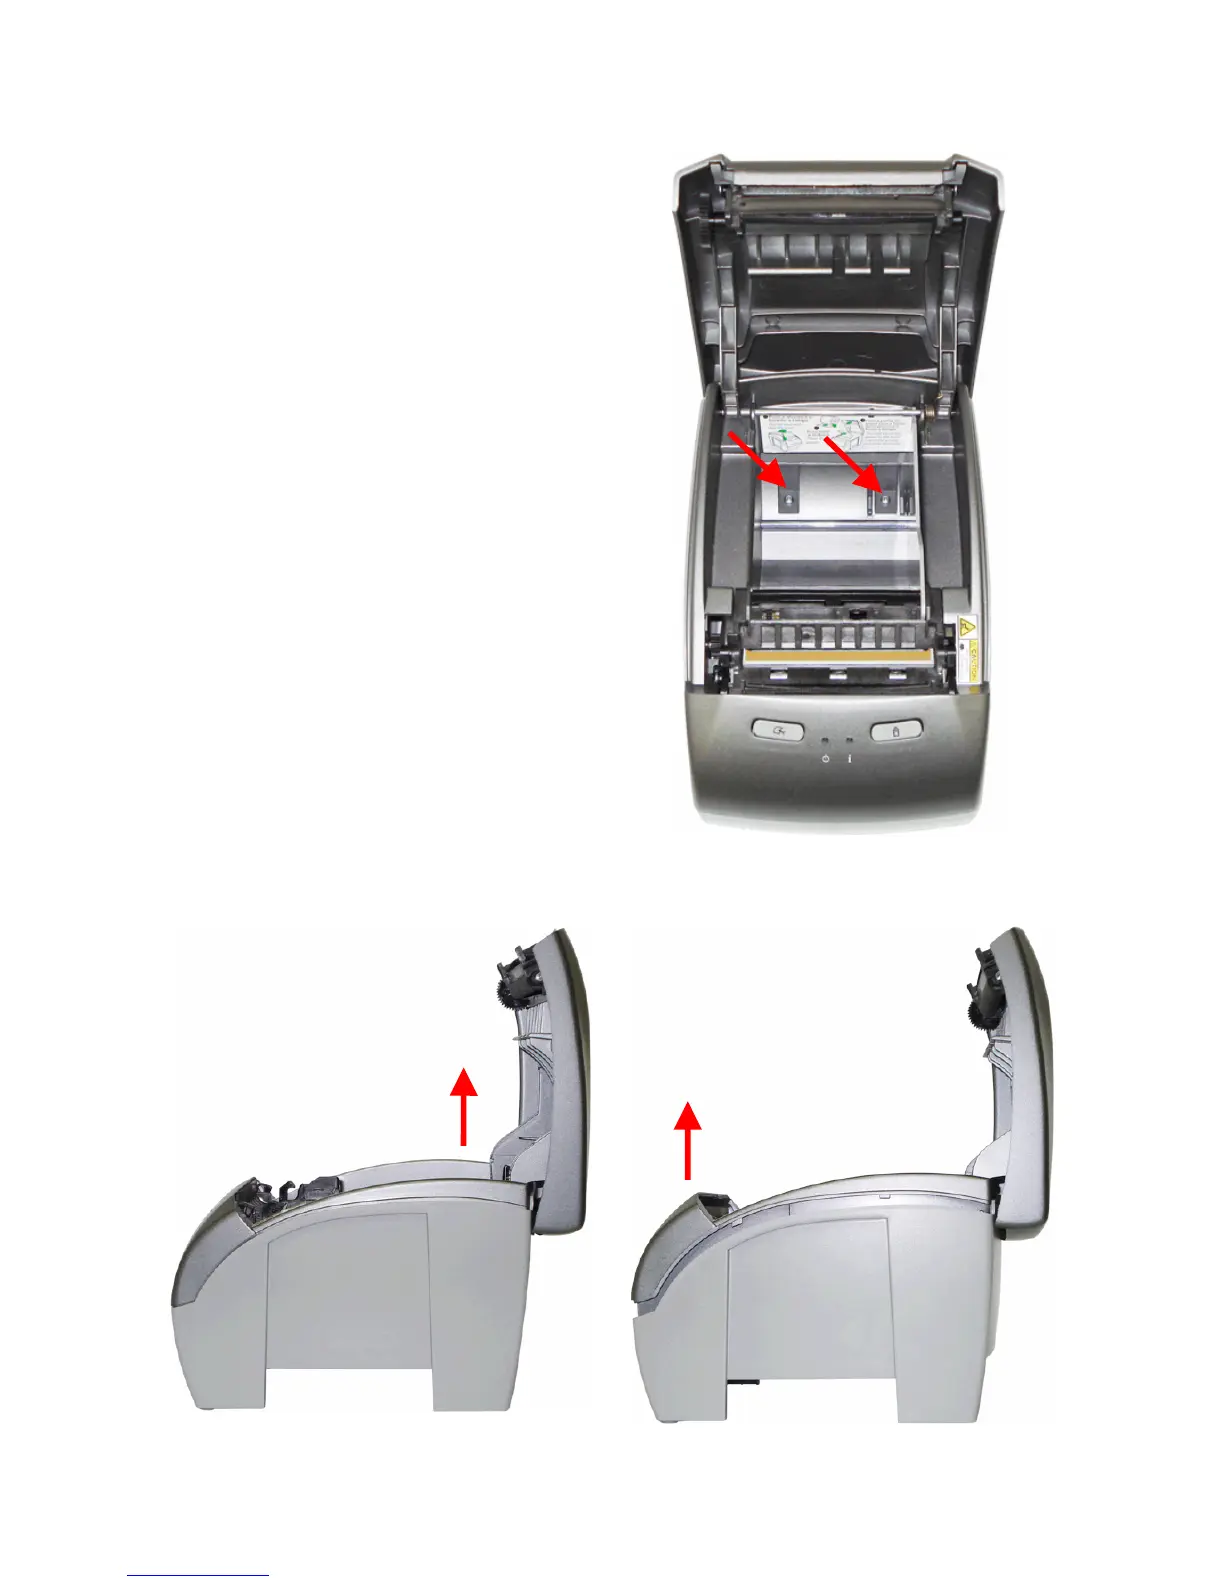
Removing the Cutter Mechanism, Print Head and Connection Board
To access the printer interior, the cutter
mechanism, thermal print head and
connection board, follow the steps below:
Begin disassembly by removing the control
board cartridge, according to the previous
topic.
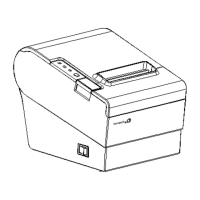
With the printer open, paper roll and spacer
removed, loosen the two screws on the inside
of the Printer, as shown on the right.
To separate the body from the base, first lift the back part of the body case, and then pull the
front. There is a lock on the front which will only be released when the back is lifted.