36
Note
• The maximum angle of adjustment is 12 degrees.
• If the screen and the projector are not perpendicular to each other, the projected image becomes
trapezoidal. To correct this, see “Keystone” on page 37 for details.
• When the projector is on, DO NOT place down the projector with its back vents facing down as this
will block the vents.
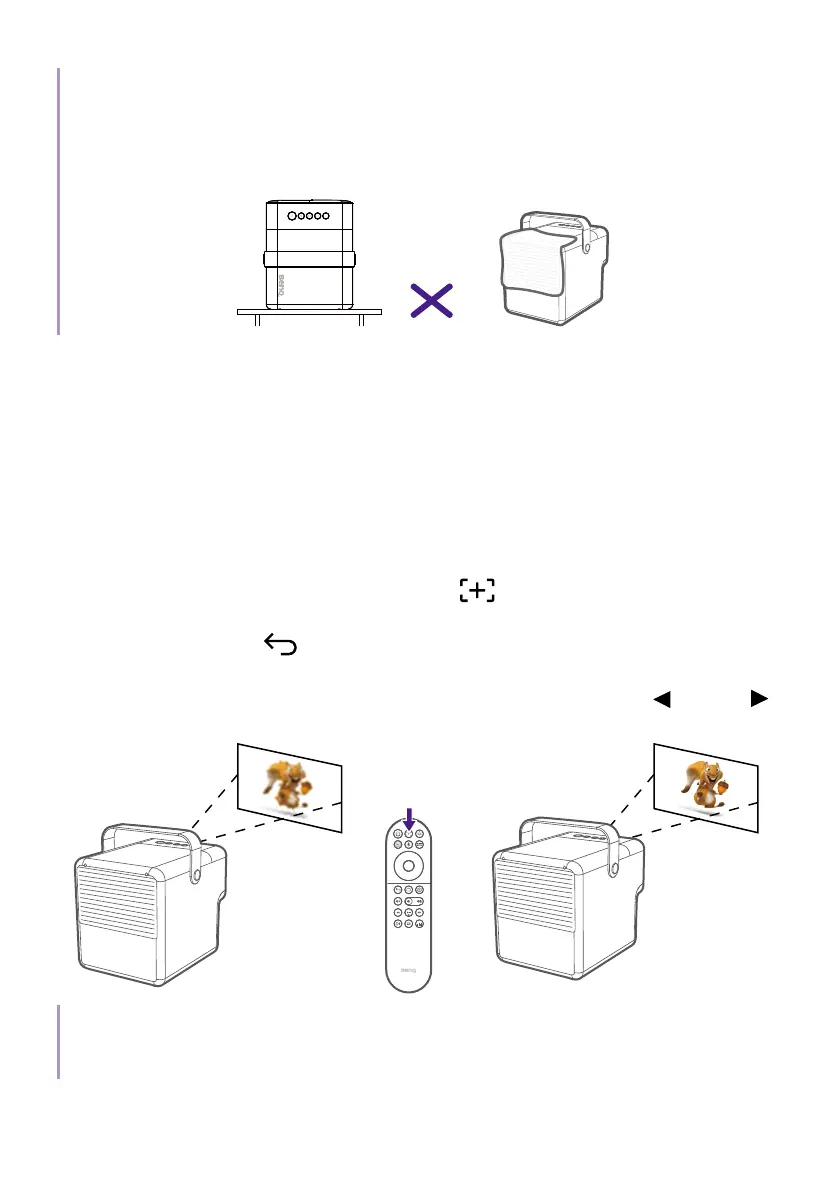
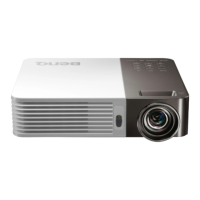
Fine-tuning the image clarity
To sharpen the picture, adjust the focus.
• Auto focus: Available from Smart Auto Settings or Installation >
Focus Settings > Auto Focus. When the projector is moved or the
projection distance is changed, the function will be performed
automatically. The effective distance from the projection lens to the
screen is 3.2 meters.
• Manual focus: press the focus button
on the remote control and
the projector will automatically focus the image. When the focus is
completed, press
to leave.
Once the projector has finished automatically adjusting the focus, you can
also choose to manually adjust the focus by pressing the left
or right
buttons on the remote control while the focus guide is still on the screen.
Note
Do not look into the lens while the light is on. The strong light from the lens may cause damage to
your eyes.