WWW.BIGASSSOLUTIONS.COM © 2016 DELTA T CORP. ALL RIGHTS RESERVED.
43
MAINTENANCE
WARNING – TO REDUCE THE RISK OF FIRE, ELECTRIC SHOCK, OR INJURY TO PERSONS, OBSERVE THE
FOLLOWING:
a. Use this unit only in the manner intended by the manufacturer. If you have questions, contact Big
Ass Solutions.
b. Before servicing or cleaning unit, switch power o at the service panel, and lock the service
disconnecting means to prevent power from being switched on accidentally. When the service
disconnecting means cannot be locked, securely fasten a prominent warning device, such as a tag,
to the service panel.
When servicing of a component in the fan requires the removal or disconnection of a safety device, the
safety device must be reinstalled or remounted as previously installed.
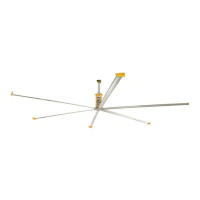
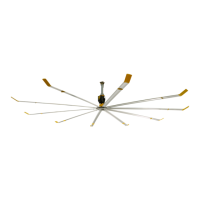
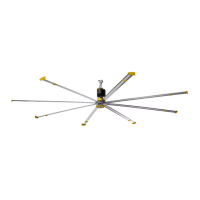
Please take a few moments each year to perform the following preventive maintenance inspection on your fan
to ensure its safe and ecient operation. Before contacting Customer Service, try mending the issue using the
troubleshooting procedures listed in “General Troubleshooting.” If you have any questions, contact Customer
Service.
Annual preventive maintenance
Perform the following maintenance procedures each year using the Maintenance Checklist:
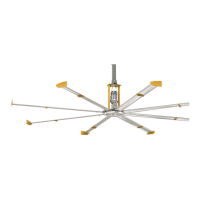
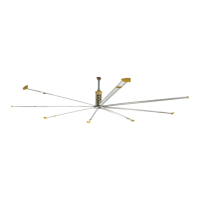
1. Check for the presence of the safety cable and shackle. The cable should be wrapped around the I-beam/
angle irons leaving as little slack as possible. The shackle should be securely tightened and located on the
topside of the I-beam/angle irons.
2. Ensure all mounting bolts are present and torqued to 40 ft·lb (54.2 N·m). There are four bolts for direct mount
installations, and 12 bolts for installations with extension tube.
3. Inspect motor terminations inside the junction box and tighten if necessary.
4. Check the gear reducer for oil leakage. If leakage is present, contact Customer Service.
5. Ensure all bolts securing the airfoils to the fan are present and torqued to 29 ft·lb (39.3 N·m).
6. Ensure airfoils are secured to one another by airfoil retainers.
7. Ensure the bolts securing the winglets to the airfoils are securely tightened.
8. Inspect for signs of corrosion, discoloration, pitting, or flaking of metal.
9. Inspect the airfoils and hub for signs of damage or cracks.
10. Check guy wires (if installed) for fraying or damage.
General preventive maintenance
• Check all connections in the controller and tighten as needed. Using a vacuum, remove all dust and debris
from the inside and outside of the controller.
• Verify proper fan rotation. The fan should be turning counterclockwise when viewed from the floor.
• Dust the airfoils, motor, and motor housing. If desired, use a gentle cleaner or degreasing agent to polish the
foils. Do not use Clorox® or other chlorine based cleaners! This could result in the release of toxic/fatal fumes.
• Observe the motion of the fan during operation. The fan should not wobble or precess. If any wobble is noticed,
ensure the mounting structure is rigid enough to support the fan and that the guy wires, if used, are suciently
taut. If guy wires were not used, Big Ass Fans suggests installing them. Contact Customer Service.