VD (E2.1) 10/2011 page 53/83
If the safety device has turned off the oven, identifiable by the red alarm lamp (2a) lighting up, proceed as
follows:
• Disconnect the oven from the power supply
• Have an expert examine and rectify the cause of the fault
• Release the safety device by pressing the reset button (2b)
• Restart the oven as described in chap. 5.
Adjustm
ent:
To check the response temperature of the safety device, turn on the chamber and set the desired set
point on the temperature controller.
The scale division from 1 to 10 corresponds to the temperature range from 30° / 86°F up to 320 °C /
608°F and serves as a setting aid.
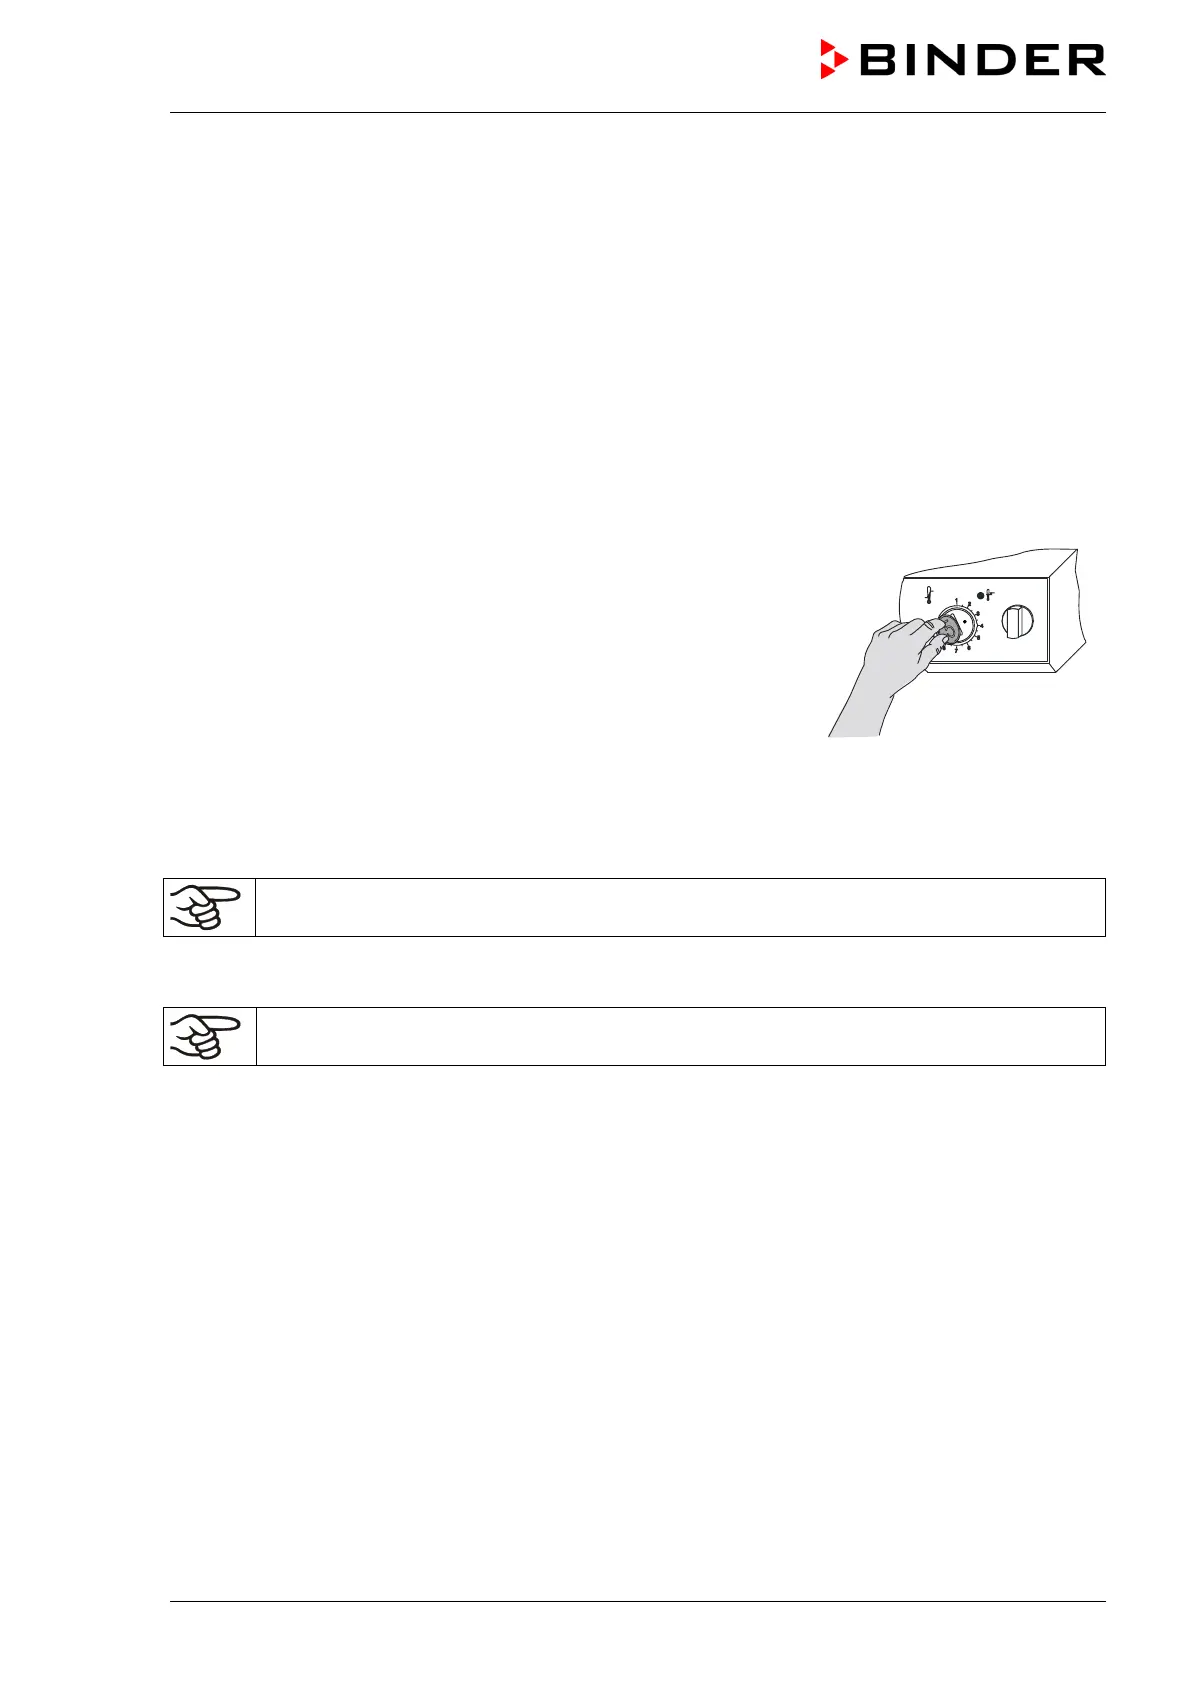
• Turn the control knob (2) of the safety device using a coin to its
end-stop (position 10) (unit protection).
• When the set point is reached, turn back the control knob (2) until
its trip point (turn it counter-clockwise) is reached.
• The red alarm lamp (2a) lighting up identifies the trip point; and the
reset button (2b) pops out.
• The optimum setting of the safety device is obtained by turning the
knob clockwise by approx. one graduation mark on the scale.
• Push the reset button (2b) in again.
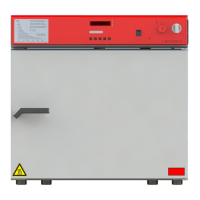
Figure 12: Setting the safety
device class 2
The unit is only active when the reset button (2b) is pushed in.
When the safety device responds, the red alarm lamp (2a) illuminates, the reset button (2b) pops out, and
the oven is turned off permanently at all poles.
Check the setting regularly and adjust it following changes of the set-point or charge.
13. Reference measurements. Checking the temperature in the inner
chamber
The controller display was adjusted in the factory to the temperature in the center of the usable volume
(chap. 20.1). The sensor probe of the reference measuring device was connected tightly to an expansion
rack positioned in the middle of the unit.
Checking the controller display
• Conduct the reference sensor into the inner chamber through the measuring port (17). The port must
be largely vacuum tight to enable a typical operation vacuum for the calibration. For a high vacuum,
use a measuring access port. Usually, a silicone plug with a hole for the sensor wire is sufficient.
• Fix the sensor to the center of an expansion rack in the middle of the useable volume with adhesive
aluminum tape or thermal conductive paste to ensure sufficient thermal conductivity.
• Perform the measurement in a thermally stable condition with 3 expansion racks and empty oven.
• Equilibrating time: at least 12 hours.