V 1.31
2021. 05 151 / 171 Doc. # : BN-OP-C7
⑦ Go to test window for the requested choice of data
⑧ Button to delete the data
(After interlocking with the PACS Server, press the ‘Update’ button)
⑨ Button to set up the environment of ‘Worklist Management’
⑩ Button to move to another main screen from ‘Worklist Management’
At the initial file management page, the first data of the list has the focus. The
focus will automatically move to the menu bar at the bottom of the screen, when
you click the data by touching the screen or rotating the rotary key on the control
panel.
If there is no data in the page, the focus can be found on [Exam] button.
When there is no patient information you want to select, please press [<] or [>]
button or the ‘Search’ menu to move to other pages.
- Menu direction (Rotary Key’s right spin)
Exam → Delete → Setup → Main →Page information→ [<] → [>] → Info → Search →
Exam
-Menu direction (Rotary Key’s left spin)
Exam → Search → Info → [>] → [<] →Page information→ Main → Setup → Delete →
Exam
We recommend using less than 200 work lists.
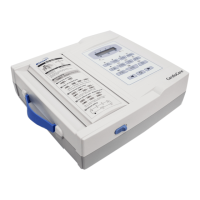
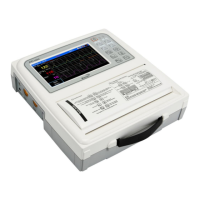
2) ECG Test
Select ‘Exam’ button to go ECG main screen in order to start ECG measurement with
patient information in the test-requested data list.
There is no need to input additional information, as all of the patient information is
already saved upon ECG test.
Each functional key action of ECG Main Menu is as follows:
- RECORD: not saving measured data but performing output only.
- NET: not saving measured data but transferring it to a PC.
- AUTO: running according to Auto Key setup of system.
To save measured data for the Test requested, configure ECG Store on Auto Key setup
as Yes, and then start measurement by pressing the Auto button.