16 | 405 TS Getting Started Guide
Three lengths of tubing are shipped with the waste module:
Tubing: Connects:
Short tube with yellow and green bands
g
The two waste bottles to each other
Long tube with green bands on both ends
g
Bottle without sensor to vacuumport
Long tube with yellow and orange bands
g
Bottle with waste sensor to the vacuum
pump
1. Locate the quick-release caps shipped inside the waste bottles and attach the
tubing to them as follows:
2. Connect the waste bottles to each other using the shortest length of tubing,
matching the colored bands on the tubing to colored dots on the caps.
3. Attach the waste sensor cable to the Waste Sensor port on the back of the
washer.
4. Attach the tube from the waste bottle with the waste sensor in its cap to the
vacuum pump.
5. Attach the tube from the waste bottle that does NOT have the waste sensor
in its cap to the Vacuum port on the back of the instrument.
6. Important! When installing BioTek’s vacuum pump, connect the pump’s AC
power cable to the vacuum pump Accessory Outlet on the back of the
instrument. (Use the accessory outlet adapter provided, if applicable.)
7. Place the waste bottles and vacuum pump on the same horizontal plane as the
instrument or below it, such as the floor beneath the work surface. This will
help optimize performance.
8. Make sure the waste bottle’s caps are well sealed.
l BioTek strongly recommends installing the vacuum line filter to protect
your vacuum pump.
Install the Vacuum Line Filter
The optional vacuum line filter (PN 48294) can be installed halfway between the
last waste bottle (overflow bottle) and the vacuum pump.
To do this, cut the tubing and insert the filter, noting the direction of flow. The flow
arrow on the filter should point toward the vacuum pump.
In the event of a fluid overflow, the filter should prevent the destruction of the
vacuum pump’s internal components. If an overflow does occur, check the filter for
trapped fluid. If fluid is found in the filter, remove the filter and drain using the
small white nut on top of the filter. Tighten the white nut and reinstall the filter.
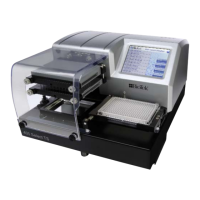
405™ TS Microplate Washer
 Loading...