Measurement Options
43
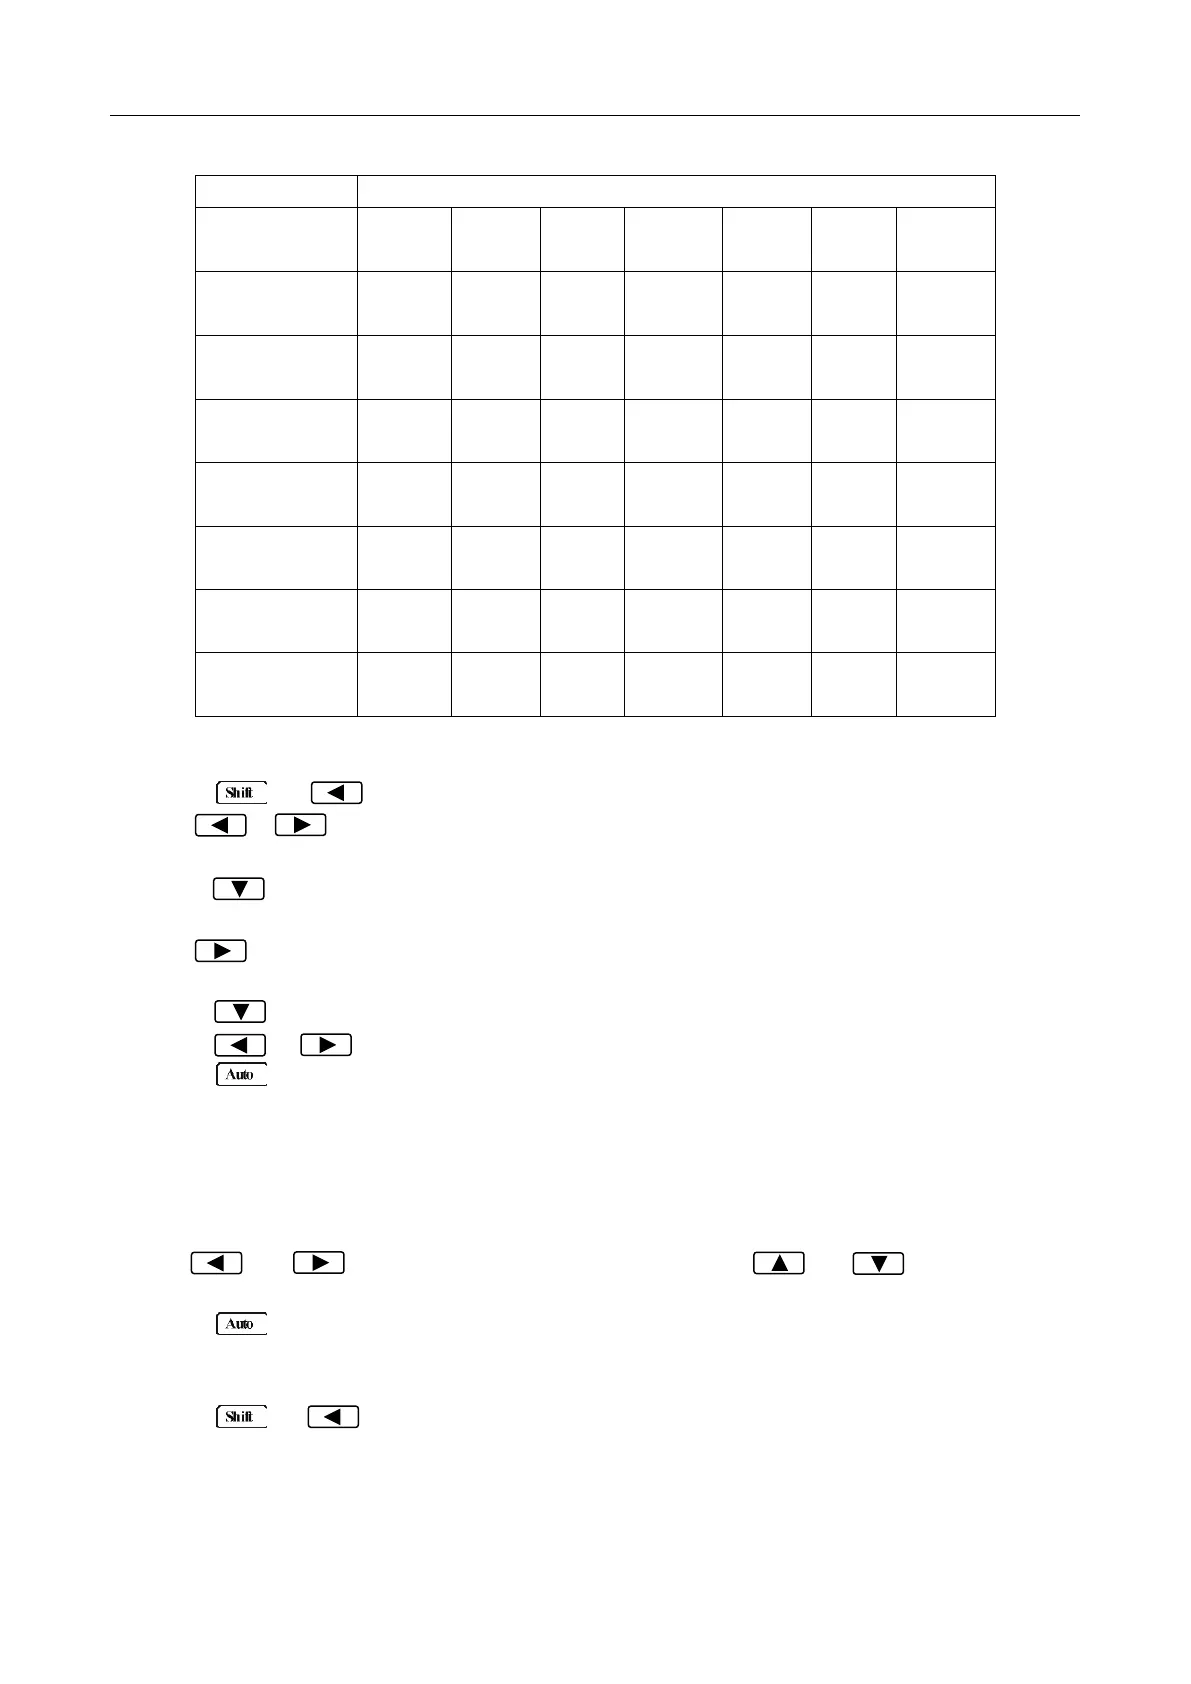
Table 4-1 Auto delay settings
To set the delay manually, follow the below steps:
8. Press → to enter the menu on the menu level, “A: MEAS MENU” will be displayed.
9. Use or key to move across to the TRIG MENU on the menu level, “C: TRIG MENU” will
be displayed.
10. Press to move down to the command level within the TRIG MENU, “1: TRIG MODE” will be
displayed.
11. Use to move across to the TRIG DELAY command on the command level, “2: TRIG DELAY”
will be displayed.
12. Press to move down a level to set the type of delay mode.
13. Using or to select AUTO or MANU (Manual) delay mode.
14. Press (ENTER) to confirm the choice. The message “CHANGE SAVED” will be displayed to
show that the change is now in effect. If AUTO mode is selected, the multimeter will exit the
parameter level and move up a level to the command level.
15. If MANU mode is selected, a delay time will need to be specified. The screen will display like below
to show the current manual trigger delay value:
DELAY: 0000mS
16. Use and keys to choose a numerical place and use and keys to increment
or decrement the digits. Enter a value for delay time (0 to 6000 ms).
17. Press (ENTER) to confirm the delay time. The message “CHANGE SAVED” will be displayed
to show that the change is now in effect. The multimeter will automatically exit the parameter level
and move up a level to the command level.
18. Press → key to exit from the menu and return to the measurement display.
Note: Changing the trigger delay to MANU (Manual) on any function changes the same for all
other functions.
www.GlobalTestSupply.com
Find Quality Products Online at: sales@GlobalTestSupply.com