Operating Instructions 500 E Global
Maintenance
8
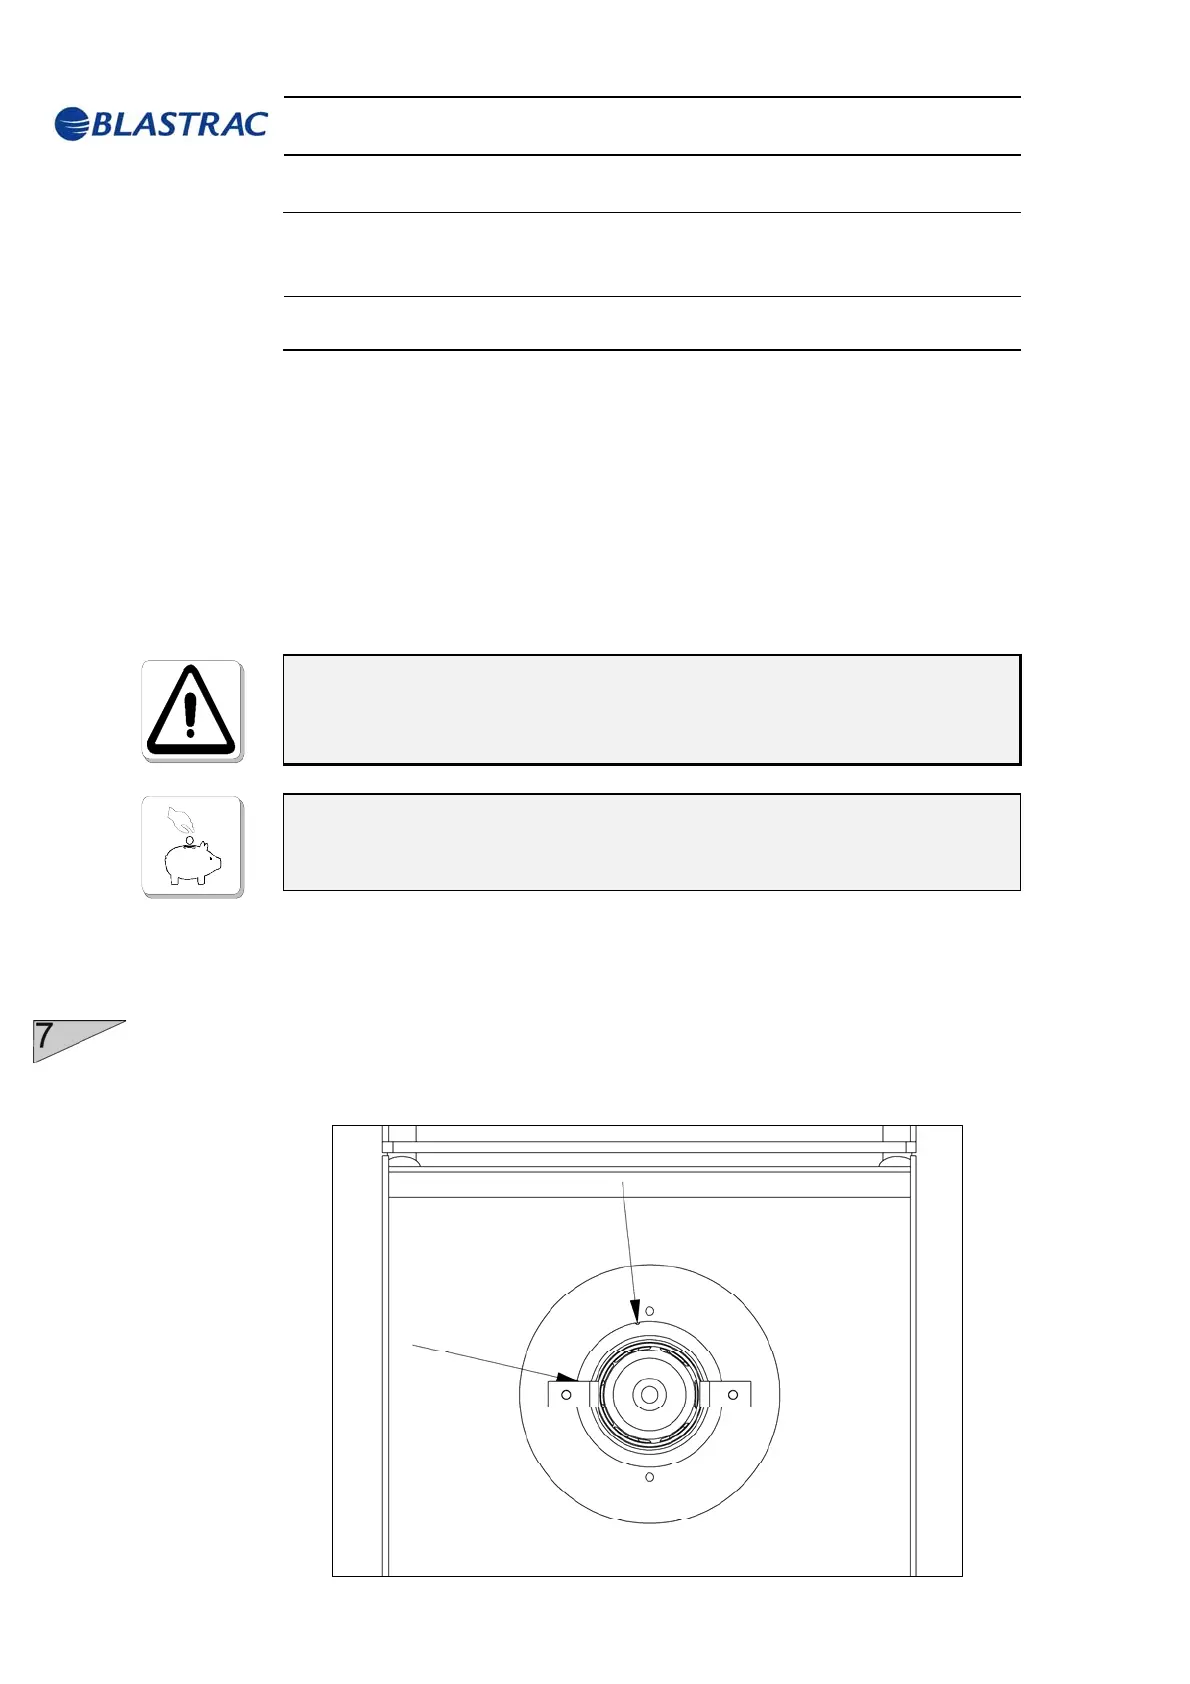
7.6 Setting the control cage
The adjustment is effected by loosening the cage clamps and turning
the control cage in the suitable direction. The cast grooves on the
control cage show the position of the control cage opening. The
following adjustment standard value is valid: the control cage opening
is approximately opposite to the throwing angle. The abrasive grain
size plays an important role here. Different types of abrasive have
different throwing characteristics due to their different weights and
frictional resistance. This means that you must never use different
types of abrasive at the same time.
The adjustment can be carried out as follows:
Determine the notches which indicate the upper and lower
window edges.
If the blast wheel is turning counter-clockwise, set the upper
notch of the control cage to imaginary 11.30 of a dial (fig. 7.2).
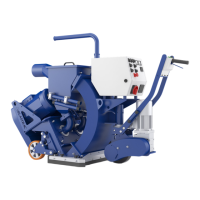
Fig. 7.2
Prior to any repair works on the machine and its drives,
secure the machine against unintentional switching-on. Put
the machine to its safety off position.
After fitting new spare parts always create a blast pattern in order
to check the blasting direction. This is the only way to grant
economical work and to avoid unnecessary wear and repair costs.