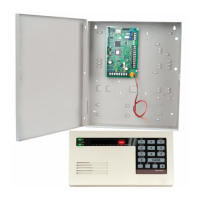
Step 3: Connect module to the control panel
1. Power off the control panel.
2. Connect the factory defaulted B450/B450-M with a SIM card inserted B442/B443 to the
control panel.
3. Set the rotary address switch of the module to 1 or 2.
4. Power on the control panel.
Step 4: Configure A-Link Plus for Network Connect when B450-M is connected
Skip this step when B450 is connected.
1. Open A-Link Plus.
2. Add a new customer.
3. From Customer Information tab, enter the cloud module UID in the Cloud ID field when
the cloud module is connected and Cloud Connection is enabled.
4. Select the Control Panel Configuration tab. Select Solution 2000_V2.00 or Solution
3000_V2.00 according to your control panel type.
5. Select the Link tab. Select Network Connect (Cloud) and click Connect. A-Link Plus tries
to connect to the control panel using the B450-M.
6. Click Upload from Control Panel.
Step 5: Configure the Email through A-Link Plus
1. Open A-Link Plus, go to Control Panel Configuration tab. Select Solution 2000_V2.00 or
Solution 3000_V2.00 according to your control panel type.
2. Configure email related parameters.
3. Select the Link tab, select a connect method and click Connect. Click Download to
Control Panel when the connection is successes to complete the process.
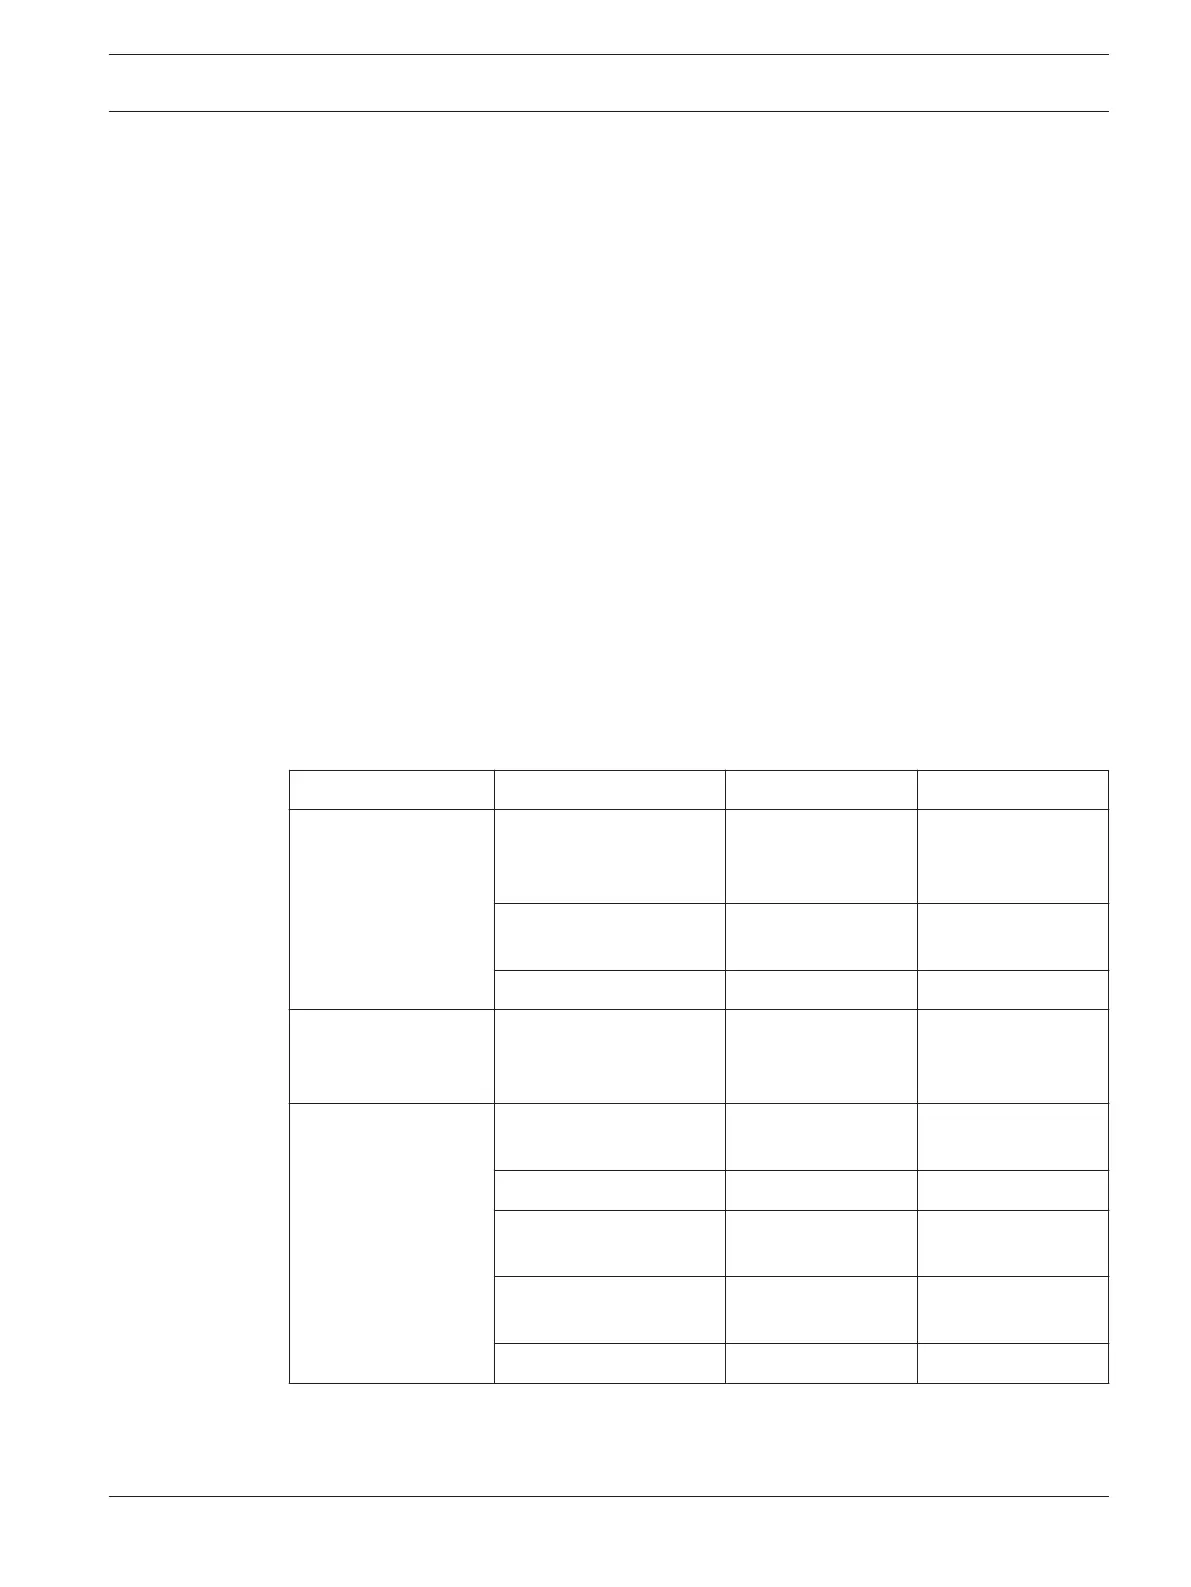
Configuration menu
Parameter Value Remark
Comm -> Receiver
Config
Transmit Format Email Select
corresponding
Receiver
Subscriber ID Number 001234 Email title
(example)
IP + Port / Email Receiver@163.com Inbox (example)
Comm -> Network
Config
Network Module 2 Used, B4xx-M Select
corresponding
module
Network module
programming ->
Module 2 # -> Mail
Information
Partial mail server
name / url
smtp.163.com Example
Mail server port 465
Partial mail server user
name
test@163.com Sent Items
(example)
Mail server password ****** Password of Sent
Items
Security options Encrypted
Control Panel A-Link Plus Application | en 67
Bosch Security Systems, Inc. Installation Guide 2017.10 | 03 | F.01U.298.026