Solution 6000
32 Bosch Security Systems 12/14 BLCC610U
User Guide
Therefore, you would program as per the following steps to
program the call forward on number as: *610416123456*5#.
Enter programming mode (PIN + MENU) then,
1. Enter [MENU] + [5] + [1] + [6].
The keypad will display information for telephone
number 1.
Call Forward On
*61,*20#
Press
OK to SAVE
2. Using the numeric keys, enter all the digits of the
call forward on sequence.
You can change a single digit by scrolling the cursor
left [] and right []. For special characters (eg. , =
pause * or # etc), use the [] and [] keys.
3. Press [OK] to save and exit, or press [MENU] to exit
without saving.
Comms > Telephone Number >
Call Forward O
MENU 5-1-7
When you enter your premises, you no longer need to
remember to manually deactivate the Call Forward feature
via the telephone. These addresses allow you to program
the Call Forward O sequence that the control panel will
automatically use to un-divert your phone when you turn
Area 1 ‘O’.
In Australia, a typical sequence of activating the Call
Forward O feature is described below:
For other countries please substitute the appropriate
commands after consultation with your telephone
company.
#61 (To turn Auto-Forward After Time - O).
# (End of Call-Forward sequence).
Therefore, you would program as per the following steps to
program the call forward on number as: #61#.
Enter programming mode (PIN + MENU) then,
1. Enter [MENU] + [5] + [1] + [7].
The keypad will display the current call-forward o
sequence.
Call Forward Off
#61#_
Press
OK to SAVE
2. Using the numeric keys, enter all the digits of the
call forward o sequence.
You can change a single digit by scrolling the cursor
left [] and right []. For special characters (eg. , =
pause, * or # etc), use the [] and [] keys.
3. Press [OK] to save and exit, or press [MENU] to exit
without saving.
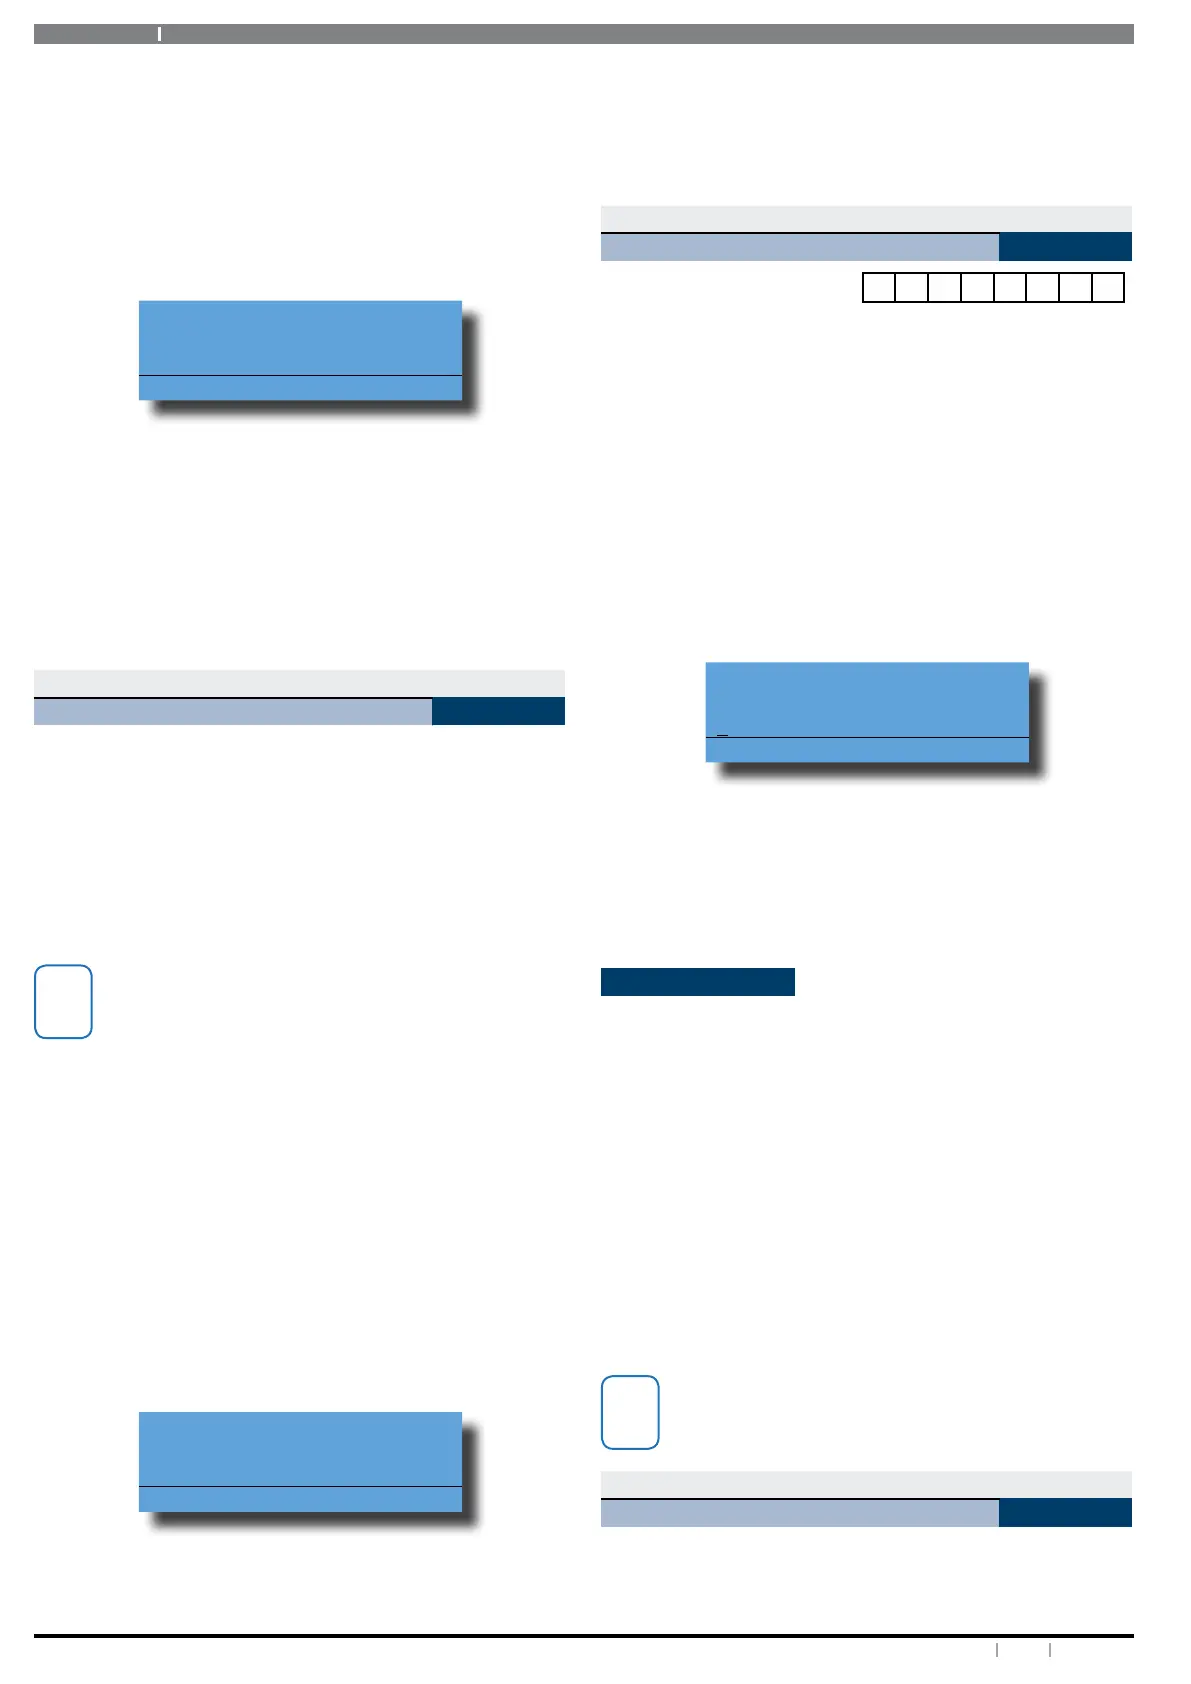
Comms > Remote Access >
User RAS PIN
MENU 5-3-8
0 0 0 0 0 0 0 0
The RAS security PIN programmed here must match the
security PIN programmed in the customer le of the Site
Manager RAS upload/download database otherwise a
connection to the panel cannot be established. The RAS
security PIN must be changed from factory default before
a Site Manager session can be made.
1. Enter your Master PIN + [MENU].
2. Enter [5] + [3] + [8] + [OK].
The keypad will display the current User RAS PIN. The
default = 00000000.
User RAS PIN
00000000
Press OK to SAVE
3. Using the numeric keys, enter all the digits of the
new RAS security PIN. You can change a single digit
by scrolling the cursor left or right.
4. Press [OK] to save and exit or press [MENU] to exit
without saving.
Email Reporting
In addition to Back to Base monitoring you can also
congure your alarm system to send selected reports to an
email address of your choice. To activate email reporting,
simply enter the email address in MENU 5-5-8 and then
select the required report types in MENU 5-5-9.
The Site Name in MENU 7-7-7 is used in the email subject
line when email reporting. You should also program this
name to make it easier to identify email sent by your alarm
system.
To cancel email reporting simply remove the email address
by going to MENU 5-5-8 and then pressing the [OFF] key
followed by the [OK] key.
Currently email reporting functionality is only
available for panels located in Australia.
Comms > MyAlarm >
Email Address
MENU 5-5-8
This menu allows the master user to program an email
address that the system will send email reports to. A
maximum of 80 characters can be used to program the