131
Using the Mastering Tool Kit
Section 2
Saving Mastering Tool Kit
settings (Patch Write)
Modified effect settings are saved by writing them together
under a new patch name.
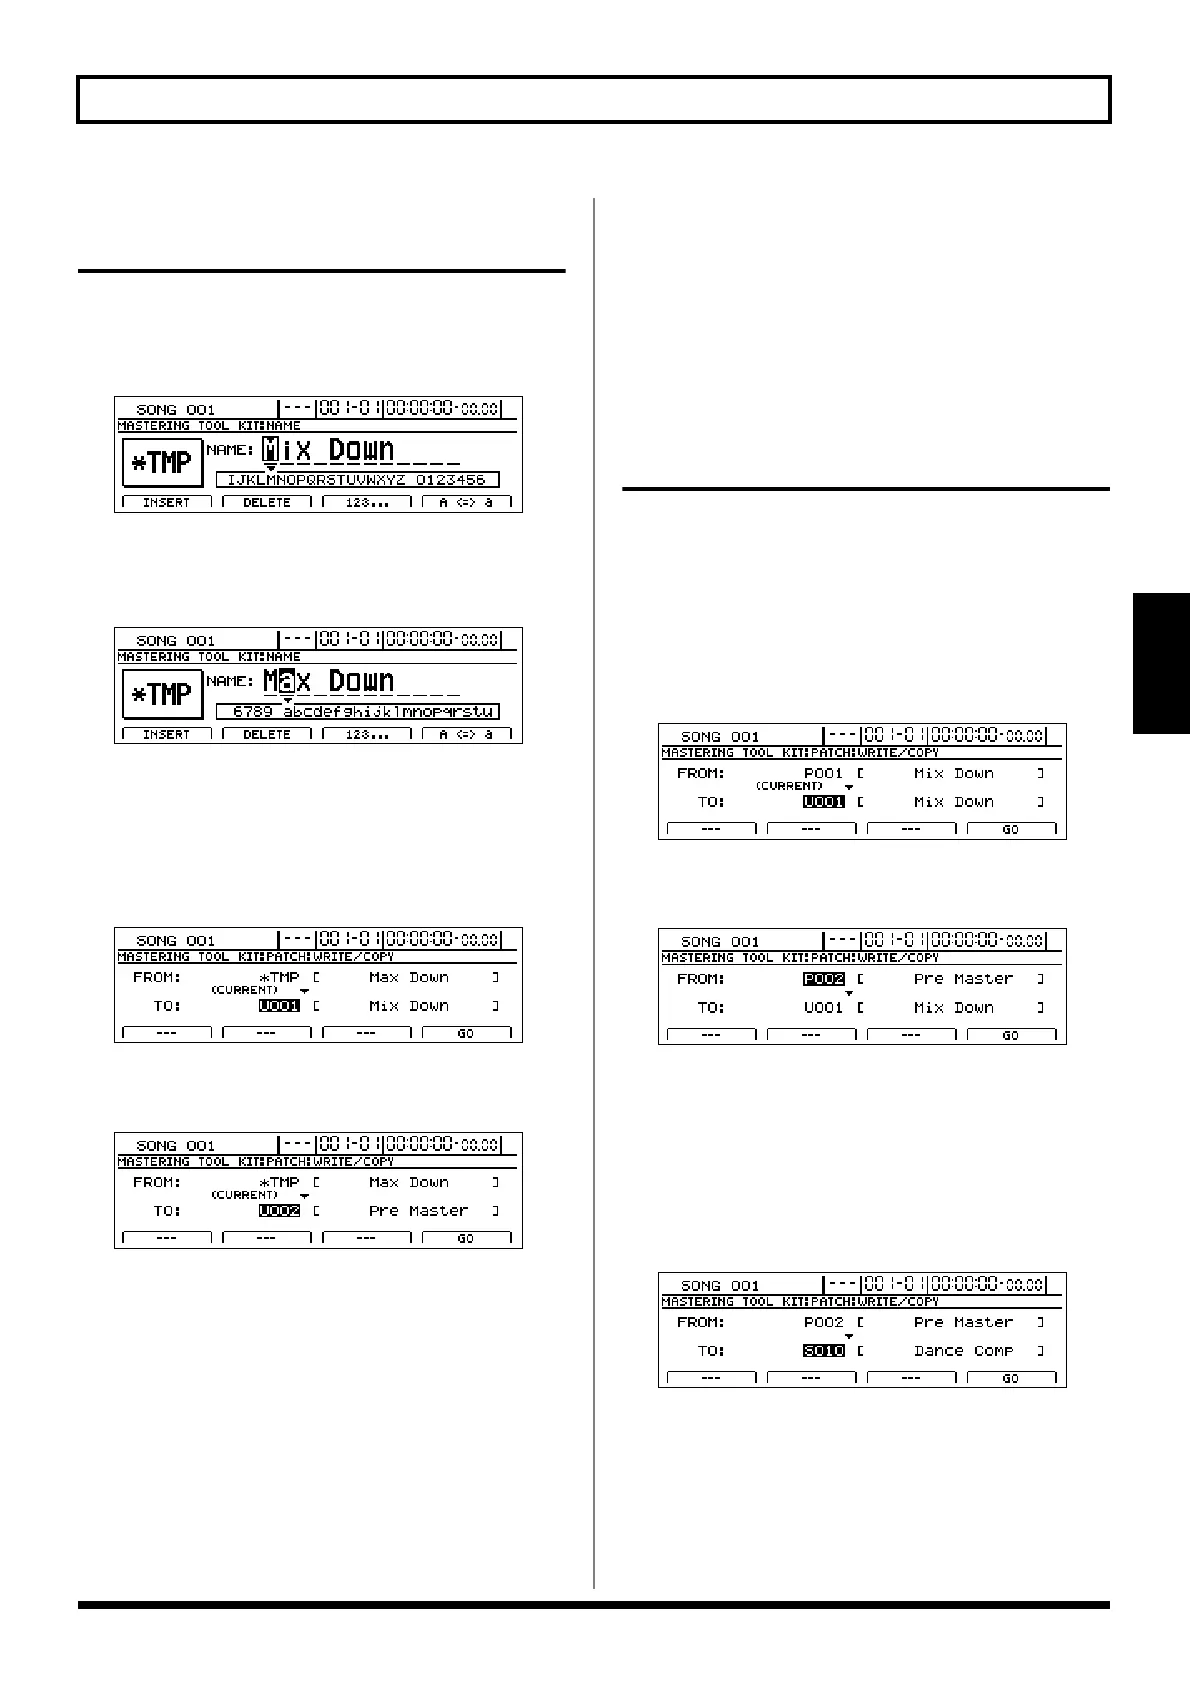
1. Press [F1] (NAME) on the Mastering Tool Kit edit screen.
fig.36-04d
2. Move the cursor to the characters in the patch name you
want to change and select new characters using the
TIME/VALUE dial.
fig.36-04ad
3. Press [EXIT/NO] to return to the Mastering Tool Kit
edit screen.
4. Press [F4] (WRITE/COPY).
The Mastering Tool Kit Patch Write/Copy screen will
appear.
fig.36-05d
5. Move the cursor to the “TO:” field and select a
destination patch using the TIME/VALUE dial.
fig.36-06d
FROM:
This field should be left unchanged at
“*TMP(CURRENT).” If a different message is displayed,
however, move the cursor to this field and turn the
TIME/VALUE dial counterclockwise to restore
“*TMP(CURRENT).”
TO:
This field sets the patch to which your new settings are
to be written. Whenever you call up the Patch Write/
Copy screen, the cursor will be automatically positioned
here.
6. Press [F4] (GO).
The Mastering Tool Kit patch will be written. When the
message “Complete!” appears, it indicates that writing
has been completed.
7. Press [EXIT/NO] several times to return to the top
screen.
Copying Mastering Tool Kit
settings (Patch Copy)
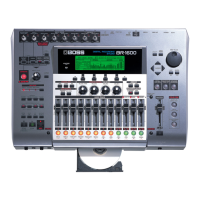
The BR-1600CD’s function for copying patches proves
extremely useful when you want to create a number of effect
patches with slightly different settings.
1. Press [F4] (WRITE/COPY) on the Mastering Tool Kit
edit screen.
The Mastering Tool Kit Patch Write/Copy screen will
appear.
fig.36-07d
2. Move the cursor to the “FROM:” field and select the
patch to be copied using the TIME/VALUE dial.
fig.36-07ad
FROM:
This field selects the patch to be copied. Although
“*TMP(CURRENT)” may be displayed in this field when
you call up the Patch Write/Copy screen after modifying
patch settings, this may be freely changed.
3. Move the cursor to the “TO:” field and select a
destination patch using the TIME/VALUE dial.
fig.36-07bd
TO:
This field selects the patch to be overwritten by copying.
Whenever you call up the Patch Write/Copy screen, the
cursor will be automatically positioned here.



 To Next Page