I
Button
Sewing
PATTERN DIAL
:
1
STITCH LENGTH
:
0
STITCH WIDTH
:
This dial
is
used to control distance
between holes in button.
NEEDLE POSITION
:
LorR
PRESSER FOOT
:
Button Sewing Foot
NEEDLE
:
Single
PRESSURE ADJUSTER
:
Middle
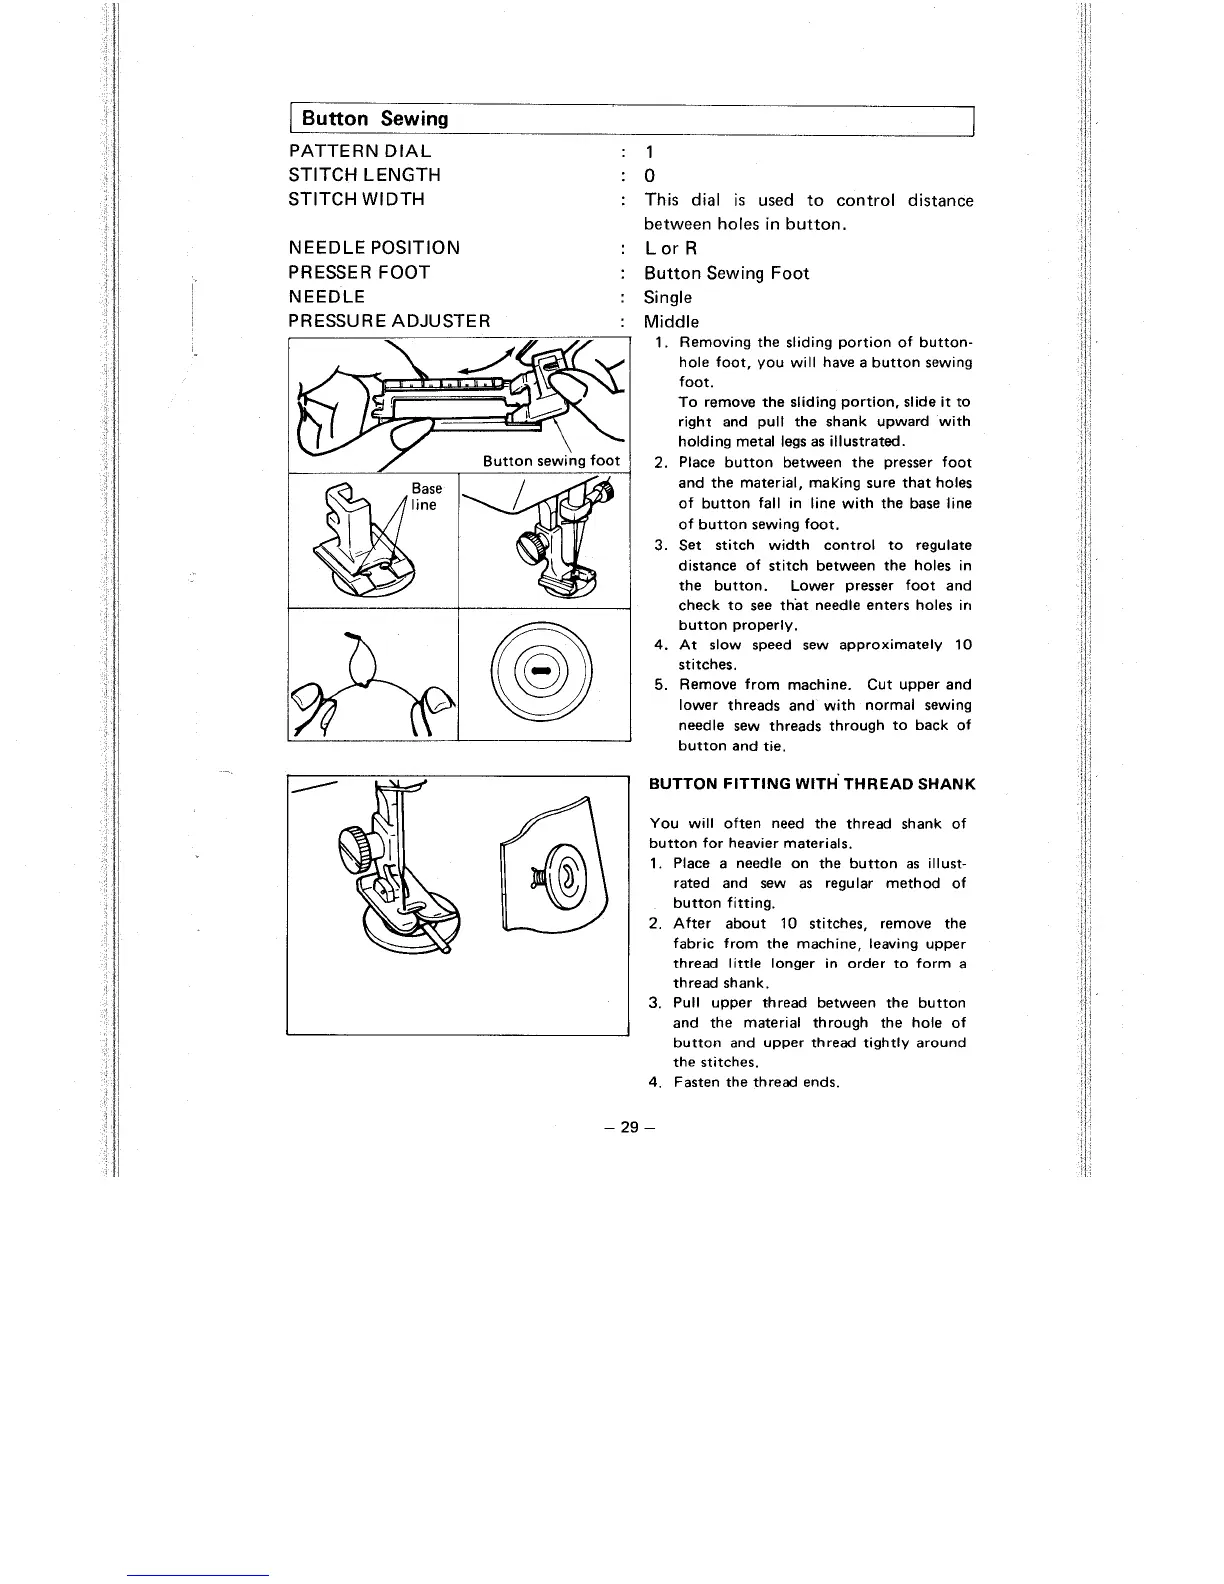
1.
Removing the sliding portion of button-
hole foot, you will have a button sewing
foot.
To remove the sliding portion, slide it to
right and pull the shank upward with
holding metal legs as illustrated.
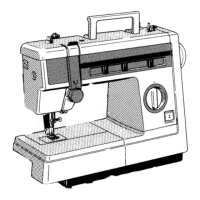
2.
Place button between the presser foot
and the material, malting sure that holes
of button fall in line with the base line
of button sewing foot.
3.
Set stitch width control to regulate
distance of stitch between the holes in
the button. Lower presser foot and
check to see that needle enters holes in
button properly.
4.
At slow speed sew approximately
10
stitches.
5.
Remove from machine. Cut upper and
lower threads and with normal sewing
needle sew threads through to back of
button and tie.
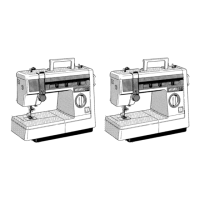
You will often need the thread shank of
button for heavier materials.
1.
Place a needle on the button as illust-
rated and sew as regular method of
button fitting.
2.
After about
10
stitches, remove the
fabric from the machine, leaving upper
thread little longer in order to form a
thread shank.
3.
Pull upper thread between the button
and the material through the hole of
button and upper thread tightly around
the stitches.
4.
Fasten the thread ends.