The 2032 can be
calibrated
for
sound pressure measurements using,
for
instance, a
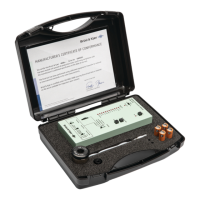
Pistonphone Type
4220, (see Section 6.2.7, step 1
).
Should a Pistonphone
not
be
avail-
able, the following
procedure
may be used.
1.
Set the
Calibration
field
of
the MEASUREMENT SETUP
of
the
appropriate
input
to
V
/PA,
and enter the
microphone
sensitivity
into the
Calibration
field.
2.
Select display
of
the
Autospectrum
for
the
appropriate
channel and
check
that
the
Units Type
field
of
the Y -scaling
control
fields
of
the DISPLAY SETUP is set
to
RMS.
3.
Set the Units field
of
the Y -scaling
control
fields
for
read-out
in relative units.
4.
Move the Field
Selector
one field
to
the
right
to the Reference Level field, and
enter a reference
level
of
20
J.l.
The
appropriate
channel
of
the 2032 will then be
calibrated
to read in dB referred
to
20
J.lPa.
6.2.7. Calibration
of
the
2032
for Sound Intensity Measurements
Step
1
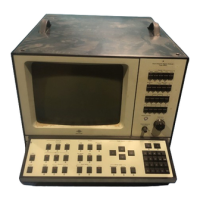
Fig.6.9. The
2032
Display
calibrated
for
sound
intensity
measure-
ments
Calibration
of
the 2032
for
sound
intensity
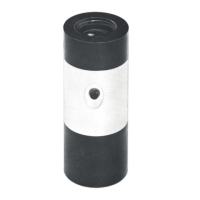
measurements with .the Sound Intensity
Probe Type 3519
requires
use
of
a Pistonphone Type 4220. This is because there is a
slight attenuation
of
signal levels within the probe, meaning
that
the
procedure
of
Section 6.2.6 will
produce
a
calibration
error.
The Pistonphone
produces
a sound
pres-
sure level
of
124 dB re.
20
J.LPa
at 250Hz. (This is at normal
atmospheric
pressure.
Should the
atmospheric
pressure deviate
from
normal,
it
may be necessary
to
apply
a
correction
which can be obtained
from
the
Barometer
supplied with the Pistonphone).
The
calibration
procedure
is as follows:
1.
Follow the
procedure
of
Section 6.2.6
to
obtain
an
approximate
calibraUon. The
microphone
sensitivity
entered in the
Calibration
Constant
field
of
the MEASURE-
MENT
SETUP need
not
be exact.
103
 Loading...