36
IV. Venting (continued)
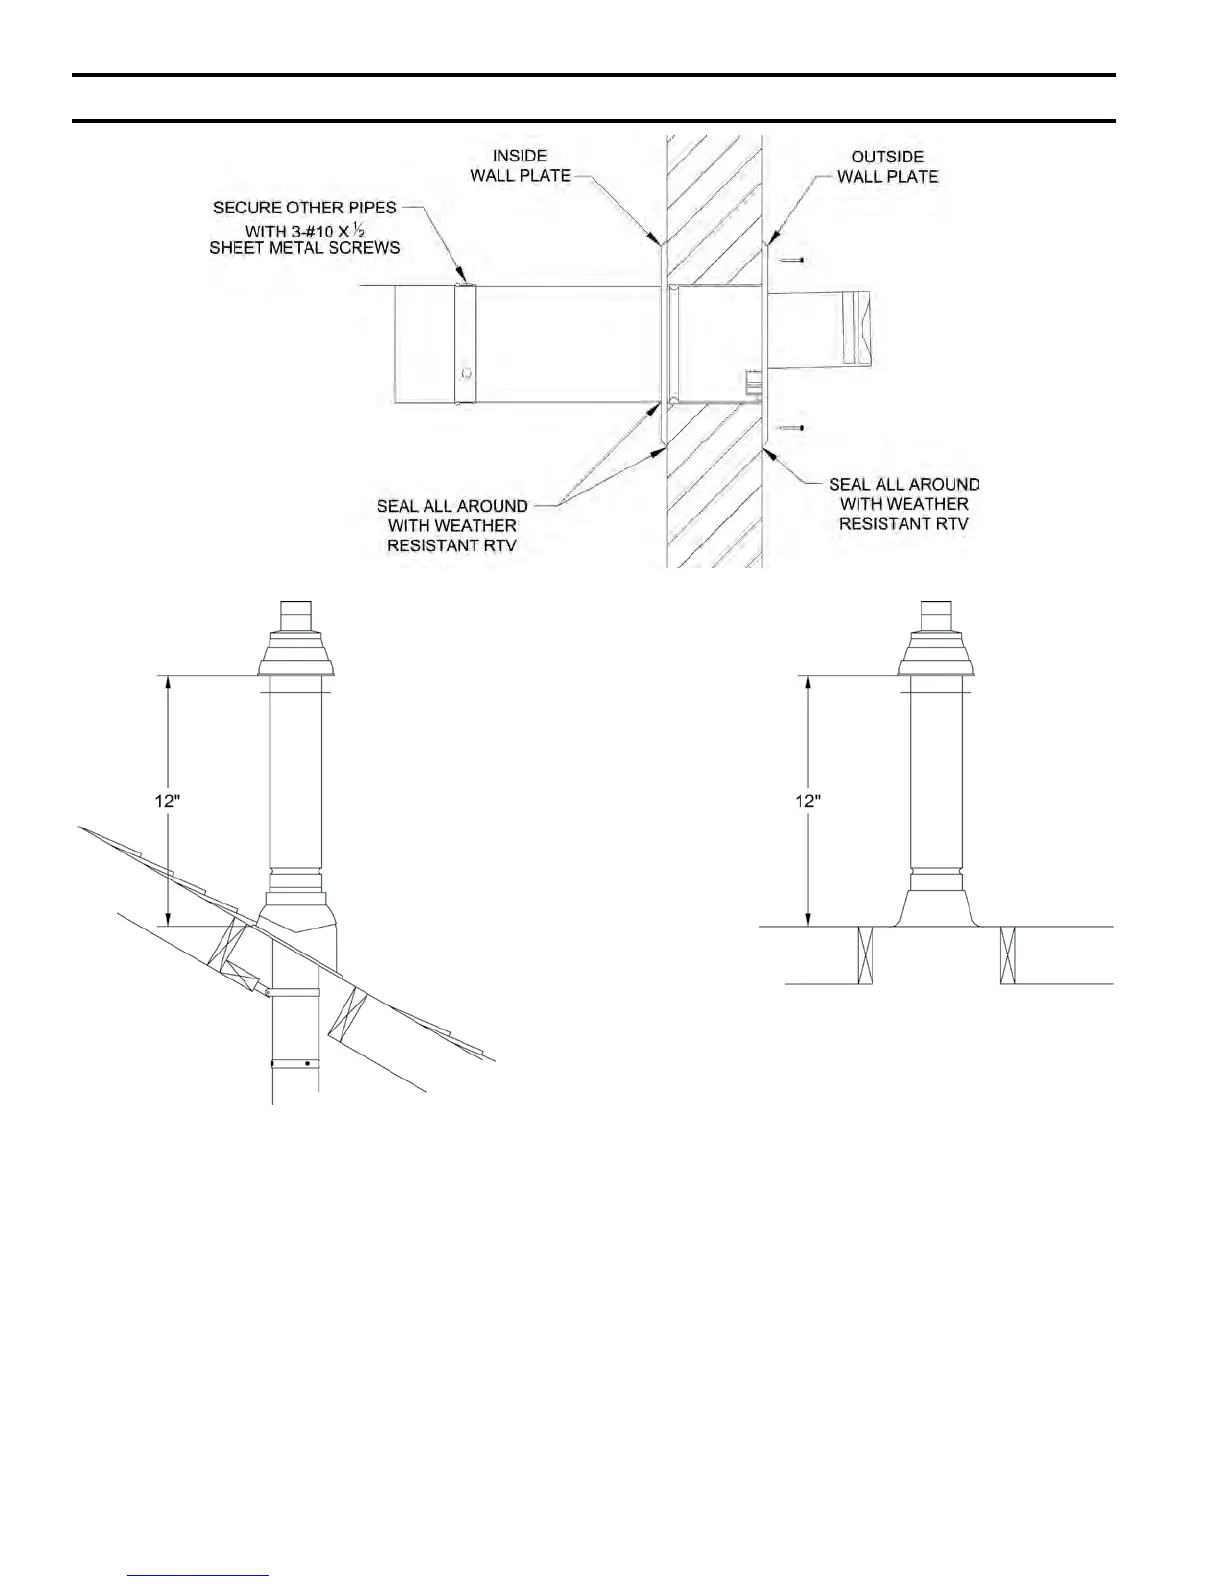
Figure 24: Vertical Concentric Vent Installation
Figure 23: Completing Horizontal (Wall Terminal Installation)
• Install the roof ashing using standard
practice on the roong system of the
structure.
• If not already done, assemble the venting
system inside the building. The last section
of pipe needs to be on the same center line
as the terminal and within 19-1/4” of the
top edge of the roof ashing.
• Measure distance “H” from the top edge of
the storm collar to the end of the last tting
as shown in Figure 25.
• Add 1” to distance “H”. Carefully mark
this length on the pipe as shown in Figure
26.
• Cut the outer pipe only at the point
marked in Step (e) using aviation shears,
a hacksaw, or an abrasive wheel cutter. Be
careful to cut the pipe square. De-burr the
cut end with a le or emery cloth.
• Place a mark on the plastic inner pipe 3/8”
beyond the end of the outer pipe (Figure
26). Use a ne tooth hacksaw to cut the
plastic pipe and be careful to cut the pipe
square. De-burr the cut edge of the plastic
pipe with a le or emery cloth.
• Make a mark on the terminal section 1”
from the cut end of the outer pipe as shown
in Figure 26.