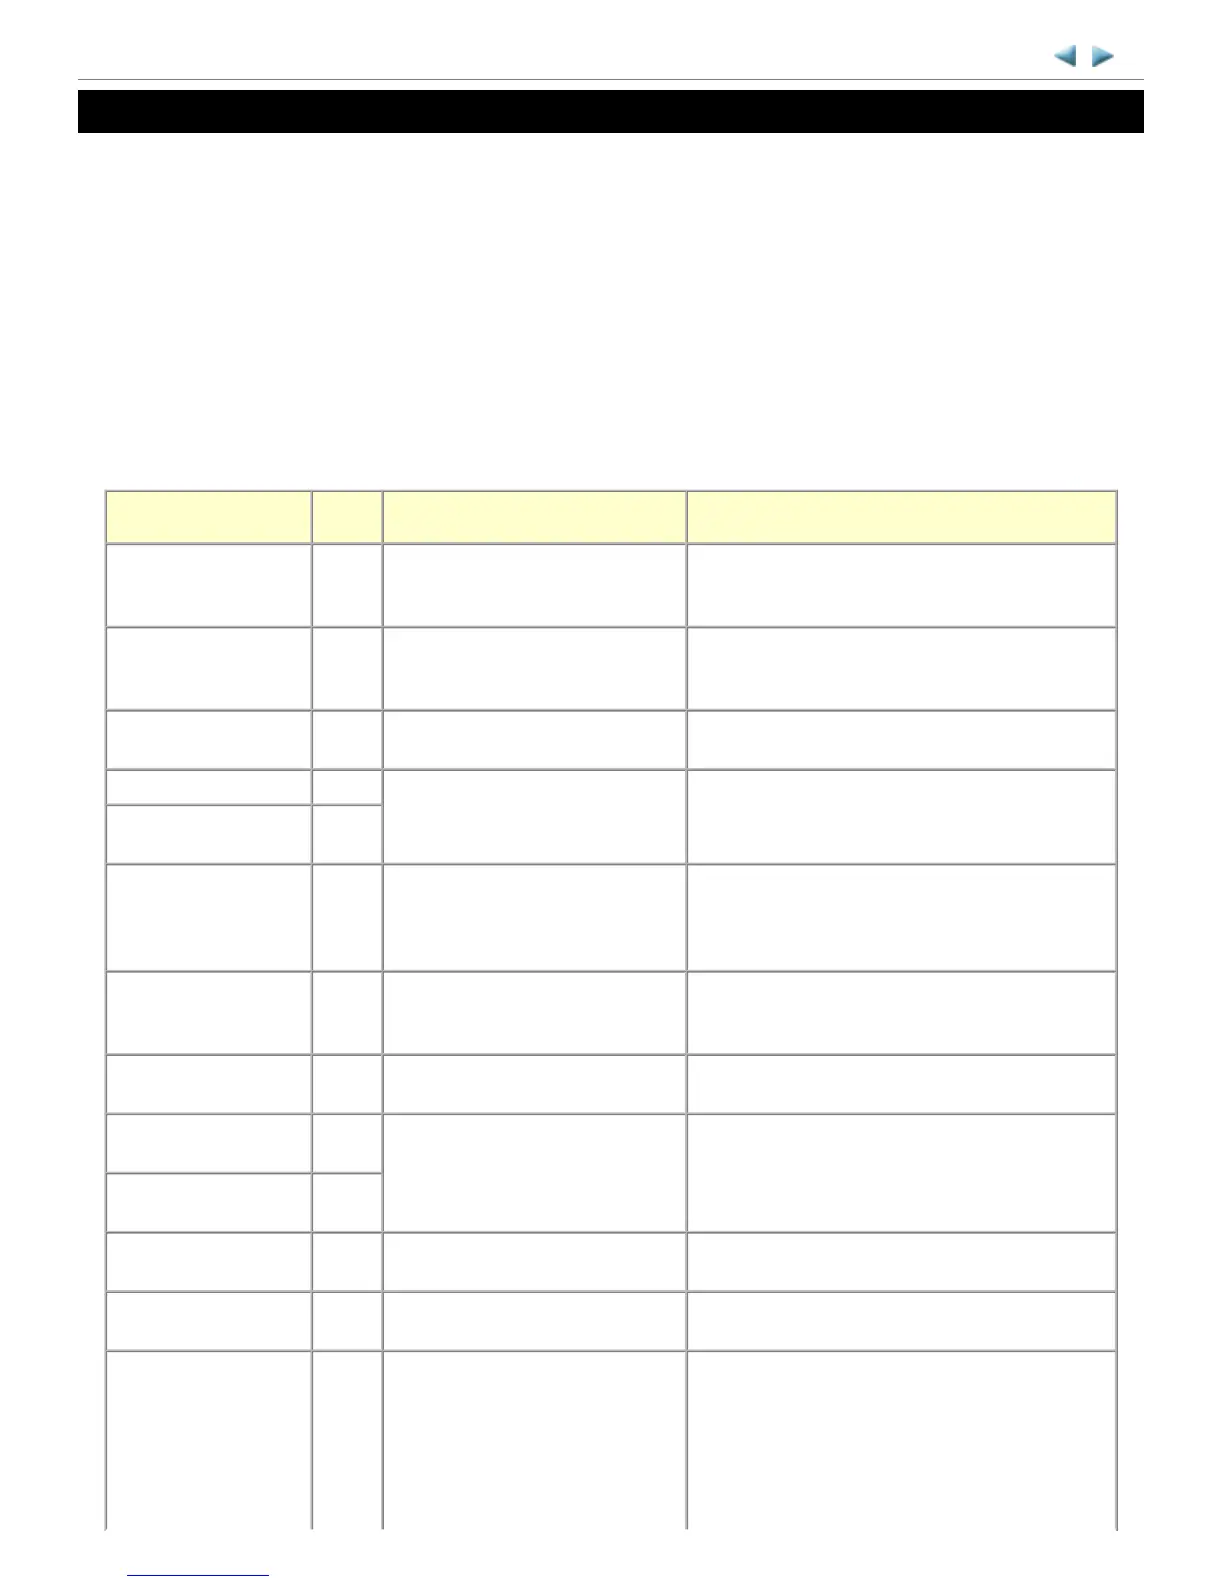
2. LIST OF ERROR DISPLAY / INDICATION / TROUBLESHOOTING
Errors and warnings are displayed by the following ways:
1. Operator call errors are indicated by the Alarm LED lit in orange, and the error and its solution are displayed on the LCD in
text and by icon.
2. Messages during printing from a computer are displayed on the MP driver Status Monitor.
3. Error codes are printed in the "operator call/service call error record" area in EEPROM information print
Buttons valid when an operator call error occurs:
1. ON/OFF button: To turn the machine off and on again.
2. OK button: To clear and recover from an error. In some operator call errors, the error will automatically be cleared when
the cause of the error is eliminated, and pressing the OK button may not be necessary.
3. Stop/Reset button: To cancel the job at error occurrence, and to clear the error.
2-1. Operator Call Errors (by Alarm LED Lit in Orange)
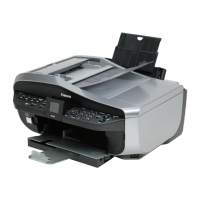
MX700 TABLE OF CONTENTS
Error
Error
code
Message on the LCD Solution
No paper in the rear tray. [1000] Rear tray.
There is no paper. Load paper and
press [OK].
Confirm that the rear tray is selected as the paper
source. Set the paper in the rear tray, and press the
OK button.
No paper in the front
tray.
[1003] Front tray.
There is no paper. Load paper and
press [OK].
Confirm that the front tray is selected as the paper
source. Set the paper in the front tray, and press the
OK button.
Front door close error [1250] Paper output tray is closed. Open the
paper output tray.
Open the paper output tray.
Paper jam. [1300] The paper is jammed. Clear the paper
and press [OK].
Remove the jammed paper, and press the OK button.
Paper jam in the rear
guide.
[1303]
Ink may have run out. [1600] The following ink may have run out.
Replacing the ink tank is
recommended. (U041)
Replace the applicable ink tank, or press the OK
button to clear the error without ink tank replacement.
When the error is cleared by pressing the OK button,
ink may run out during printing.
Ink tank not installed. [1660] The following ink tank cannot be
recognized. (U043)
(Applicable ink tank icon)
Install the applicable ink tank(s) properly, and
confirm that the LED's of all the ink tanks light red.
Print head not installed,
or not properly installed.
[1401] Print head is not installed. Install the
print head. (U051)
Install the print head properly.
Print head temperature
sensor error.
[1403] The type of print head is incorrect.
Install the correct print head. (U052)
Re-set the print head. If the error is not cleared, the
print head may be defective. Replace the print head.
Faulty EEPROM data of
the print head.
[1405,
1682]
Multiple ink tanks of the
same color installed.
[1681] More than one ink tank of the
following color is installed. (U071)
Replace the wrong ink tank(s) with the correct one(s).
Ink tank in a wrong
position.
[1680] Some ink tanks are not installed in
place. (U072)
Install the ink tank(s) in the correct position.
Warning: The ink
absorber becomes almost
full.
[1700,
1701,
1710,
1711]
Contact the support center or service
center for ink absorber replacement.
Press [OK] to continue printing.
Replace the ink absorber, and reset its counter. [See 3-
3. Adjustment / Settings, (10) Service mode.]
Pressing the OK button will exit the error, and enable
printing without replacing the ink absorber. However,
when the ink absorber becomes full, no further
printing can be performed unless the applicable ink