Set the alignment mode
Introduction
When you want to shift the image on the sheet, you can change the alignment mode. With the
alignment mode, you can also optimize the print productivity as you reduce the distance the print
carriage has to travel. You can, for instance, align the image to the top right-hand corner of the
sheet.
You can choose the following alignment settings:
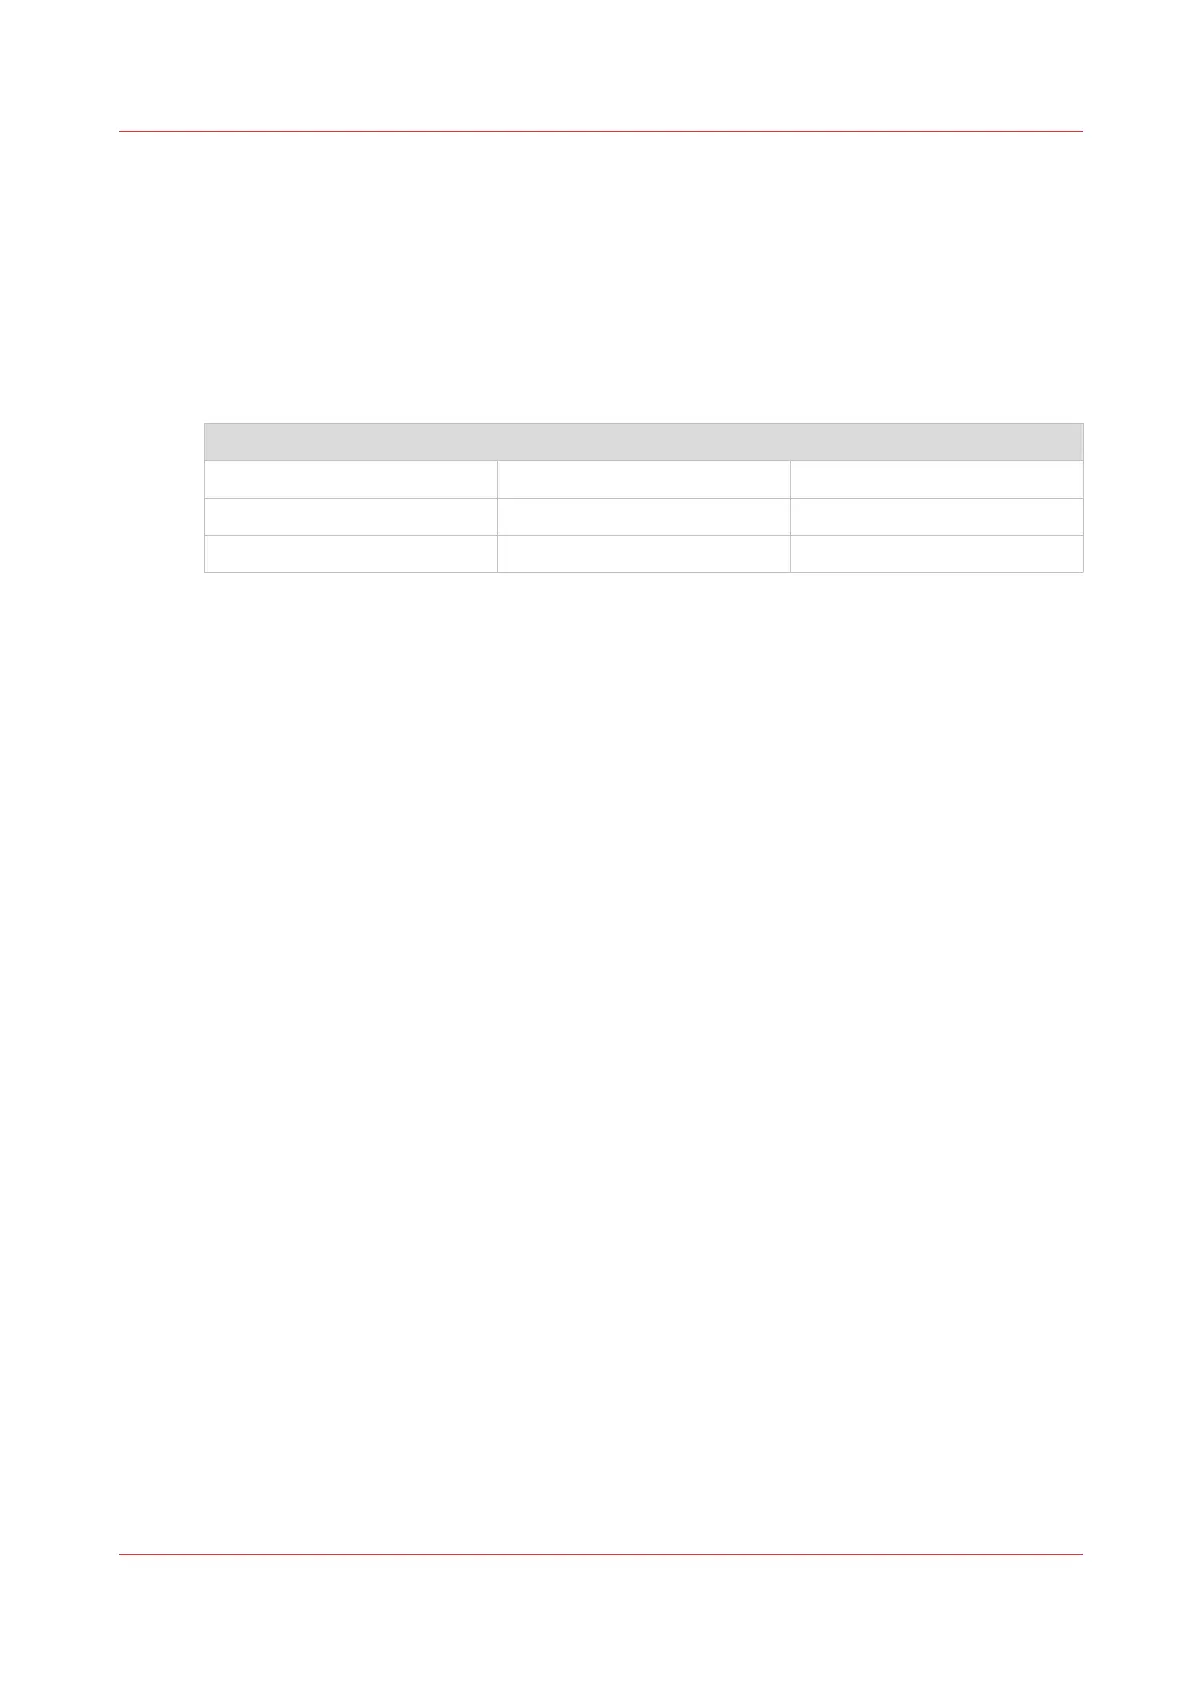
Alignment mode
[Top left] [Top] [Top right]
[Left] [Center] [Right]
[Bottom left] [Bottom] [Bottom right]
Procedure
1.
Open the [Preferences] - [Print job defaults] tab.
2.
Click on [Edit] in the [Layout] section or click on the [Alignment] setting.
3.
Select the correct value.
Select [Top right] when the print productivity is the most important factor.
4.
Click [Ok] to confirm, or [Cancel] to reject your entries.
Set the alignment mode
Chapter 3 - Define your Workflow with Océ Express WebTools
135