6-MAINTENANCE
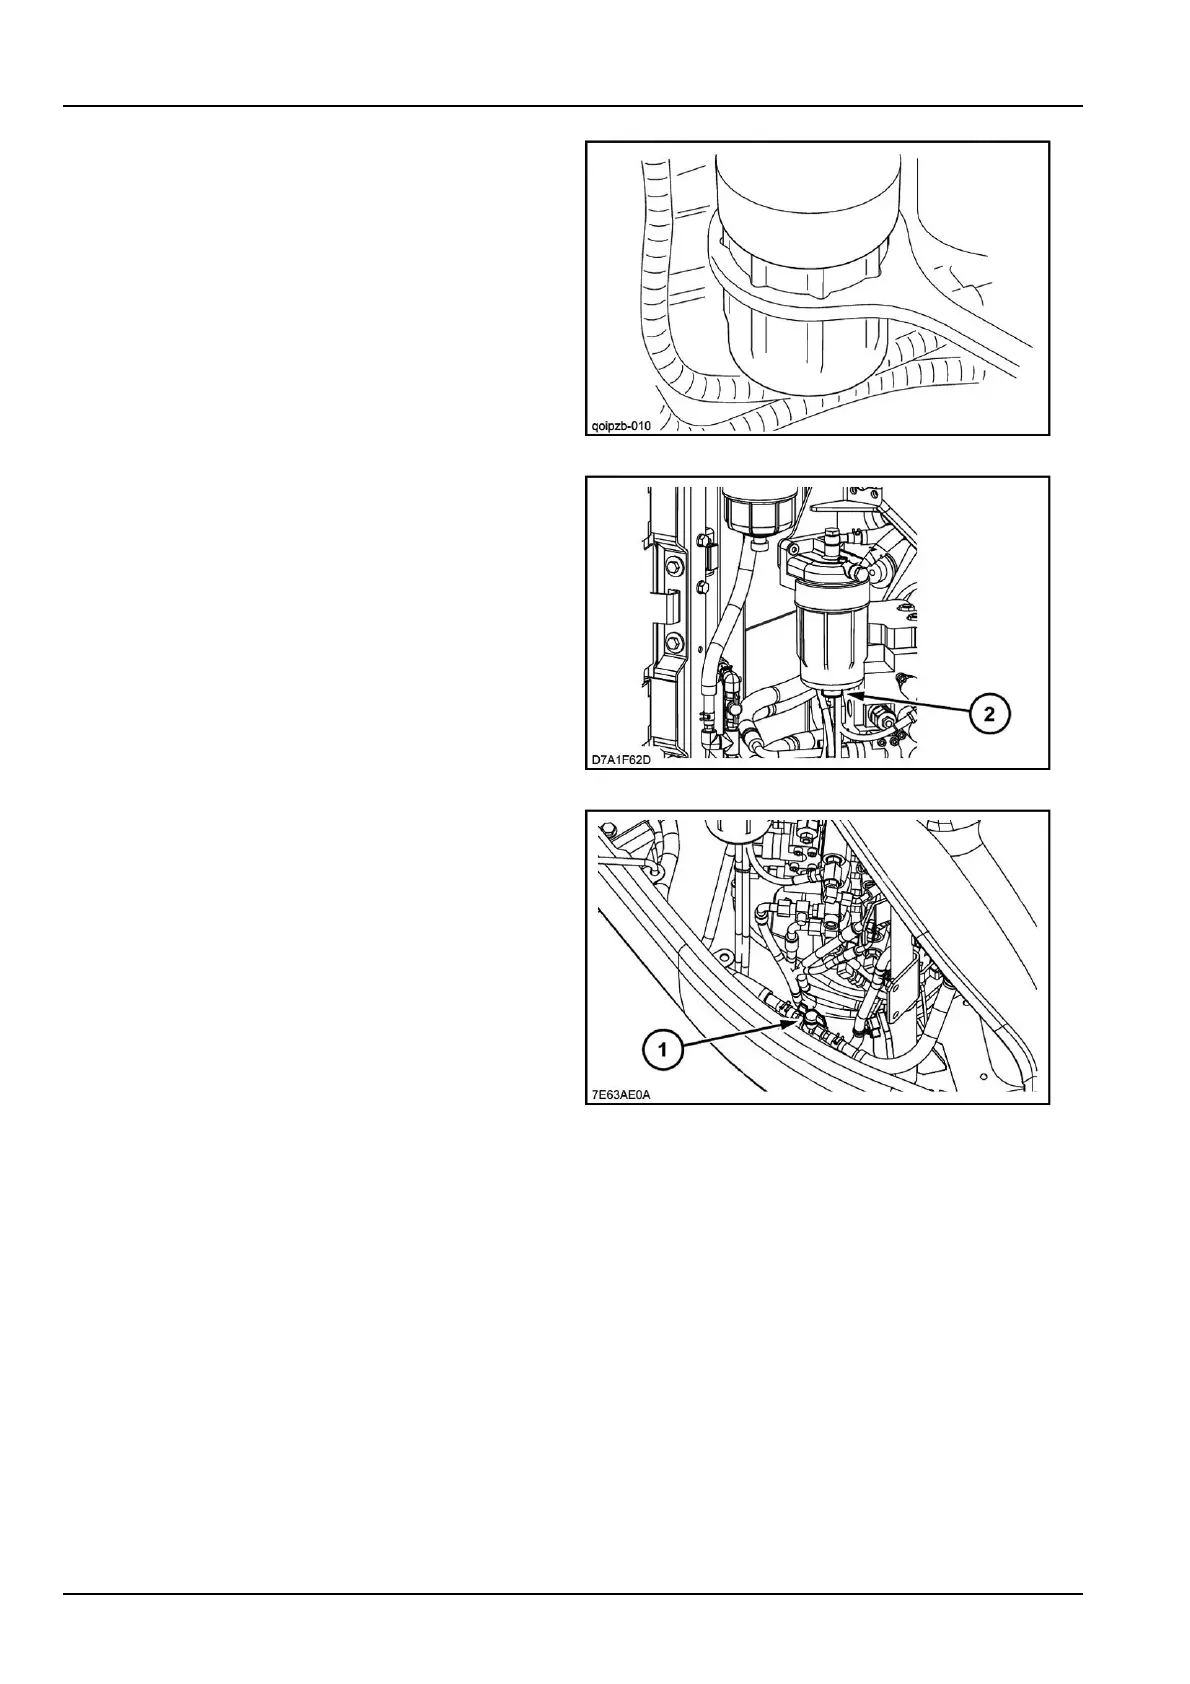
4.Cleanaroundthepre-lterbodythenremoveitusing
thewrenchprovidedwiththemachine.
5.Installthenewlterelement.Replacethelterbody
seal,theninstallthebody,turningituntilitisincontact
withthepre-lterhead.
ATTENTION:Donotllthelterbodywithfuelbefore
installing.
6.Tightenthebodyusingthewrench,thetightening
torquemustbefrom28-32N·m(20.7-23.6lbft).
NOTE:Bindtightwithinregulationtorque.
QOIPZB-0105
7.Replacethedrainplug(2)sealtheninstallthedrain
plug(2);thetighteningtorquemustbebetween8-12
N·m(5.9-8.9lbft)
ATTENTION:Overtighteningcandamagetheseal.
ATTENTION:Neverre-usethesealsofthelterbody
orthedrainplug(2);theymustalwaysbereplaced
withnewseals.
NOTE:Bindtightwithinregulationtorque.
D7A1F62DA6
8.Openthevalve(1)onthesupplyline.
9.Bleedthesystem.See"Fuelsystemairbleed".
7E63AE0A7
Replacingthefuellterelement
Replacethefuellterelementatthesametimeaspre-
lterelement.
ATTENTION:IfafuellterotherthanagenuineCASE
CONSTRUCTIONlterisused,theguaranteewillnotbe
appliedtoafaultcausedbytheuseofawronglter.
1.Placeareceptacleofasuitablecapacityunderthefuel
lter.
6-32