31
Section Assembly
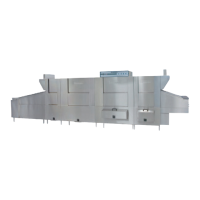
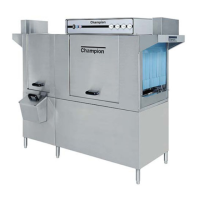
Conveyor Belt Installation
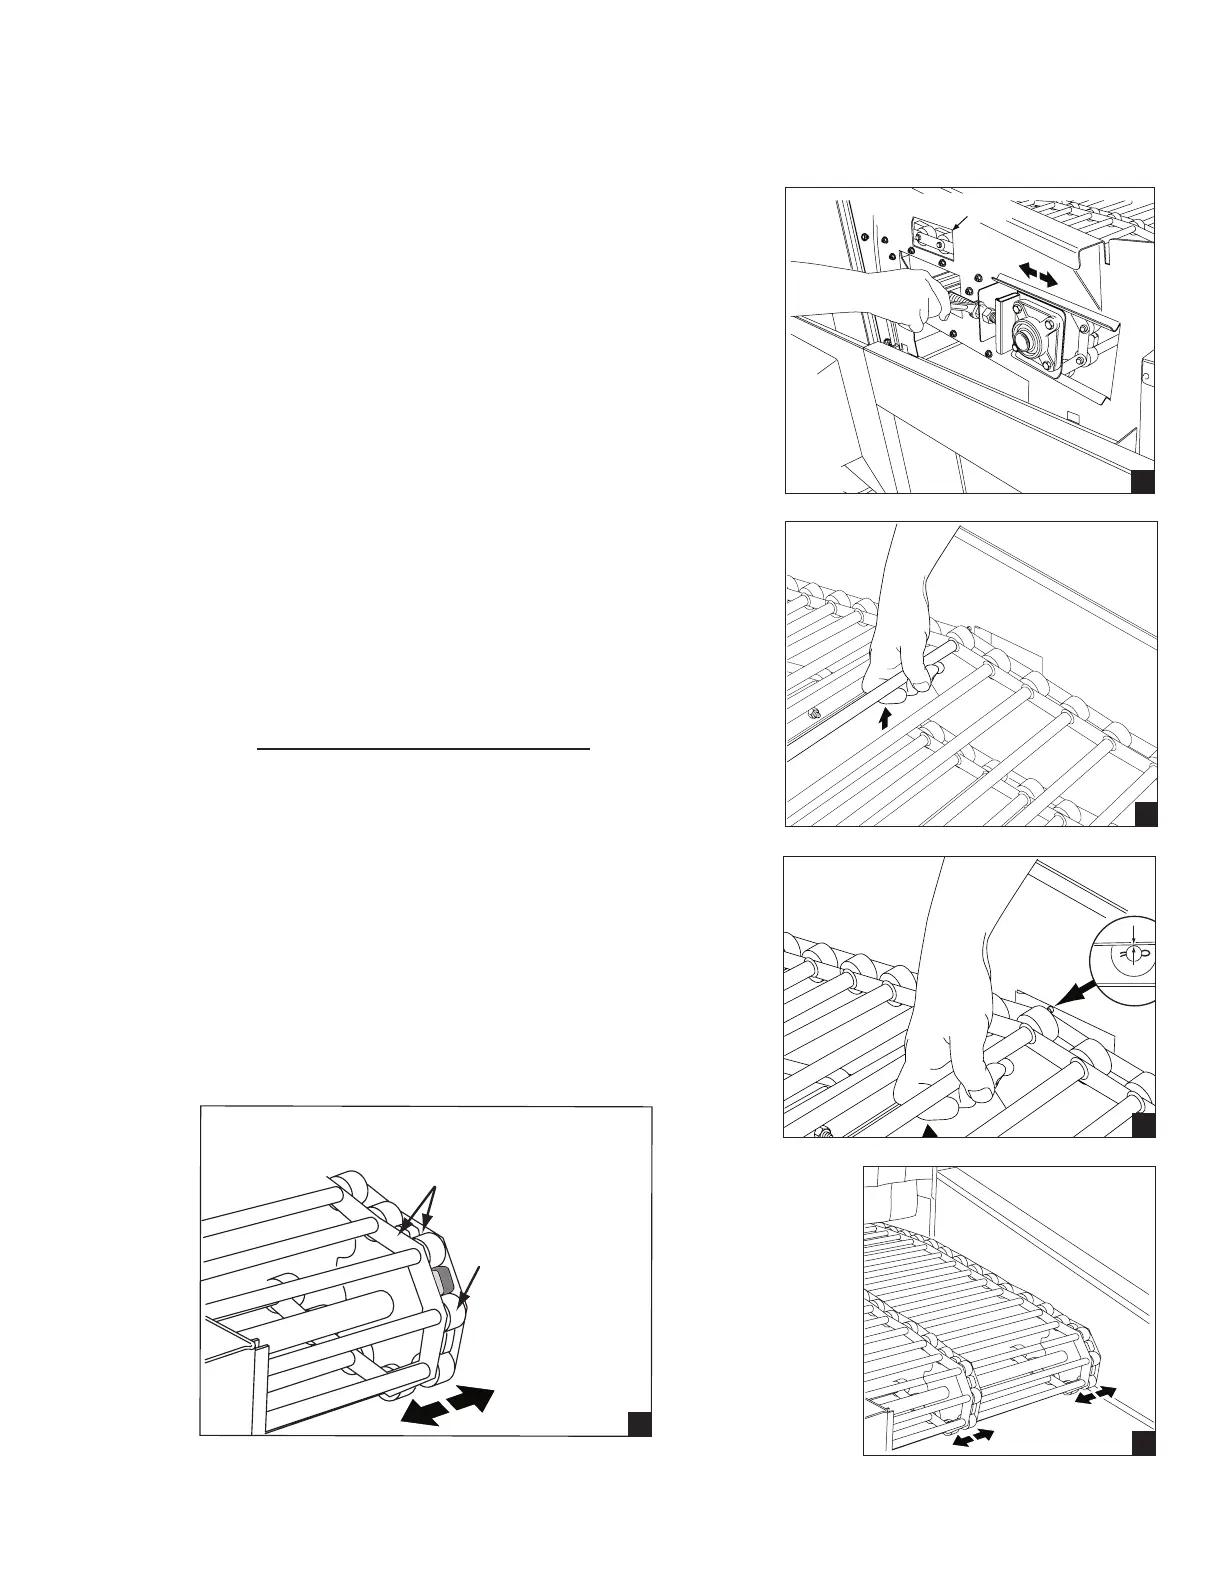
The take-up assemblies are located on either
side of the load end conveyor shaft as shown in (A).
Adjust the conveyor belt tension at the load end. Loosen
the adjusting bolt locknuts then turn the adjusting bolts CW
to tighten the belt.
Make sure the belt tension is even on both sides.
Check the slack of the lower portion of the belt. The lower
belt must not sag.
Continue to adjust belt tension as you manually remove
lower belt slack until the lower slack is minimized.
Check the belt tension by lifting the upper conveyor belt
at the load end of the dishwasher as shown in (B).
The proper belt tension is achieved when the top of the
conveyor belt rods are even with the top of the belt
access hole as shown in (C).
DO NOT OVERTIGHTEN THE BELT.
Tighten the adjusting bolt locknuts on each take-up
assembly to hold the belt adjustment.
Check that the conveyor belt tracks evenly on all
of the conveyor drive sprockets during operation and
adjust the take-up assemblies as required
as shown in (D).
Proper tracking requires that the rollers seat evenly
in the conveyor belt drive sprockets. The metal links
on the conveyor belt must not rub the sides of the
belt sprockets as shown in (E).
Belt Access Hole
A
B
C
D
Roller seated
in sprocket
Steel links do not
rub sprocket
E