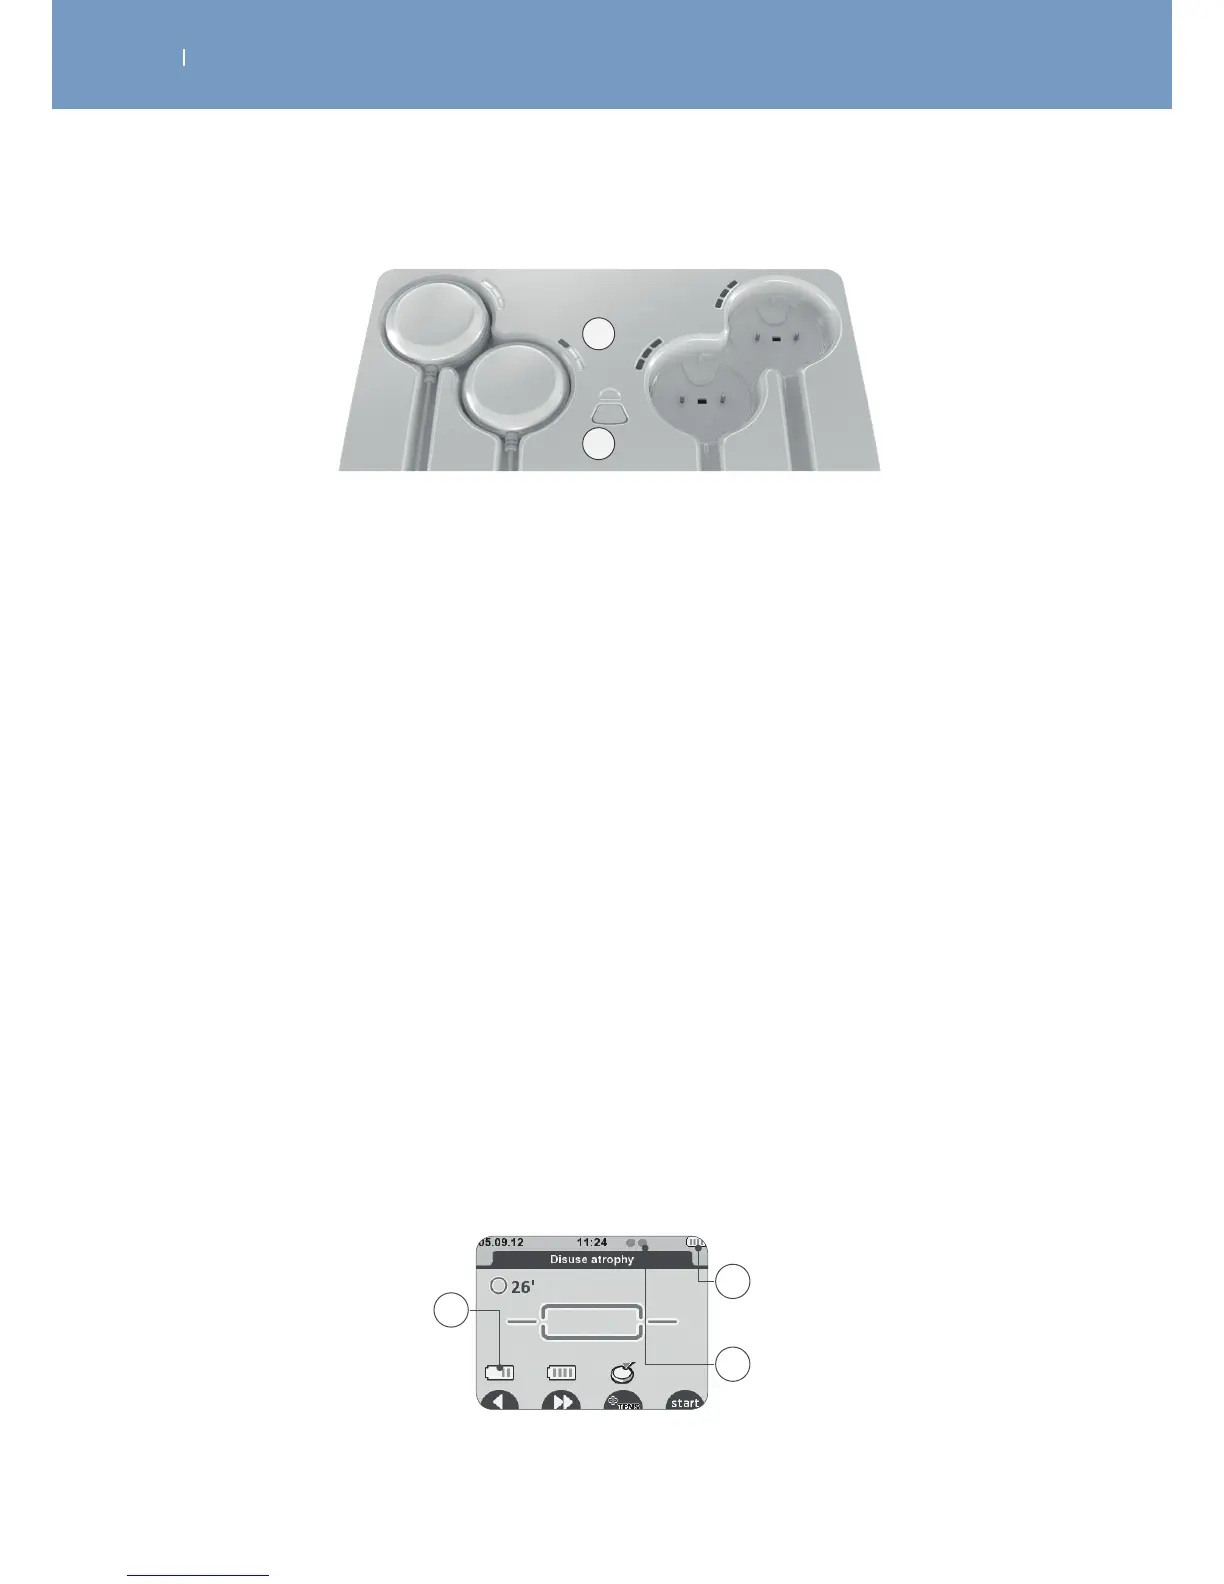
A
B
A First LED blinking = low battery
Second LED blinking = battery level average, a session can be performed
Third LED blinking = good battery level
All LEDs are lit and not blinking any more = battery completely full
B The LED above the button indicates that the tablet is connected to the power supply. It lights:
Blue = modules can be charged
Red = right after connecting to the power supply during self test
The button allows synchronizing modules and remote control, which is usually done automatically by the
unit.
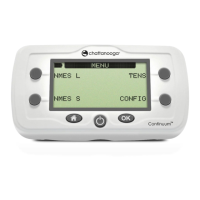
Battery level
In the screen “Modules need to be turned on”, the module battery level is displayed on the corresponding
channel at the remote control, when you turn the module on, just before starting the stimulation session.
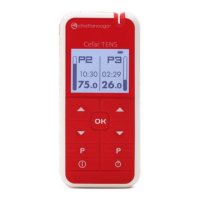
The battery level of the remote control is always visible in the upper right corner.
Small green indicators show how many modules are turned on and recognised by the remote control.
The batteries of the remote control and the modules are designed to stand at least 3 days with 5
treatments per day.
A Module battery level
B Remote control battery level
C Number of modules switched on and recognised by the remote control
A
C
B