B-32
Cisco 2600 Series Routers Hardware Installation Guide
OL-2171-02
Appendix B Maintaining the Router
Replacing the Boot ROM
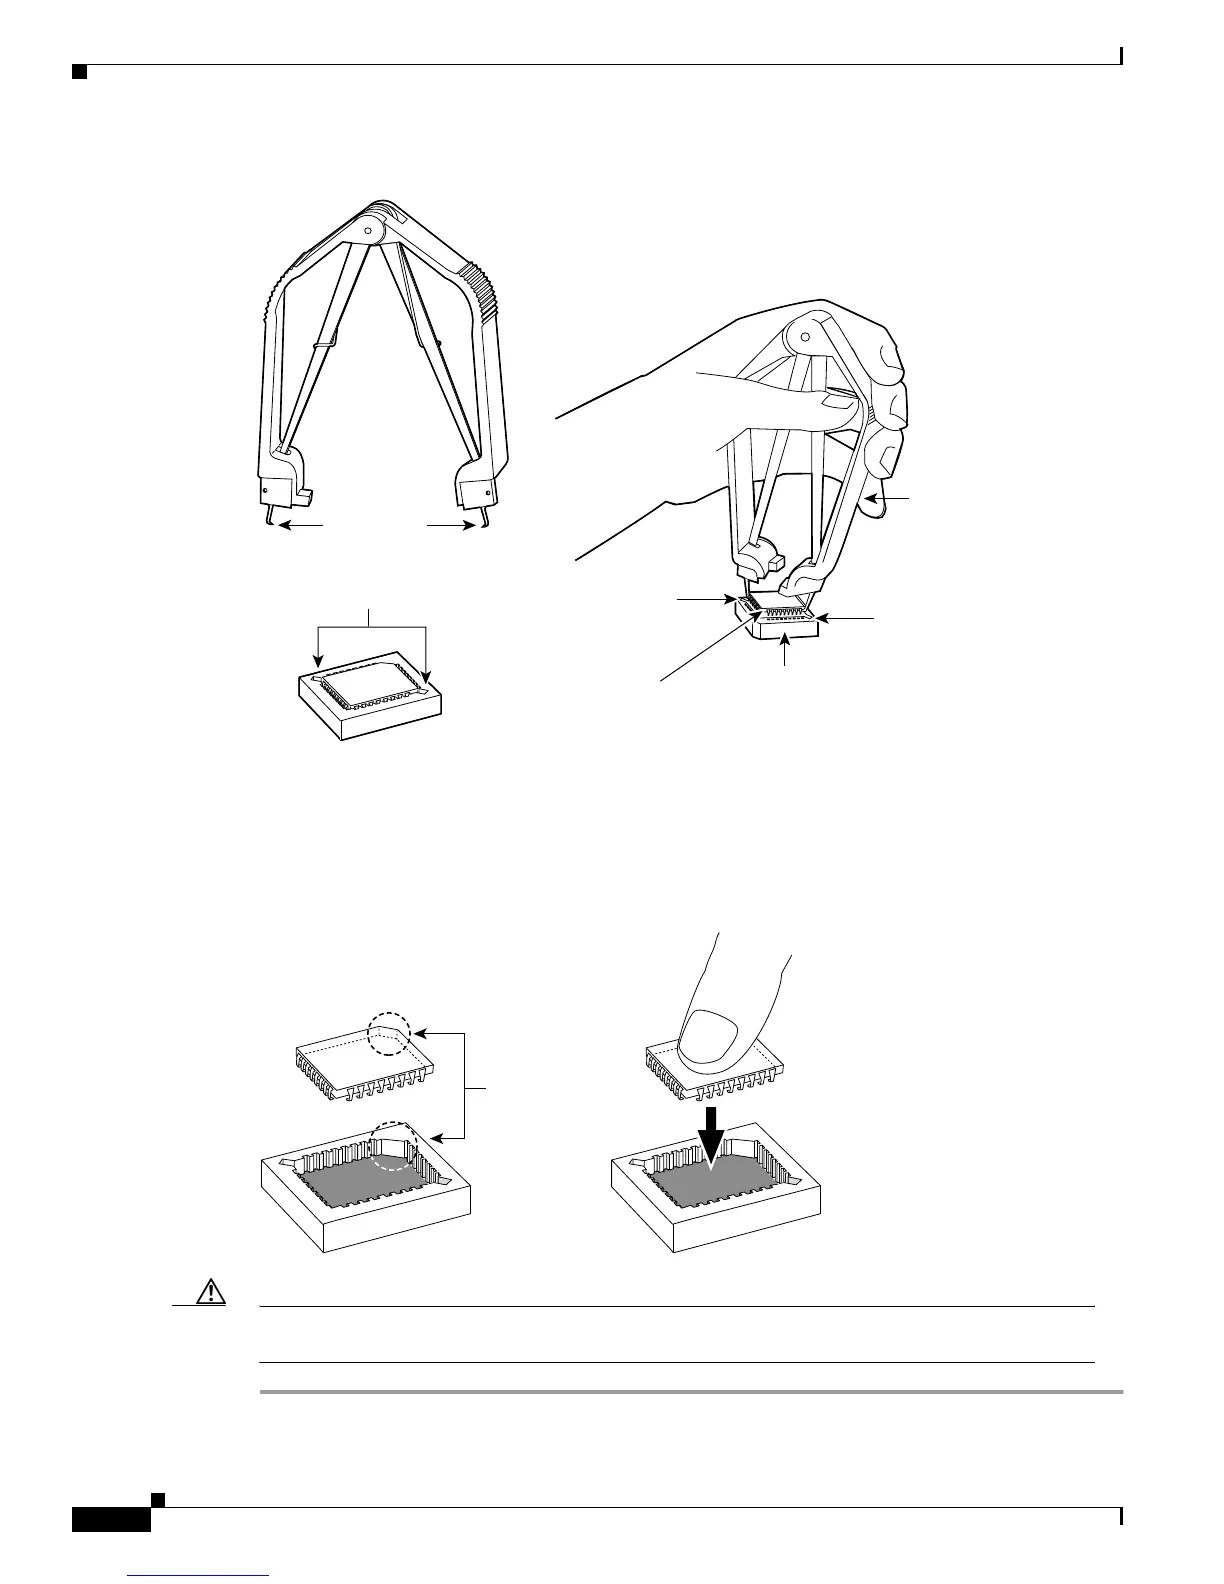
Figure B-15 Removing the ROM from the System Board
Step 3 Orient and insert the new ROM in its socket as shown in Figure B-16, being careful to not bend or crush
any of the bottom pins. To straighten out a bent pin, use needlenose pliers. Align the notch in the new
ROM with the notch in the ROM socket, ignoring the orientation of the label.
Figure B-16 Installing the ROM in the System Board
Caution The notch on the ROM must match the notch on the socket on the card. Installing the ROM backward
will damage it.
Extraction slots
PLCC extraction
tool
ROM
PLCC
extraction slot
ROM socket
PLCC
extraction slot
14624
Angled tips
Align notches
on ROM
and socket
Press the
ROM into
place evenly
and firmly
14063
 Loading...