EasyManuals Logo

Cisco ASR 903 Installation Instructions

Cisco ASR 903
66 pages
To Next Page IconTo Next Page
To Previous Page IconTo Previous Page
Page #27 background imageLoading...
Page #27 background image
Step 3
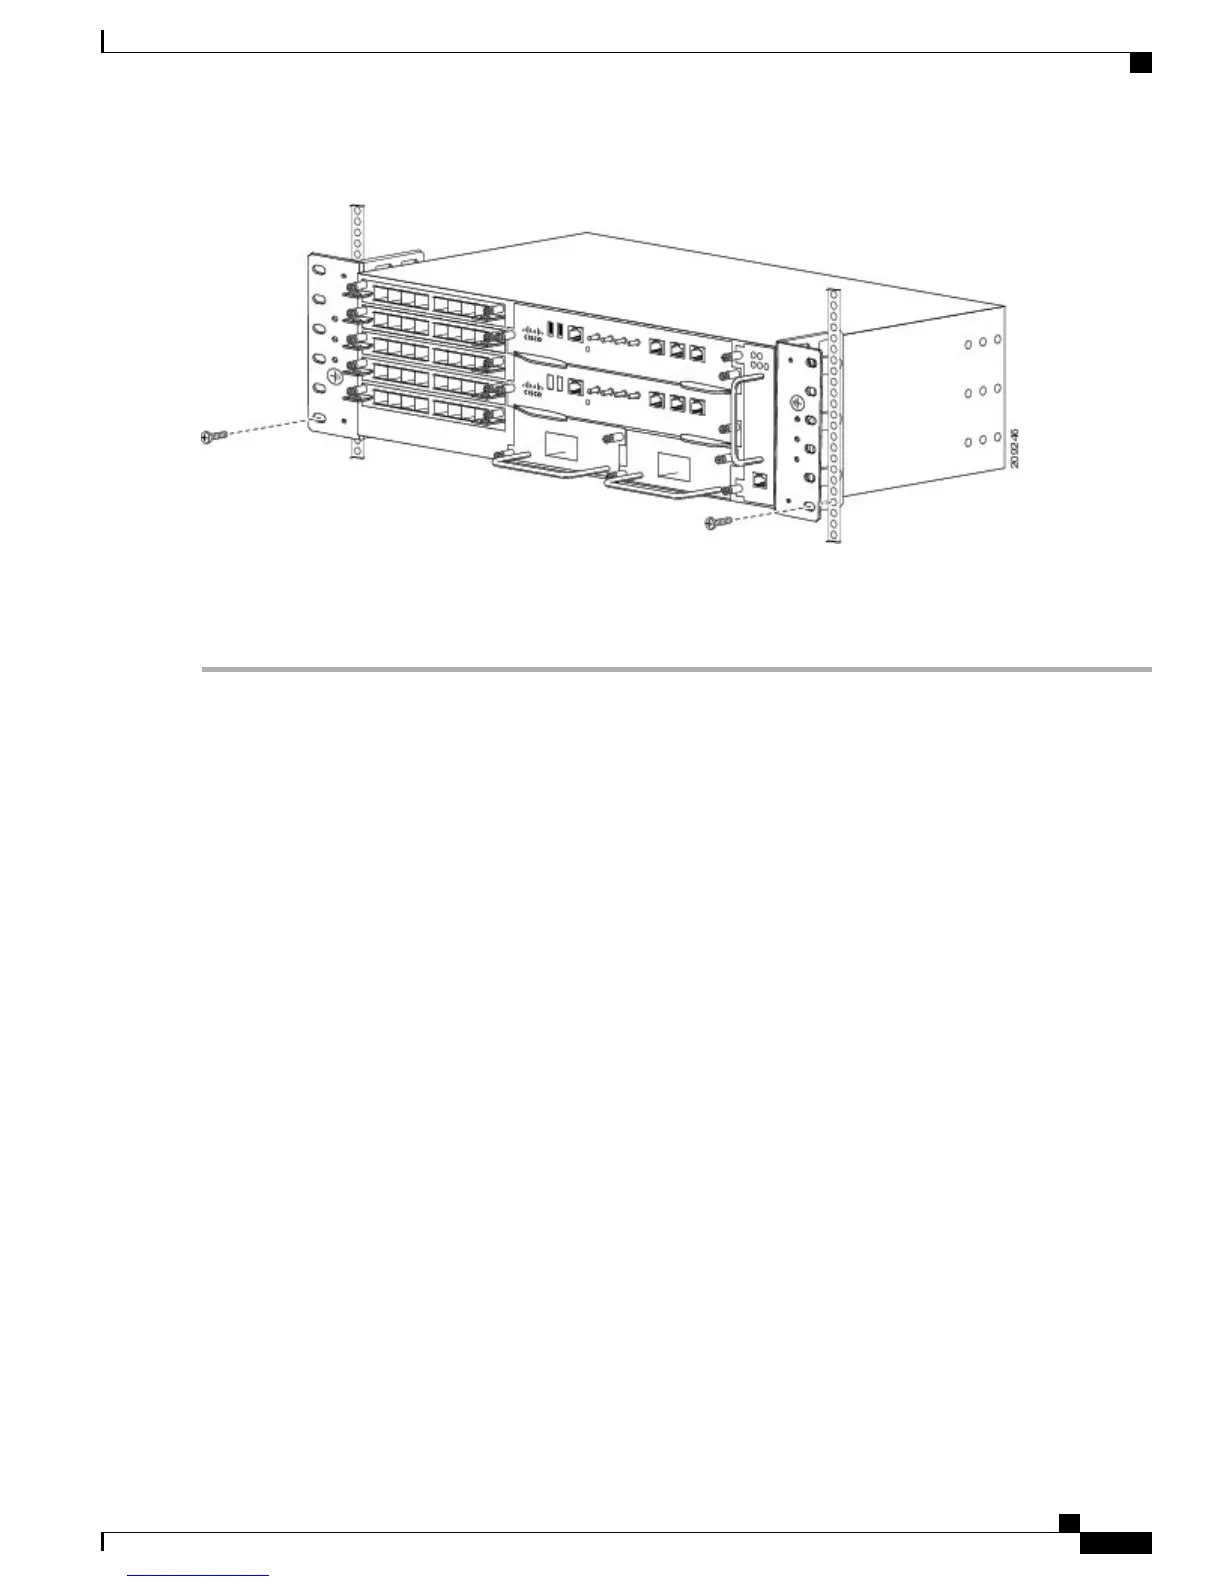
Install the 8 or 12 (4 or 6 per side) 12-24 x 3/4-inch or 10-32 x 3/4-inch screws through the holes in the bracket and into
the threaded holes in the equipment rack posts.
Step 4
Use a tape measure and level to verify that the chassis is installed straight and level.
Attaching the Cable Management Brackets
To install the optional cable management brackets, perform these steps:
SUMMARY STEPS
1.
Position the cable management brackets against the front of the chassis and align the four screw holes, as
shown in this figure.
2.
Secure the cable management brackets with four M4 screws. The recommended maximum torque is 10
lbf/sq in.
Cisco ASR 9000 Series Aggregation Services Router Satellite Systems Installation Guide
27
Installing the Cisco ASR 903 Router as a Satellite Shelf
Attaching the Cable Management Brackets

Table of Contents

Other manuals for Cisco ASR 903

Questions and Answers:

Question and Answer IconNeed help?

Do you have a question about the Cisco ASR 903 and is the answer not in the manual?

Cisco ASR 903 Specifications

General IconGeneral
Form FactorModular
Storage Temperature-40°C to 70°C (-40°F to 158°F)
Humidity5% to 95% non-condensing
RedundancyYes, redundant power supplies and route processors
Operating SystemCisco IOS XE
Power SupplyAC or DC
Switching Capacity240 Gbps
Operating Temperature-40°C to 65°C (-40°F to 149°F)
MTBF200, 000 hours
Supported ProtocolsIPv4, IPv6, MPLS, L2VPN, L3VPN
InterfacesGigabit Ethernet, 10 Gigabit Ethernet, T1/E1

Related product manuals