CHAPTER 2
Quick Setup for Voice over IP Service
•
Set Up Voice over IP, page 11
Set Up Voice over IP
The Quick Setup page displays when you log in to the ATA web page for the first time. Use this page to
connect your phone to your provider’s Voice over IP network.
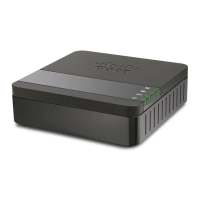
You need an Internet connection to link with your service provider’s network. With the default network
settings, your ATA has Internet connectivity, if the WAN port connects to a port on your router.
Note
Procedure
Step 1
For Line 1 and Line 2, enter the settings for the phone services used by the phones or fax connected to the
PHONE1 and PHONE2 ports.
• Proxy: Enter the IP address of the service provider’s proxy server.
•
Display Name: Enter the name or DN that you want to use to identify your account. This name typically
is used as your Caller ID name.
•
User ID: Enter the user ID that is required to log in to your Internet account.
•
Password: Enter the password that is required to log in to your Internet account.
•
Dial Plan in (Line section only): Keep the default settings (recommended) or edit the dial plan to suit
your site.
Step 2
Click Submit to save your settings. The voice service restarts.
Step 3
To verify your progress, perform the following tasks:
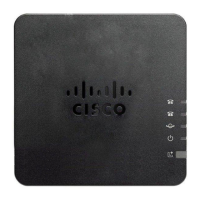
a) Check if phone LED is a steady green, indicating that the phone has registered.
If the line is not registered, refresh the browser several times because it can take a few seconds for the
registration to complete. Also verify that your Internet Settings, including DNS server settings, are
configured according to the information from your ISP.
Cisco ATA 191 and ATA 192 Analog Telephone Adapter Administration Guide for Multiplatform Firmware
11
 Loading...