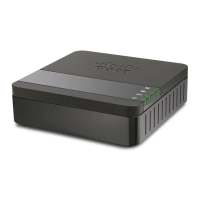
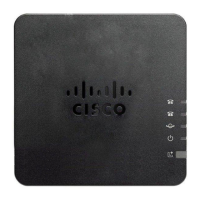
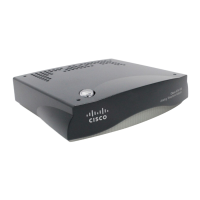
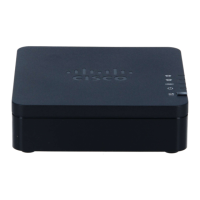
Allow Web Access to the ATA
To view the ATA parameters, enable the configuration profile. To make changes to any of the parameters,
you must be able to change the configuration profile. Your system administrator might have disabled the
option to make the ATA web user interface viewable or writable.
For more information, see the Cisco ATA 191 and 192 Multiplatform Firmware Provisioning Guide
Before You Begin
Access the phone administration web page. See Access the Phone Web Page, on page 13.
Procedure
Step 1
Click System.
Step 2
In the System Configuration section, set Enable Web Server to Yes.
Step 3
To update the configuration profile, click Submit All Changes after you modify the fields in the phone web
user interface.
The phone reboots and the changes are applied.
Step 4
To clear all changes that you made during the current session (or after you last clicked Submit All Changes),
click Undo All Changes. Values return to their previous settings.
Basic Setup
Use the Network Setup > Basic Setup pages to configure your Internet connection, local network settings
(ATA 192 only), and your time settings.
Network Service (ATA 192 Only)
Use the Network Setup > Basic Setup > Network Service page to configure the operating mode of the ATA
192.
After making changes, click Submit to save your settings, or click Cancel to redisplay the page with the
saved settings.
You can configure the ATA to operate in one of the following modes:
•
NAT: Network Address Translation (NAT) allows multiple devices on a private network to share a
public, routable IP address. In order for theVoice over IP service to co-exist with NAT, some form of
NAT traversal is required either on the ATA or another network device. Use this option if your ATA
connects to one network on the WAN port and to another network on the LAN port. This option is
selected by default and is suitable for most deployments.
•
Bridge: Bridged mode is used if the ATA is acting as a bridge device to another router. Choose this
option if your ATA bridges a network to its LAN port (with connected devices also in the 10.0.0x range).
Cisco ATA 191 and ATA 192 Analog Telephone Adapter Administration Guide for Multiplatform Firmware
14
Network Configuration
Allow Web Access to the ATA

 Loading...