CHAPTER 5
Installing the IRM-1100 Expansion Module
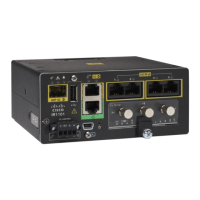
This chapter describes the equipment and the procedures for successfully installing the Cisco IRM-1100
Expansion Module onto the IR1101, and contains the following sections:
• Installing the IRM-1100 Expansion Module, on page 51
Installing the IRM-1100 Expansion Module
This chapter describes the equipment, and the procedures for successfully installing the Cisco IRM-1100
Expansion Module onto the IR1101. There are two different Expansion Modules available:
• IRM-1100-SPMI
• IRM-1100-SP
Details on both Expansion Modules can be found in the Product Overview chapter.
This chapter contains the following sections:
Items Shipped with your Expansion Module
Unpack the box and verify that all items listed on the invoice were shipped with the Cisco IRM-1100.
The following items are shipped with your Expansion Module:
• 4 mating screws to connect the IRM-1100 to the IR1101
Installing the Expansion Module
This section describes how to install the Cisco IRM-1100. The Expansion Module attaches to the IR1101 ISR
using 4 mating screws, and is connected through a mating connector. The Expansion Module is grounded and
powered through the connection to the IR1101.
To attach the IRM-1100 to the IR1101, perform the following steps:
Step 1 Remove the protective cover from the mating connector on the IR1101 by unscrewing the two Phillips head screws. Refer
to Figure 26: Protective Cover, on page 52.
IR1101 Industrial Integrated Services Router Hardware Installation Guide
51
 Loading...


