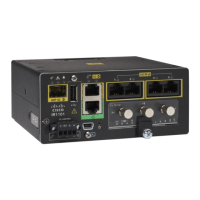
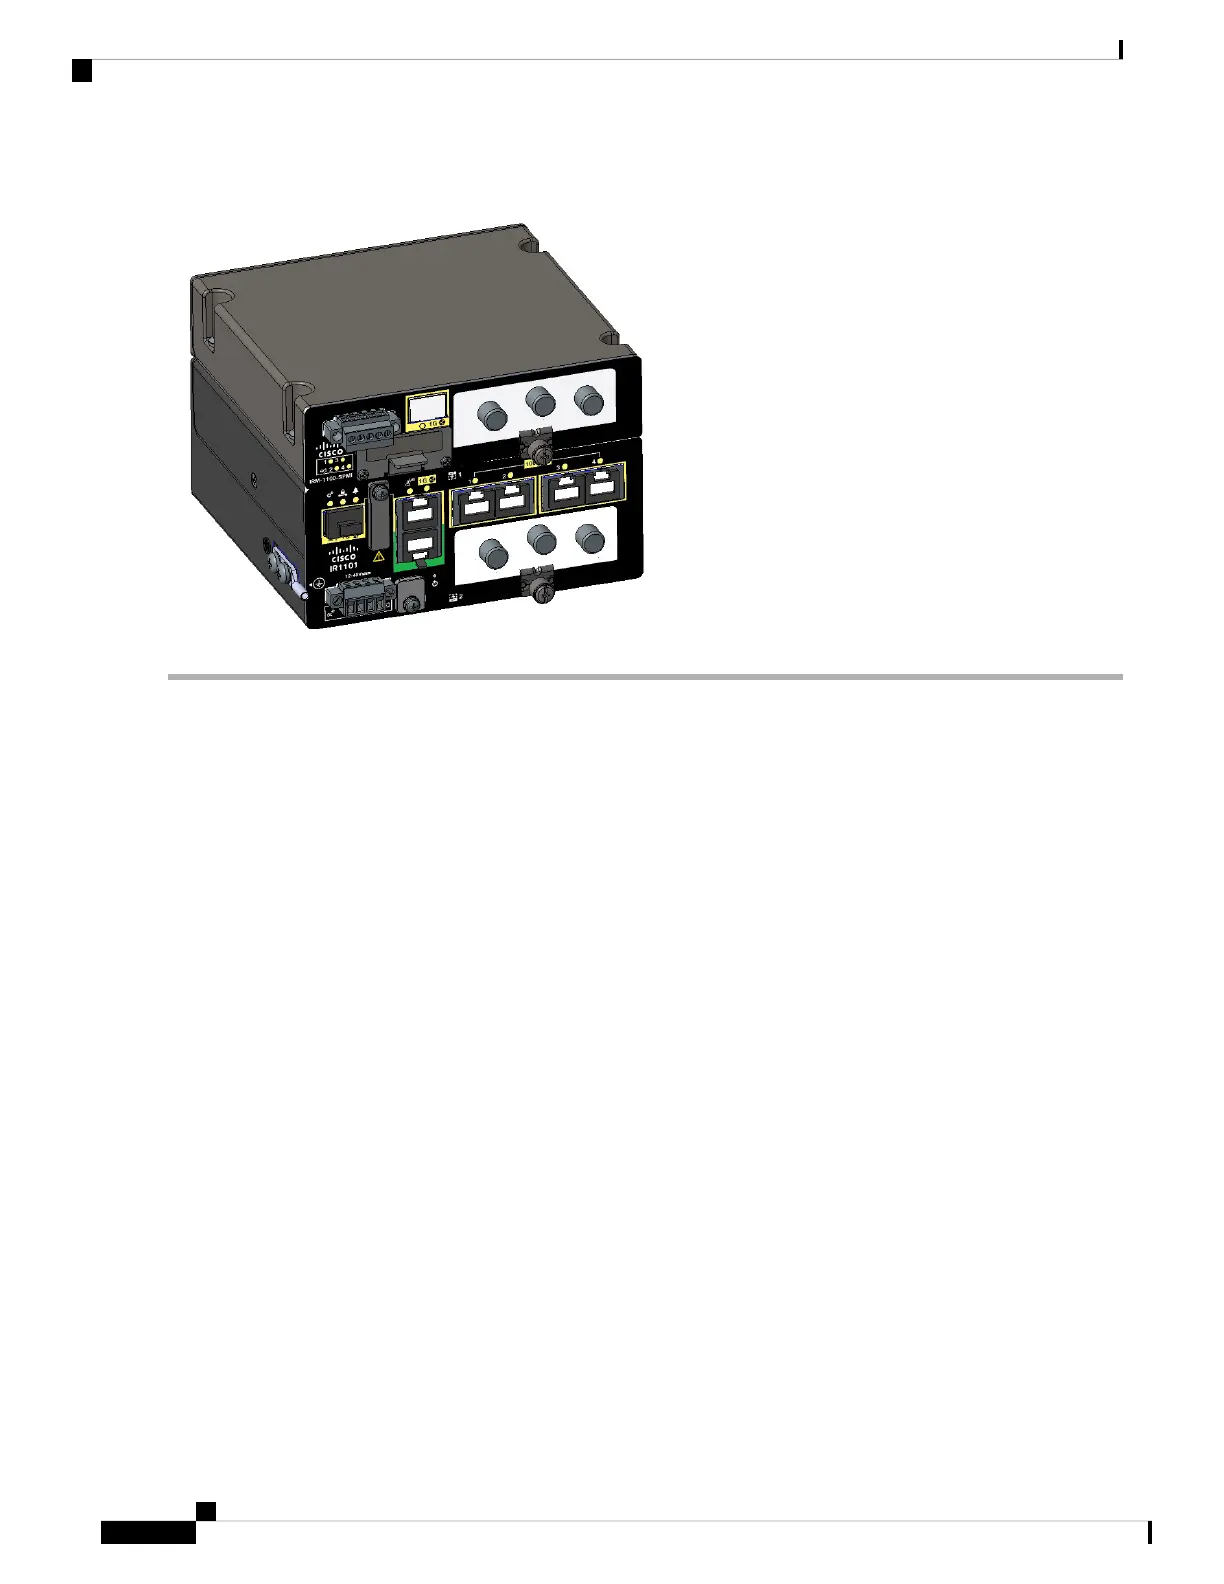
Figure 28: Completed Assembly
Mounting the IR1101 Router with the IRM-1100 Expansion Module Attached
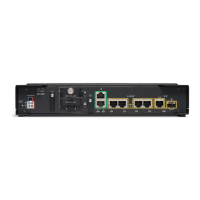
After the Cisco IRM-1100 is attached to the IR1101, it can be mounted in the following ways:
• On a DIN Rail
• Using mounting brackets
Note: For the remainder of these instructions, we will refer to the combined IR1101/IRM-1100 as the “Device”.
Mounting the Device Using Mounting Brackets
TIP: When choosing a location for wall-mounting the Device, consider cable limitations and wall structure.
WARNING: Read the wall-mounting instructions carefully before beginning installation. Failure to use the
correct hardware or to follow the correct procedures could result in a hazardous situation to people and damage
to the system. Statement 378
WARNING: A minimum of 1 inch clearance is required on all sides of the Device when mounting to allow
for proper air flow.
The wall mounting kit contains the following:
• Mounting brackets (x2)
• Mounting screws (x4)
The Device can be mounted on the top of a flat surface as shown in Figure 29: Table Mounting, on page 55,
but cannot be mounted upside down.
IR1101 Industrial Integrated Services Router Hardware Installation Guide
54
Installing the IRM-1100 Expansion Module
Mounting the IR1101 Router with the IRM-1100 Expansion Module Attached