Send document comments to nexus7k-docfeedback@cisco.com
9-30
Cisco Nexus 7000 Series Hardware Installation and Reference Guide
OL-23069-06
Chapter 9 Replacement Procedures
Replacing an I/O Module
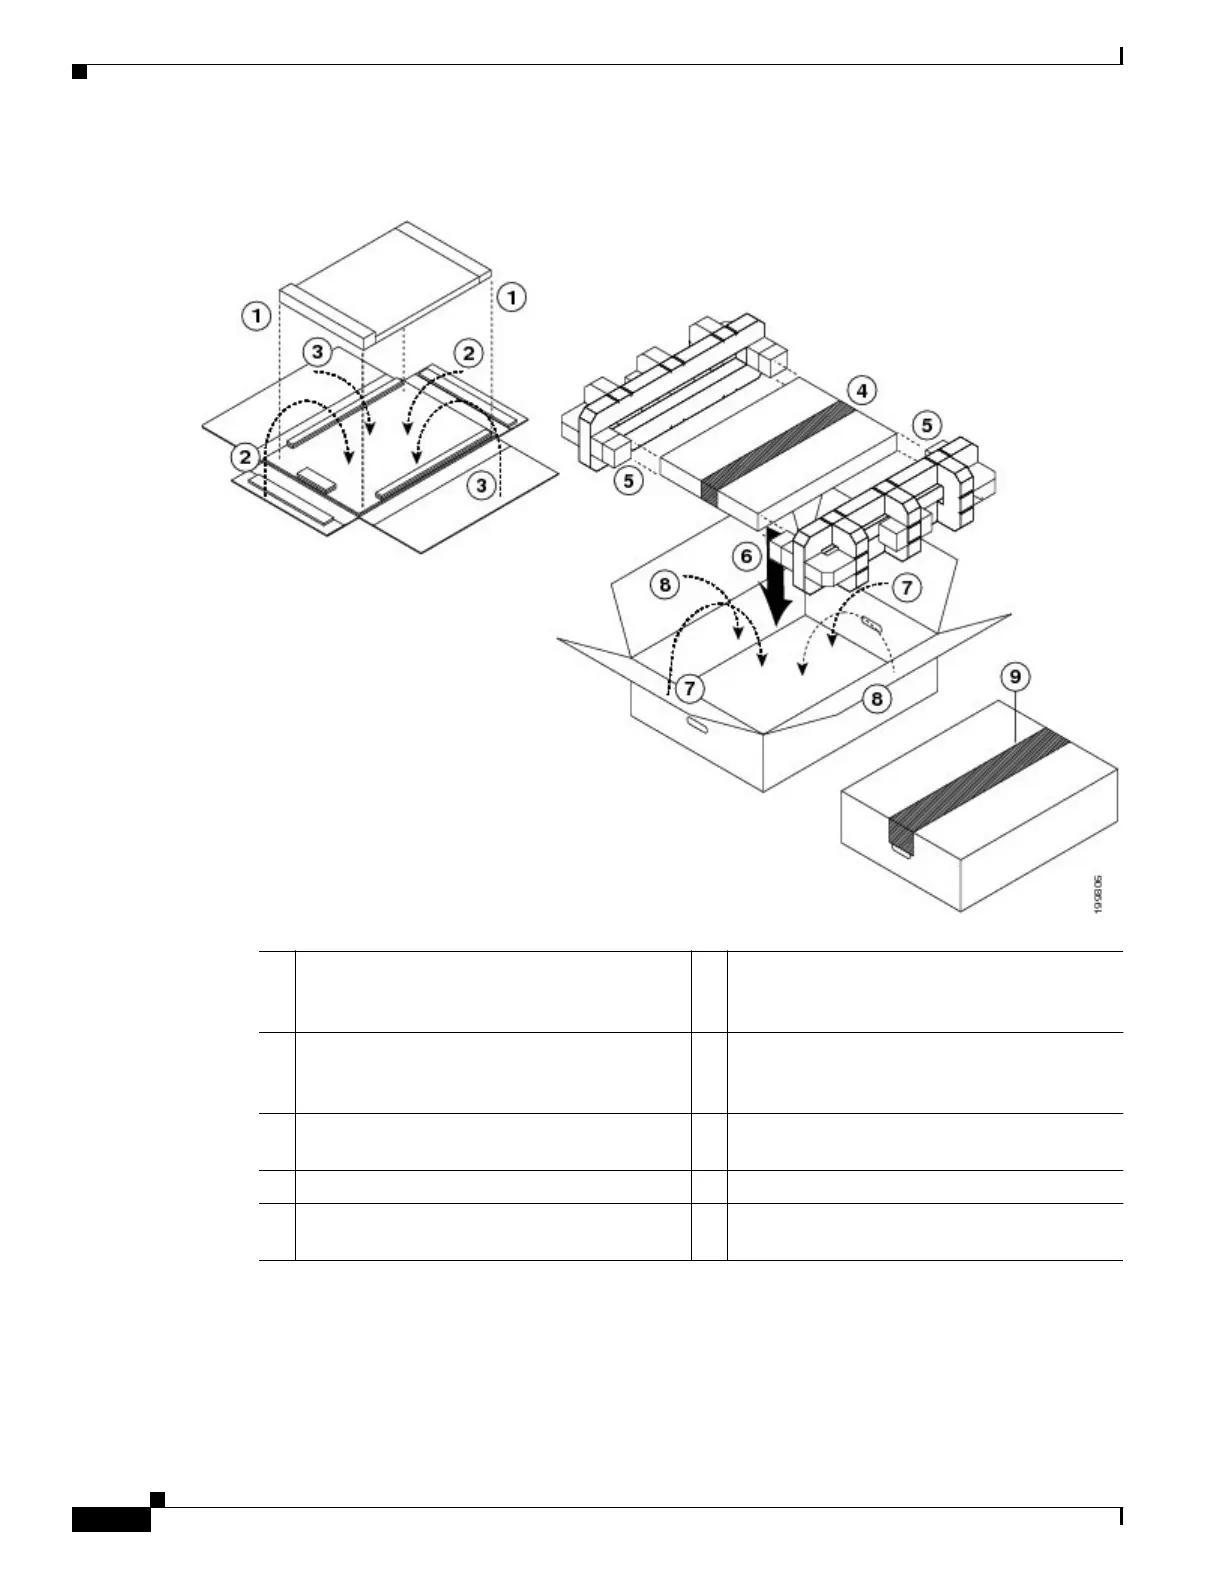
Figure 9-12 Repacking a 32-port Type of I/O Module (N7K-F132XP-15, N7K-M132XP-12, or
N7K-M132XP-12L)
Step 11
On the replacement I/O module, rotate both ejector levers fully away from the front of the module.
Step 12 If you are inserting the module into a Cisco Nexus 7010 chassis, rotate the module 90 degrees clockwise.
Step 13 Align the module to the chassis guides for the vacated slot, and slide the module part way into the slot.
1 Put the I/O module in an ESD bag (not shown)
and then place it between the raised portions
of the flattened box.
6 Place the box and foam blocks into the larger
box.
2 Fold the shorter flaps along the front and back
of the module and then fold them over the
module.
7 Fold the narrow flaps over the box.
3 Fold the longer flaps along the sides of the
module and then over the top of the module.
8 Fold the wide flaps over the box.
4 Tape the longer flaps together and to the box. 9 Tape the wide flaps together and to the box.
5 Insert each of the two sides of the box into one
of the foam blocks.

 Loading...


