Send document comments to nexus7k-docfeedback@cisco.com
E-6
Cisco Nexus 7000 Series Hardware Installation and Reference Guide
OL-23069-06
Appendix E Repacking the Cisco Nexus 7000 Series Switch for Shipment
Repacking the System Components
b. If you are packing a DC power supply unit, remove the detachable portion from the bottom pad (see
Callout 2 in Figure E-1). This detachable portion of the pad is included only when packing the
shorter AC power supply units.
c. Insert the bottom pad, uneven side facing up, into the slot that you are filling (see Callout 3 in
Figure E-1).
d. Unscrew the four captive screws on the power supply unit so that they no longer connect with the
chassis.
e. With one hand on the handle of the power supply unit, pull the unit partially out of the chassis.
f. Place your other hand underneath the power supply unit to support the unit, and then pull the unit
fully out of the chassis.
g. Place the power supply unit in its ESD packing bag and insert the bagged power supply unit in one
of the three larger slots in the packing box (see Callouts 4, 5, and 6 in Figure E-1).
Note For easier handling of a multi-unit box, be sure to arrange the power supply units so their
weight is balanced in the box. If you are packing only one unit, place it in the large slot in
the middle of the box. If you are packing two units, place them in the large slots at each end
of the box.
h. Coil the power cables and insert them in the slots next to the power supply unit (see Callout 7 in
Figure E-1).
i. If there is another power supply unit to pack, repeat Steps 4a through 4h.
j. Place the top padding above the power supply units (see Callout 8 in Figure E-1).
k. Fold the two narrow flaps of the box over the padding (see Callout 9 in Figure E-1).
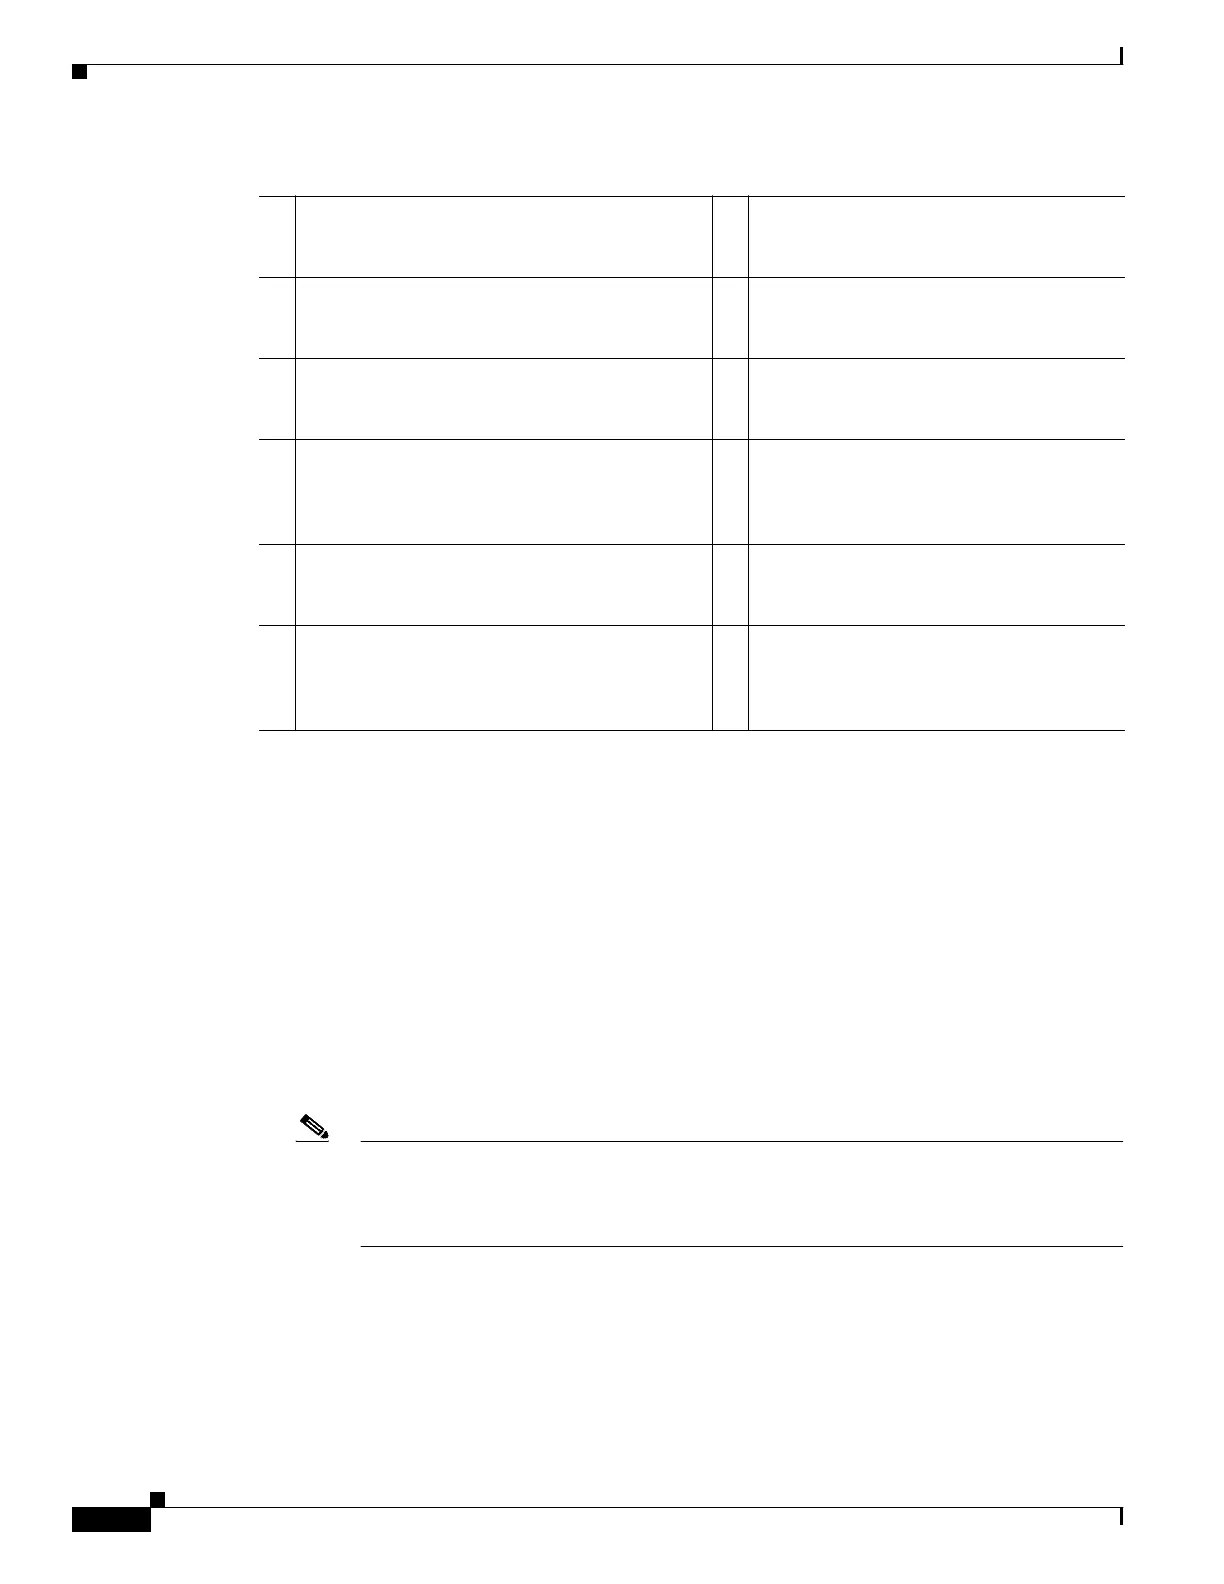
1 Open the box and make sure that the cardboard
holders are set up.
7 Coil the one or two power cables and place
them in the slot next to the power supply
unit.
2 If you are packing a DC power supply unit, pull
the detachable portion from the bottom pad.
8 After all of the power supply units have
been placed in their slots, place the top pad
above the power supply units.
3 Place the bottom pad, with its uneven side up, at
the bottom of the slot that you are filling with the
power supply unit.
9 Fold the two narrow flaps over the top of the
box.
4 For a 7.5-kW AC power supply unit
(N7K-AC-7.5KW-INT or N7K-AC-7.5KW-US),
place it in a slot with a full bottom pad
(detachable portion still attached).
10 Fold the two wide flaps over the folded
narrow flaps.
5 For a 6-kW AC power supply unit
(N7K-AC-6.0KW), place it in a slot with a full
bottom pad (detachable portion still attached).
11 Tape the two wide flaps together and to the
box with packing tape.
6 For a 6-kW DC power supply unit
(N7K-DC-6.0KW), place it in a slot that has a
bottom pad minus its detachable portion (to
accommodate the longer power supply unit).

 Loading...


