© 1999-2017 Citrix Systems, Inc. All rights reserved. p.238https://docs.citrix.com
2. Verify that the replacement solid-state drive (SSD) is the one required for your NetScaler model. The Citrix label is on the
top of the solid-state drive, which is pre-populated with a new version of BIOS and a recent build of the required Service
VM software.
3. Remove the SSD drive by pushing the safety latch of the drive cover down while pulling the drive handle.
4. On the new SSD drive, open the drive handle completely, and then insert the new drive into the slot.
5. Close the handle flush with the rear side of the appliance so that the drive locks securely into the slot.
Important: The orientation of the solid-state drive is important. When you insert the drive, make sure that the Citrix
product label is at the top.
6. Locate the hard disk drive (HDD) on the back panel of the appliance.
7. Remove the HDD by pushing the safety latch of the drive cover to the right and pulling the drive handle.
8. On the new disk drive, open the drive handle completely to the left, and then insert the new drive into the slot.
9. Close the handle flush with the rear side of the appliance so that the hard drive locks securely into the slot.
10. Store the old SSD/HDD pair for future handling.
Important: The orientation of the hard disk drive is important. When you insert the drive, make sure that the Citrix
product label is at the top.
11. Start the NetScaler appliance. For instructions, see Switching on the Appliance .
The conversion process takes approximately 30 minutes to complete. The conversion process updates the BIOS, installs
the XenServer hypervisor and the Management Service Operating system, and copies the NetScaler VPX image to the
hard disk drive for instance provisioning. When the conversion begins, the LCD screen on the front bezel indicates
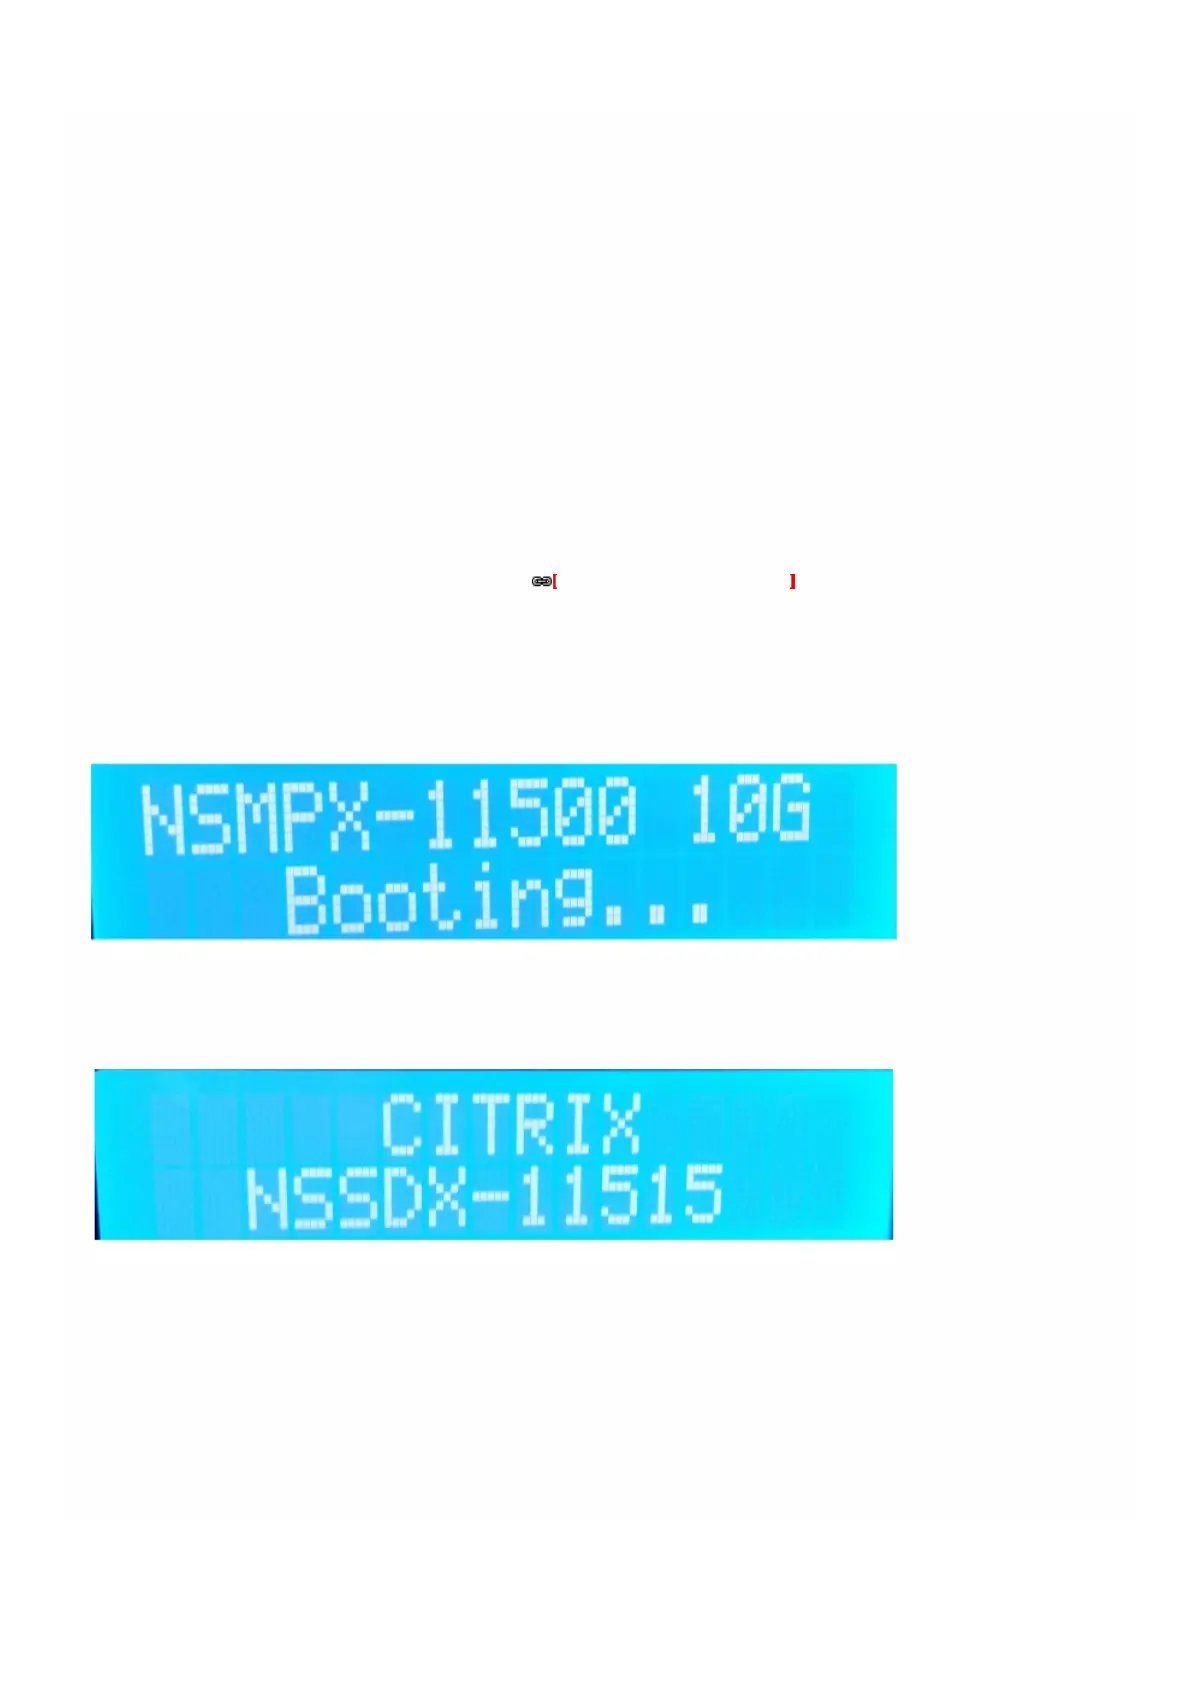
NSMPX-11500 10G, as shown in the following figure.
When the conversion is successful, the LCD indicates Citrix NSSDX - 11515, as shown in the following figure.
Note: The serial number of the appliance remains the same.
12. Keep the console cable attached during the conversion process. Allow the process to complete, at which point the
netscaler-sdx login: prompt appears.
If the boot SSD is not inserted completely into the designated slot, the NetScaler SDX appliance attempts to start from
the hard disk drive, and the bootup process results in a prompt different from the one mentioned above. If the netscaler-
sdx login: prompt does not appear, carefully re-seat the SSD, close the locking handle, and restart the appliance.
 Loading...