© 1999-2017 Citrix Systems, Inc. All rights reserved. p.65https://docs.citrix.com
To install a 1G SFP transceiver
1. Remove the 1G SFP transceiver carefully from its box.
Danger: Do not look directly into fiber optic transceivers or cables. T hey emit laser beams that can damage your eyes.
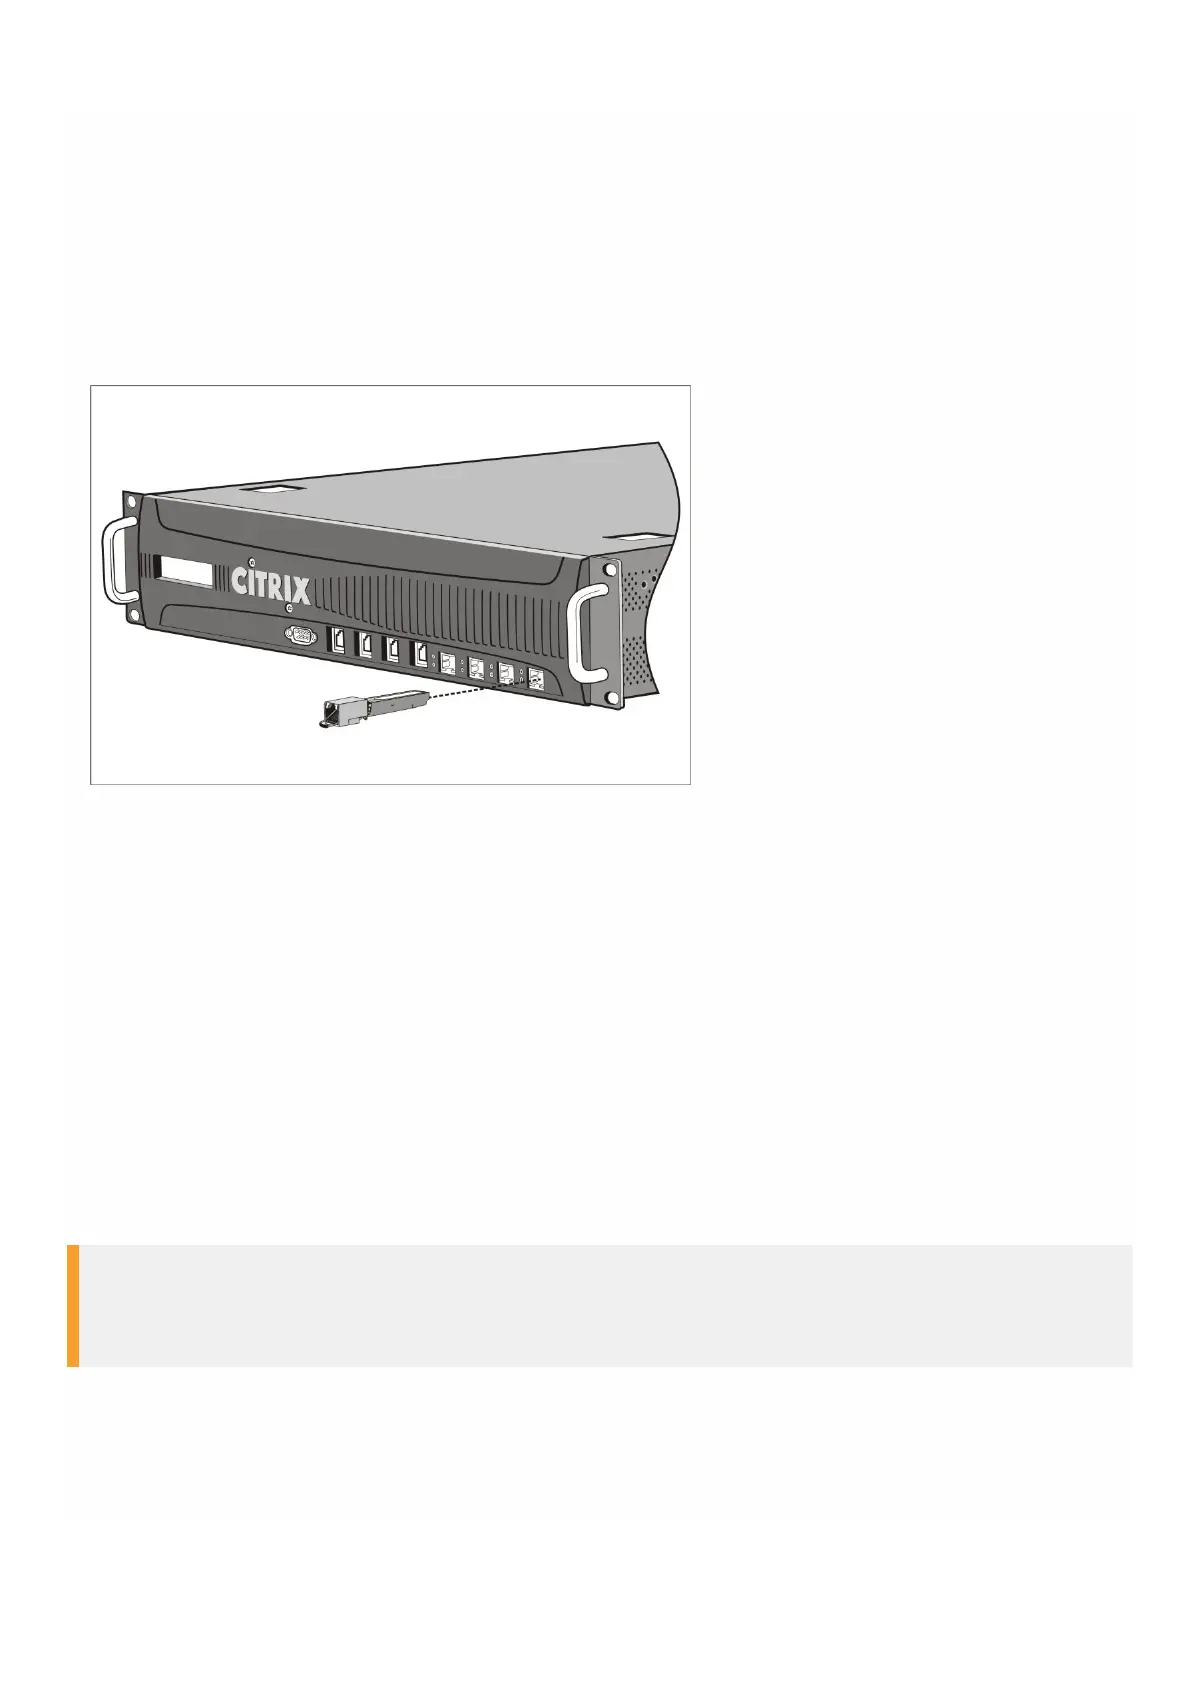
2. Align the 1G SFP transceiver to the front of the 1G SFP transceiver port on the front panel of the appliance, as shown in
the following figure.
Note: The illustration in the following figures might not represent your actual appliance.
Figure 6. Installing a 1G SFP transceiver
3. Hold the 1G SFP transceiver between your thumb and index finger and insert it into the 1G SFP transceiver port, pressing
it in until you hear the transceiver snap into place.
4. Lock the transceiver.
5. Verify that the LED is green and blinks twice, which indicates that the transceiver is functioning correctly.
6. If you are using a fiber 1G SFP transceiver, do not remove the dust caps attached to the transceiver and the cable until
you are ready to insert the cable.
To remove a 1G SFP transceiver
1. Disconnect the cable from the 1G SFP transceiver. If you are using a fiber optic cable, replace the dust cap on the cable
before putting it away.
2. Unlock the 1G SFP transceiver.
3. Hold the 1G SFP transceiver between your thumb and index finger and slowly pull it out of the port.
4. If you are removing a fiber 1G SFP transceiver, replace the dust cap before putting it away.
5. Put the 1G SFP transceiver into its original box or another appropriate container.
Warning
Do not look directly into fiber optic transceivers or cables. They emit laser beams that can damage your eyes.
Installing and Removing 40G QSFP+ Ports and 10G SFP+ Transceivers
A 10-Gigabit SFP+ is a compact optical transceiver that can operate at speeds of up to 10 gigabits per second.