EN
ENGLISH
-12- Clarke
®
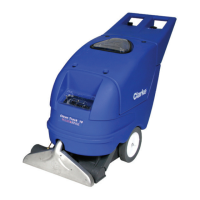
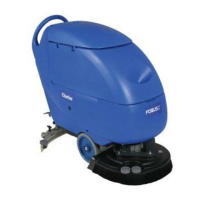
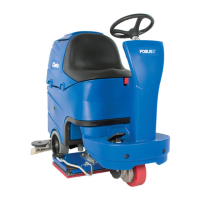
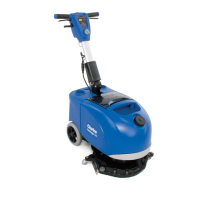
Operator's Manual (EN) - Image 16 I/IX 120V
AUTHORIZED PERSONNEL MAINTENANCE
To Access Pump Motor
1. Remove brush housing from machine. See "Brush
Motor Repair".
2. Remove pump ground wire from ground screw.
3. Disconnect pump electrical wires form machine har-
ness.
4. Remove solution hoses by turning swivel nut counter
clockwise.
5. Remove four (4) mounting screws that secure pump
motor to solution tank.
6. Reverse procedures for installing new pump. Check
wiring diagram for proper connections when reinstalling
electrical parts.
Solenoid/Spray Valve Removal
1. Loosen screw in rear plate that secures recovery tank to
machine.
2. Raise and tilt recovery tank to the side.
3. Disconnect electrical lead from solution valve.
4. Disconnect solenoid from brush housing by press quick
disconnect coupling on top of brush housing.
5. Remove hoses by loosening hose clamps and pull
hoses from solenoid valve.
6. To reinstall, reverse procedure. Check wiring diagram for
proper connections when reinstalling electrical parts.
Brush Motor Repair
1. Tilt machine on handle or place machine upside down.
2. Pull brush adjustment rod out of adjustment holes.
3. Remove brush stop bracket by removing two (2) screws.
4. Remove two (2) brush pivot shoulder screws (3/16" Allen
Wrench) from sides of solution tank.
5. Pull brush housing away from solution tank far enough
to access wiring .
6. Disconnect wiring and place brush housing on bench.
7. Remove bottom plate by removing nine (9) 10-32
screws.
8. Remove motor and reverse procedure to reinstall.
9. Check wiring diagram for proper connections when
reinstalling electrical parts.
Brush Drive Belt Replacement
1. Tilt machine on handle or place machine upside down.
2. Remove bottom brush plate.
3. Remove pivot screw on drive sprocket side.
4. Remove drive sprocket and replace belt.
5. Reassemble in reverse order.
 Loading...