Model FLE Assembly Casing Assembly
750-192 3-23
17. Install Outer Casing
• Stick the approximately 2” square pieced of insula-
tion on the inner casing. Each panel will receive two
pieces, one at the top and another in the middle near
the bottom. See the drawings for placement loca-
tions.
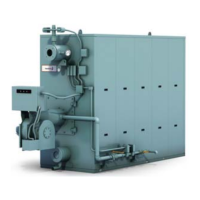
• Position the roof casing on the top frame edge so that
the 4-1/4" side is on top. Line up the edge of the
edge of the casing with the inside of the roof and
clamp it into position. Attach it and remove the
clamps (Figure 3-59).
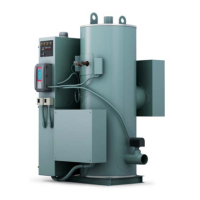
• Install the outer casing panels by sliding the top
under the roof casing and then swinging the bottom
into the boiler and sliding it down over the bottom
angle. Install all panels in this manner. Panels should
be positioned so that they are centered with equal
lengths of uncovered area at the ends (Figure 3-60).
• Push the panels together and fix screws to the bot-
tom outside corners of the panels to ensure that they
do not move laterally.
• Secure the roof casing with the self tapping screws,
at each end and with one in the center of the top
frame outer casing.
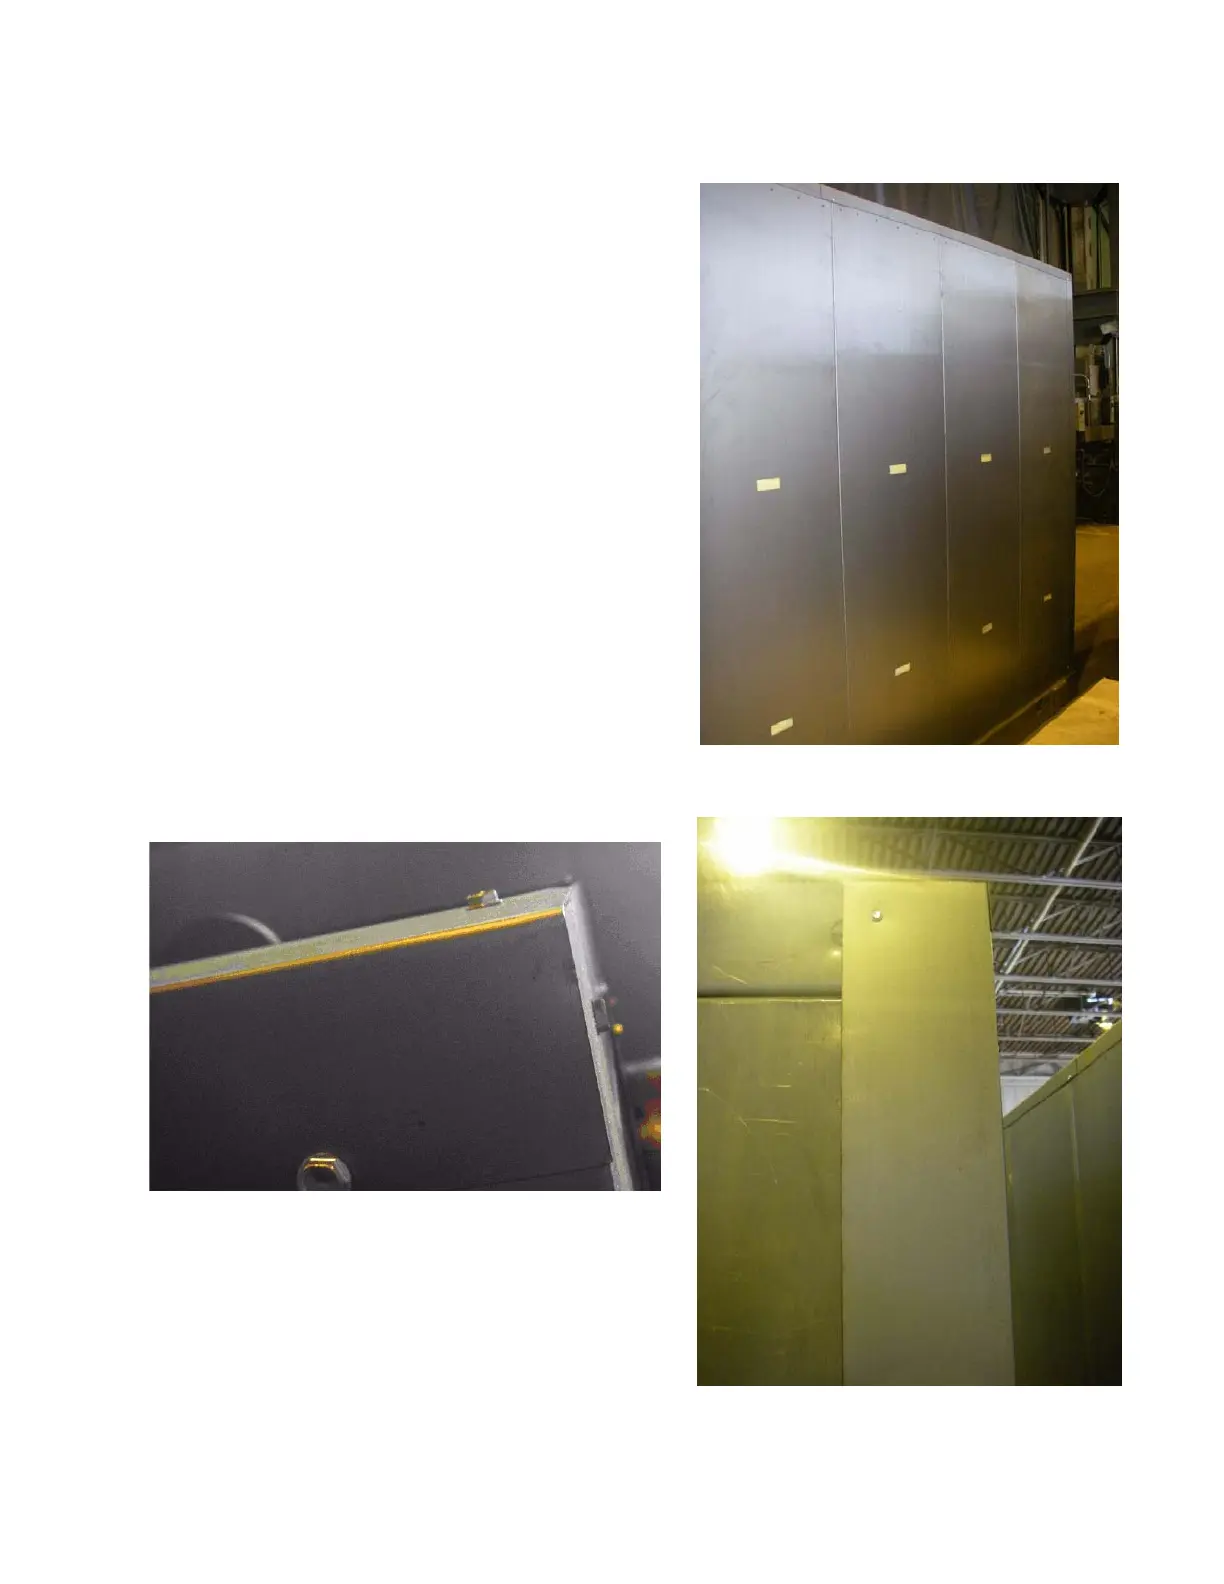
• Position the corner casings and secure them to the
end walls and roof casing (Figure 3-61).
Figure 3-59. Top Frame of Outer Casing
Figure 3-60. Outer Casing Panels
Figure 3-61. Attaching corner casings