Model FLE Assembly Pressure Vessel Assembly
750-192 2-3
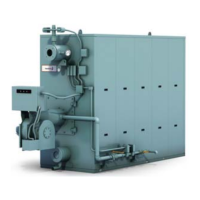
2. Position the Base
Figure 2-2. Placing lower drum on base
Move the base into position with lifting straps, pry
bars and winching equipment. The front side of the
base sits on the same side as the burner and has a
smaller distance between the front edge of the base
and the angle brackets holding the refractory. The
rear of the base has more space to accommodate
the thicker insulation in the rear wall (Figure 2-3).
3. Level the Base
Using shims (not provided), level the base. Start
with the front and rear sections (leveling it side to
side), followed by the side sections.
4. Positioning the Lower Drum on
the Base
Cut the base strip into three equal pieces. Layer
them on the base between the refractory and drum
support. The 5” wide strip is for the front and the 7”
for the rear.
Position the lower drum on the base and place one
bolt on both the front and the rear. Once this is
finished, secure the four bolts on the rear, then the
four bolts on the front.
NOTE: Whenever bolts are used, apply
“Never Seez”. Hand tighten the bolts
and when everything is in the desired
position, tighten completely. This pro-
cedure is to be used for ALL bolts.
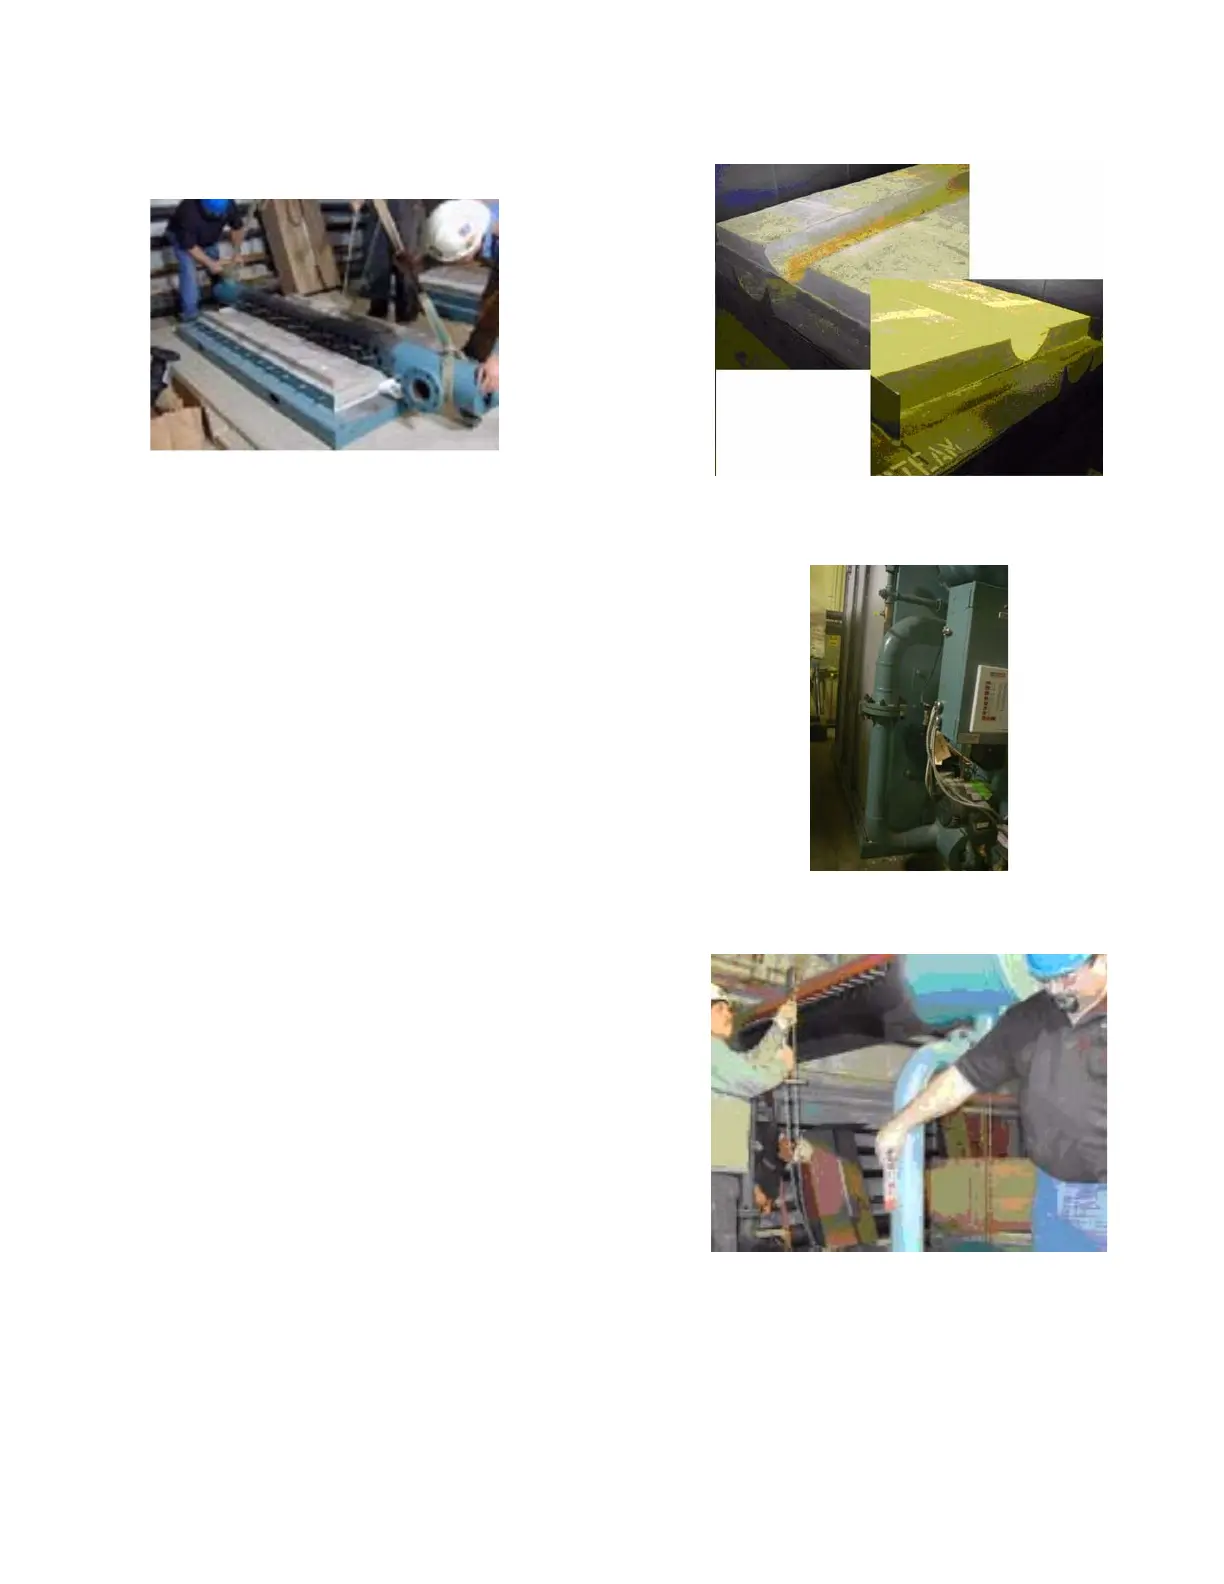
Figure 2-3. Front (left) and Rear (right) of the base
Figure 2-4. Bolting upper drum to downcomers
Figure 2-5. Continually check level as vessel is
being assembled
3 layers of
insulation
under lower
drum, front
and rear