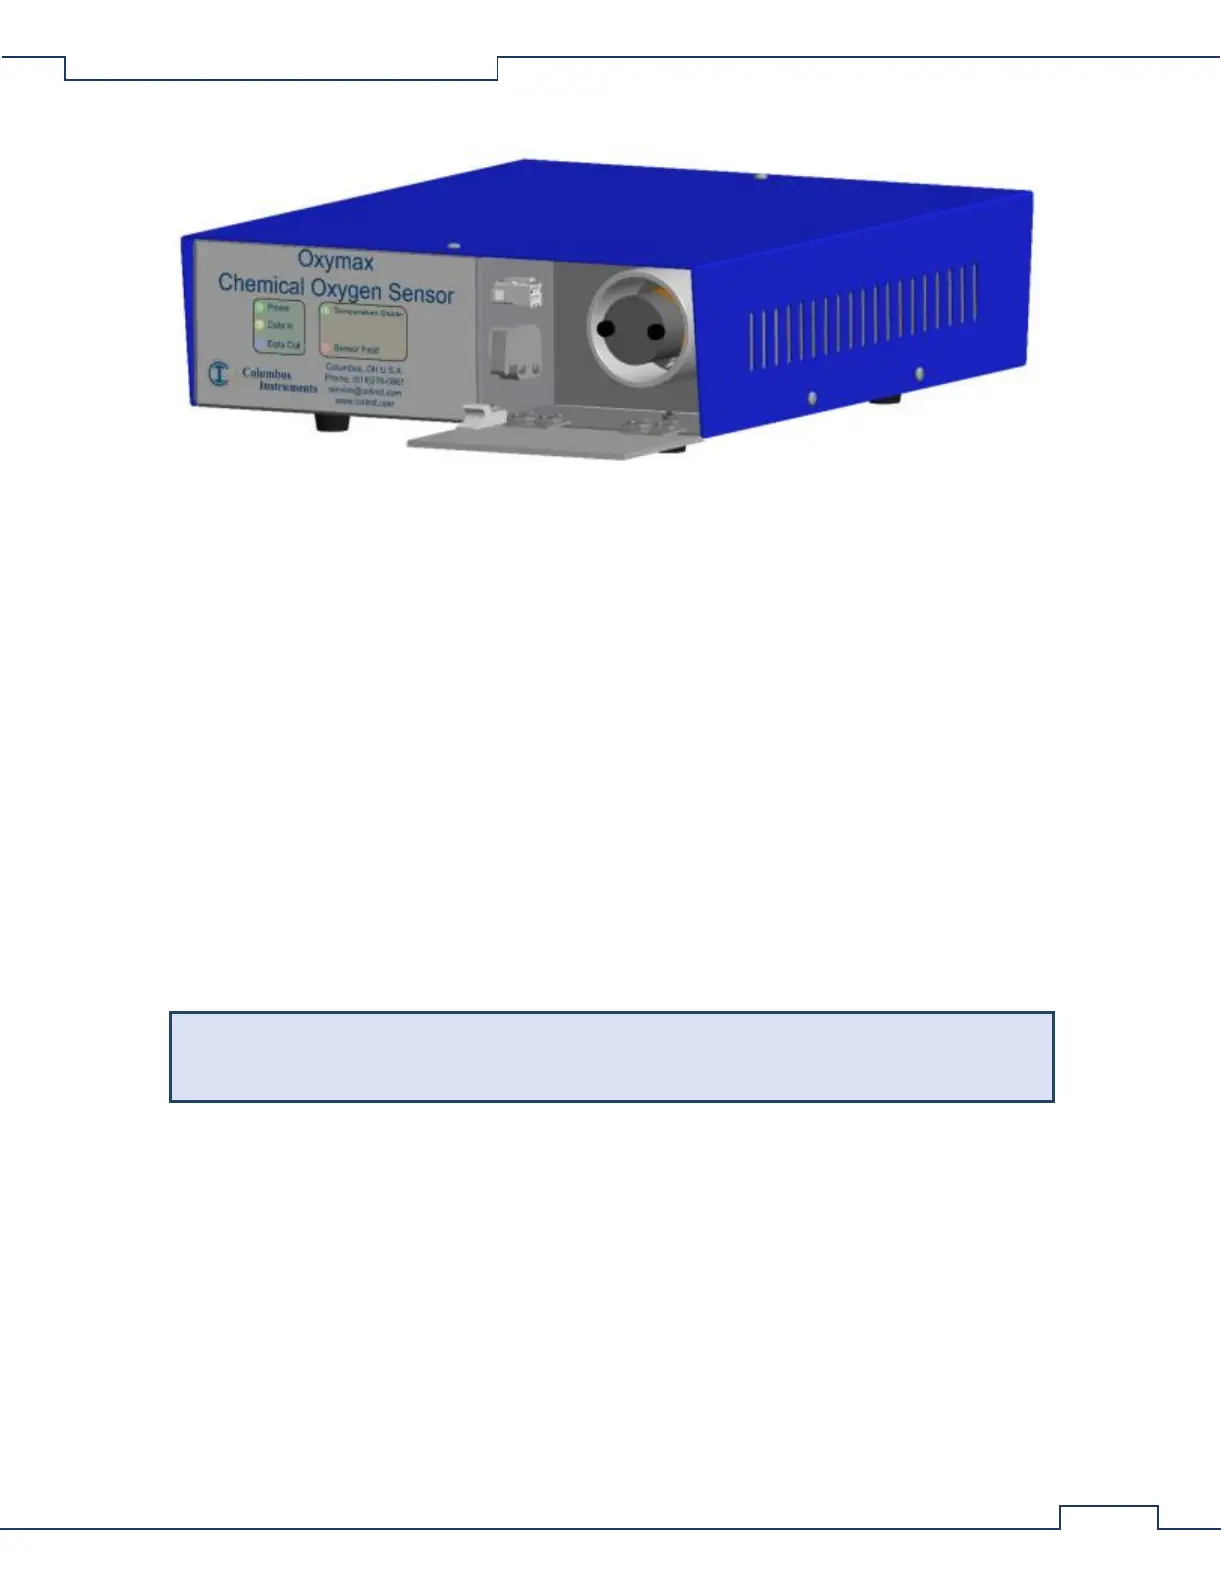
3.3.2 Chemical Oxygen Sensor Replacement
When necessary, use the following procedure to replace the chemical oxygen sensor.
• Access the sensor compartment by pressing the blue dot labeled “Press Here to Open” on the front
panel of the cabinet. The locking mechanism will click and allow the hinged door to fully swing down.
• Disconnect the red or black plug from the connector adapter mounted on the side of the sensor
compartment.
• Remove the two screws and gray plastic cover from the sensor case and set aside.
• Using the sensor wires, pull the chemical oxygen sensor from the socket and dispose of it properly.
• Orient the replacement chemical sensor with its wires and tab toward the bottom and insert it into the
sensor socket. The end of the sensor should almost be flush with the edge of the socket.
• Gather and position the sensor’s wires at the bottom of the sensor case and replace the gray plastic
cover. A notch under the cover allows passage of the sensor wires from the socket.
• Secure the cover with the two thumbscrews.
• Connect the sensors plug into the connector adapter.
• Raise the access door to the closed position and press the blue dot again. The locking mechanism will
click to secure the door.
Allow a minimum of 30 minutes for the oxygen sensor to thermally equalize with the sensor
case before calibration and use.