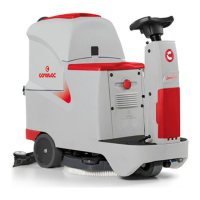
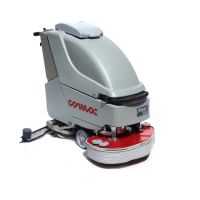
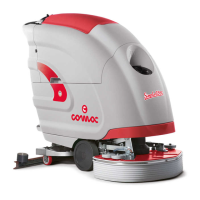
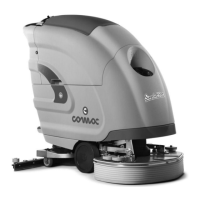
28. WORK
Before beginning to work, it is necessary to:
1. make sure the recovery tank is empty, otherwise empty it completely
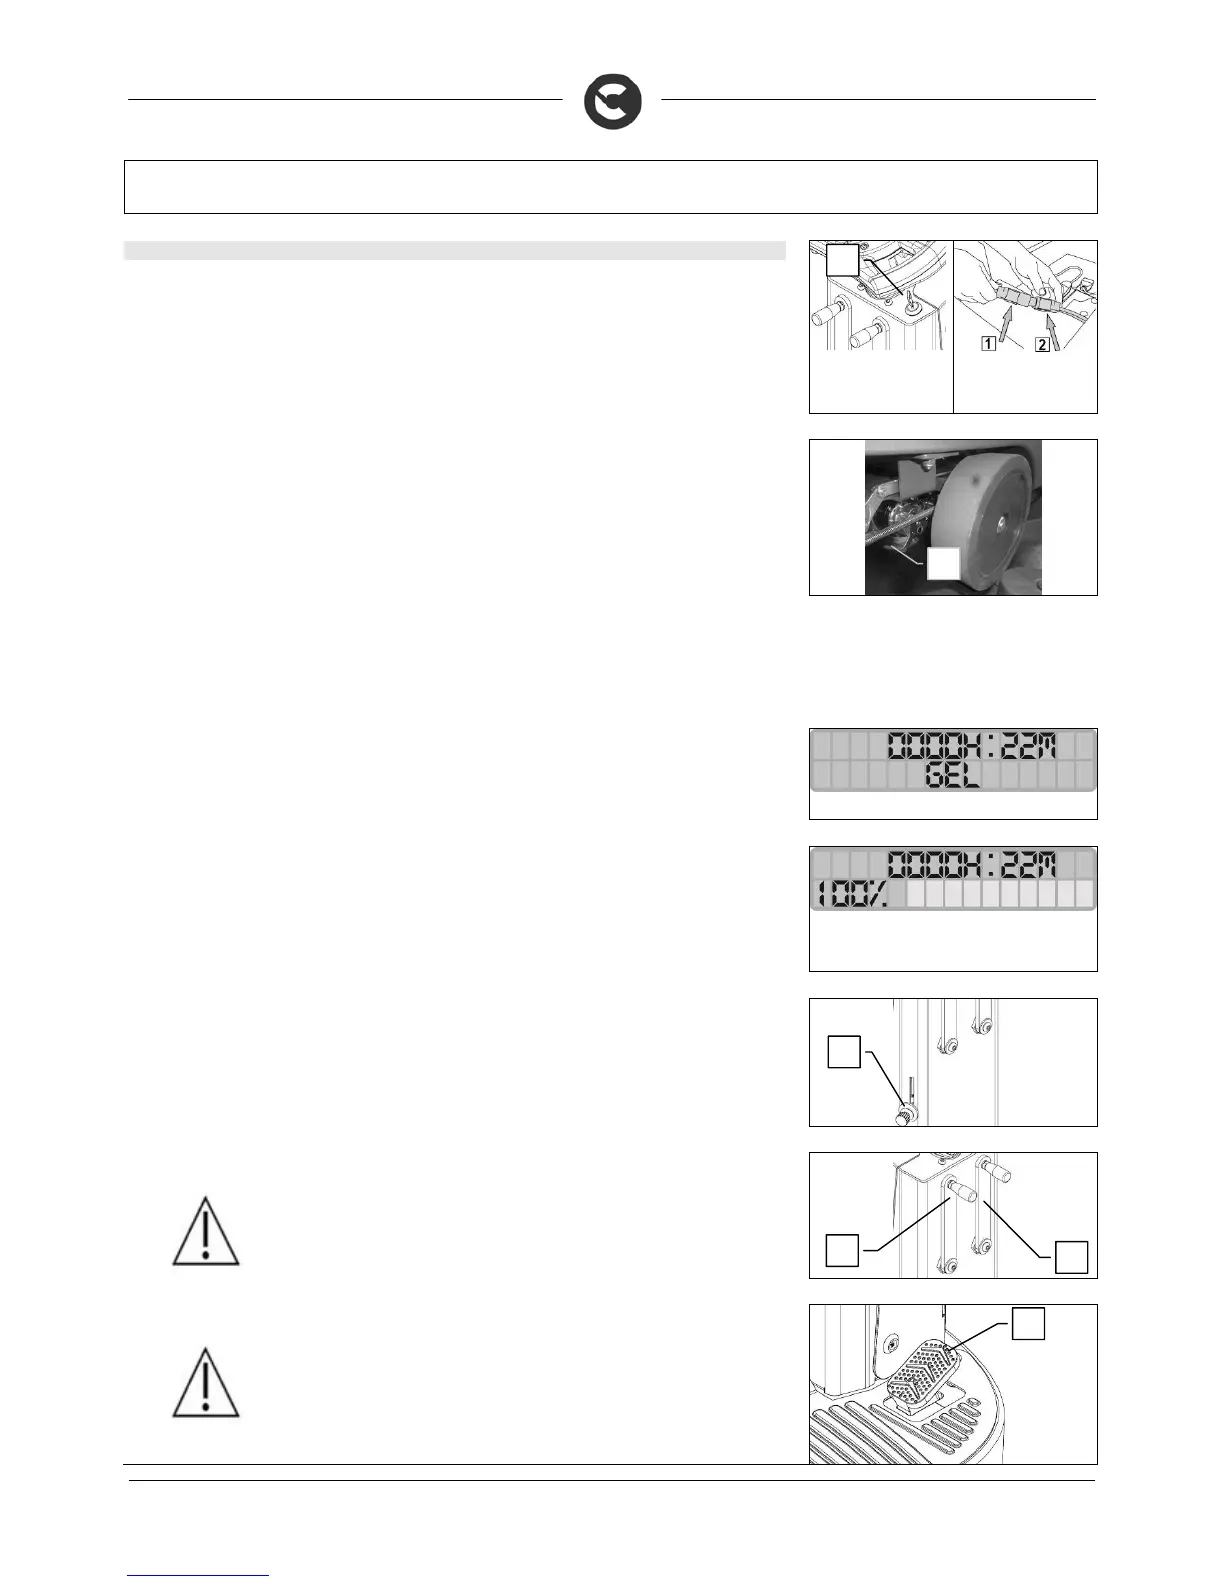
2. check the key switch (3) is on “0”; if this is not the case, turn the key of the main switch anticlockwise
to “0”
3. connect the battery connector (2) to the electric system connector (1)
4. Check the electronic brake (4) is engaged
5. sit on the driver’s seat
6. Turn the key of the main switch a quarter of a rotation clockwise (to position I). The display on the
instrument panel will immediately come on.
t switch-on, three consecutive screens are displayed on the monitor. The first shows the machine
name on the top line. The program release number is shown on the bottom line.
8. The second screen shows the total functioning time on the top line. On the bottom line you can see
what battery technology has been set for machine operation; in this case it is gel batteries (to set
another type of battery - for instance acid - contact the qualified assistance centre personnel).
9. The third and last screen (known as “work”) displays the battery charge status and the total
functioning time. When the batteries supplied are fully charged, the bottom line contains ten light
indicators that represent a battery. As the batteries gradually run down, the indicators go out and,
with the batteries completely run down, only the battery outline flashes. The top line indicates the
hours and minutes of functioning. The flashing “:” symbol Indicates that the hour meter is counting
the machine functioning time.
10. Move the tap lever (5) downwards and adjust to the desired solution quantity
11. Lower the brush head by turning the right lever (6) clockwise, then lower the squeegee turning the left
lever (7) anticlockwise.
WARNING: As soon as the forward movement pedal is activated with the brush
head in its work position, the solenoid valve will start working and will begin
dispensing detergent solution. As soon as the squeegee is in its work position,
the vacuum motor will switch on and being working.
12. Press the accelerator pedal (8) to start moving the machine
WARNING: To stop the machine, remove your foot from the accelerator (8). The
machine will begin to stop.
 Loading...