42. THE MACHINE DOES NOT START
1. Check that batteries are charged
2. Make sure the electric system connector is connected to the battery connector
3. Check the key switch is ON/I
43. INSUFFICIENT WATER ON THE BRUSHES
1. Check there is water in the solution tank
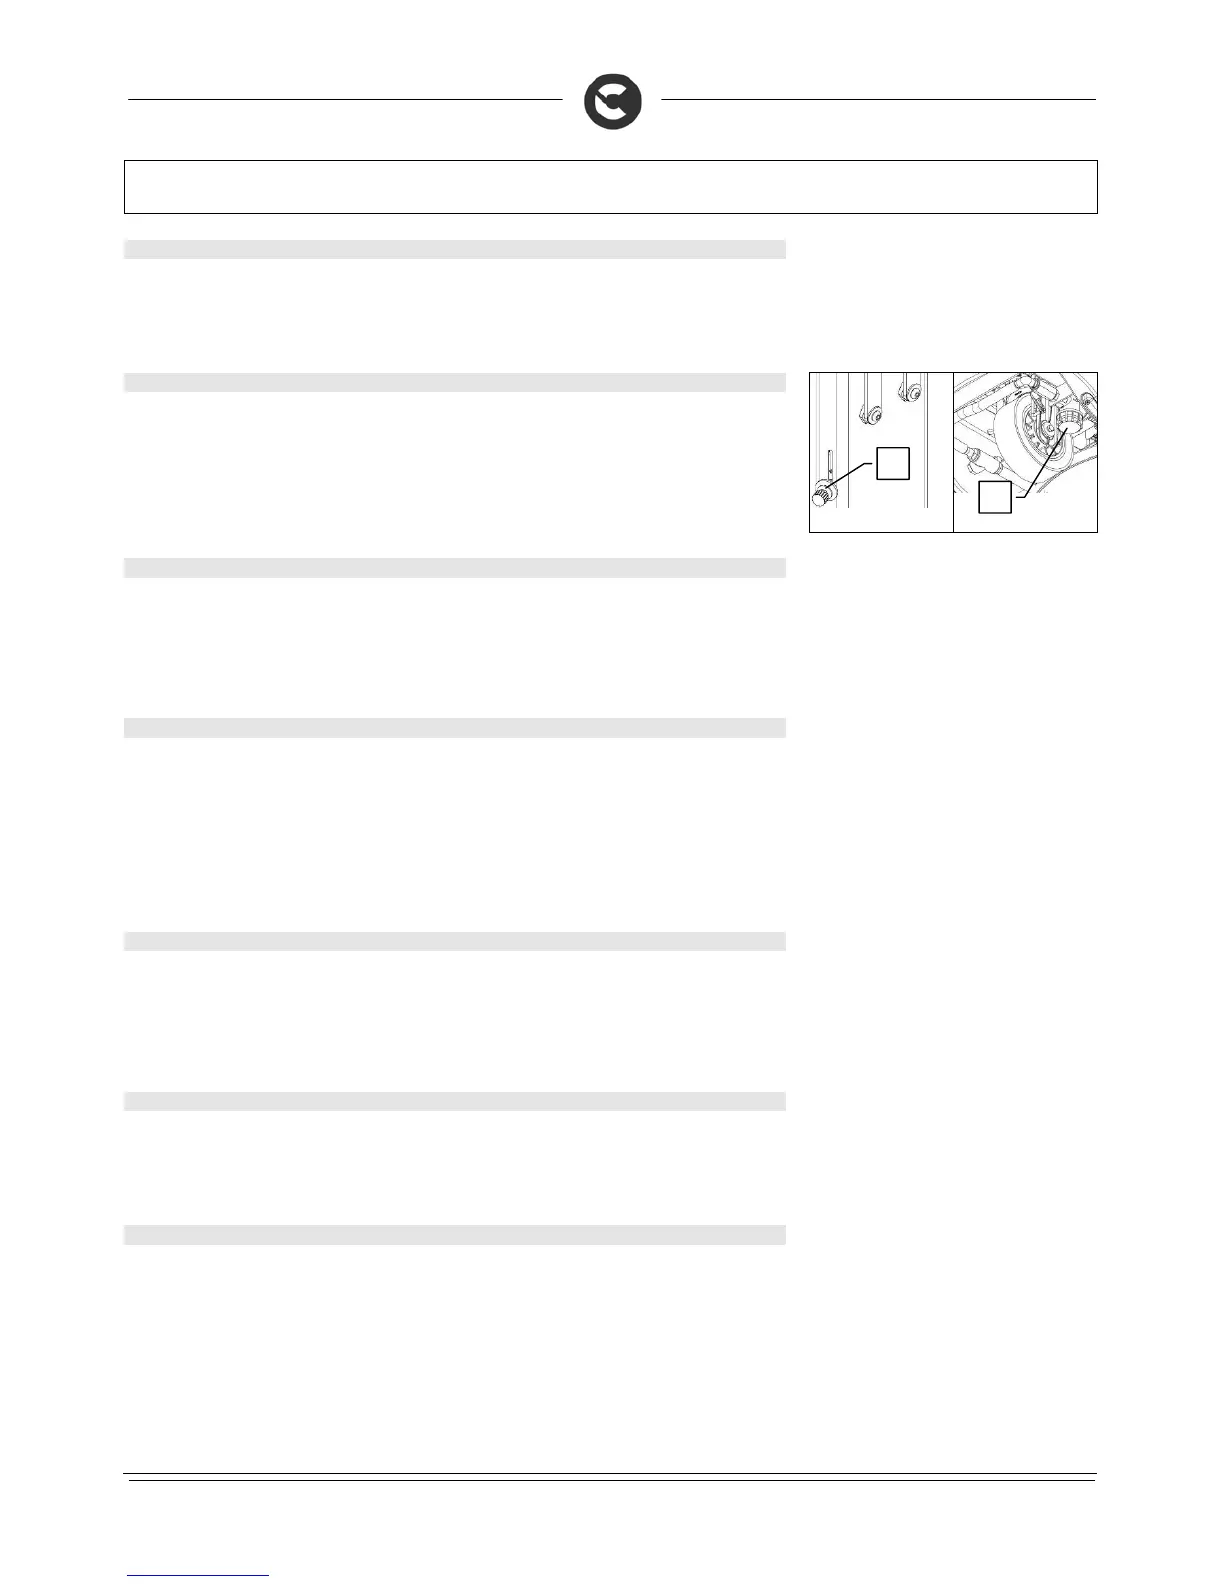
2. Check that the water/detergent solution release adjustment knob (1) is open
3. Clean the solution filter (2) located at the front of the machine
44. THE SQUEEGEE DOES NOT DRY PERFECTL
1. Check the squeegee is clean
2. Check the squeegee settings (see “MACHINE PREPARATION”)
3. Clean the entire vacuum unit (see “WEEKLY MAINTENANCE”)
4. Replace the rubbers, if worn
45. THE MACHINE DOES NOT CLEAN WELL
1. Check the state of wear and tear of the brushes and, if necessary, replace them. The brushes should
be changed when the bristles are about 15mm long. To replace them, see “REPLACING THE
BRUSHES”, or “DISASSEMBLING THE BRUSHES” and “ASSEMBLING THE BRUSHES”. Working
with over-worn brushes may cause damage to the floor.
2. Use a different kind of brush to the one fitted as standard. For cleaning floors where the dirt is
particularly resistant, we recommend the use of special brushes supplied upon request and according
to needs (see “CHOOSING AND USING THE BRUSHES”).
46. EXCESSIVE FOAM PRODUCTION
Check that a low foam detergent has been used. If necessary, add a small quantity of antifoam liquid to the
recovery tank.
Remember that, when the floor is not very dirty, more foam is generated. In this case the detergent solution
should be more diluted.
47. THE SUCTION MOTOR DOES NOT FUNCTION
1. Check whether the recovery tank is full and, if necessary, empty it
2. Check the float switch on the suction cap (see also “CLEANING THE RECOVERY TANK” in the
paragraph “DAILY MAINTENANCE”)
48. THE BRUSH MOTOR DOES NOT WORK
ARNING To avoid damaging the floor, the motor only starts up when the machine is moved forwards
1. Check that the base is lowered during start-up
2. The operator must be properly seated in the driving position
3. Check no thermal protection device has intervened.
4. Check the correct connection of the motor to the terminal under the footboards.
 Loading...