35
MACHINE PREPARATION
MACHINE PREPARATIONMACHINE PREPARATION
MACHINE PREPARATION
18.
18.18.
18.
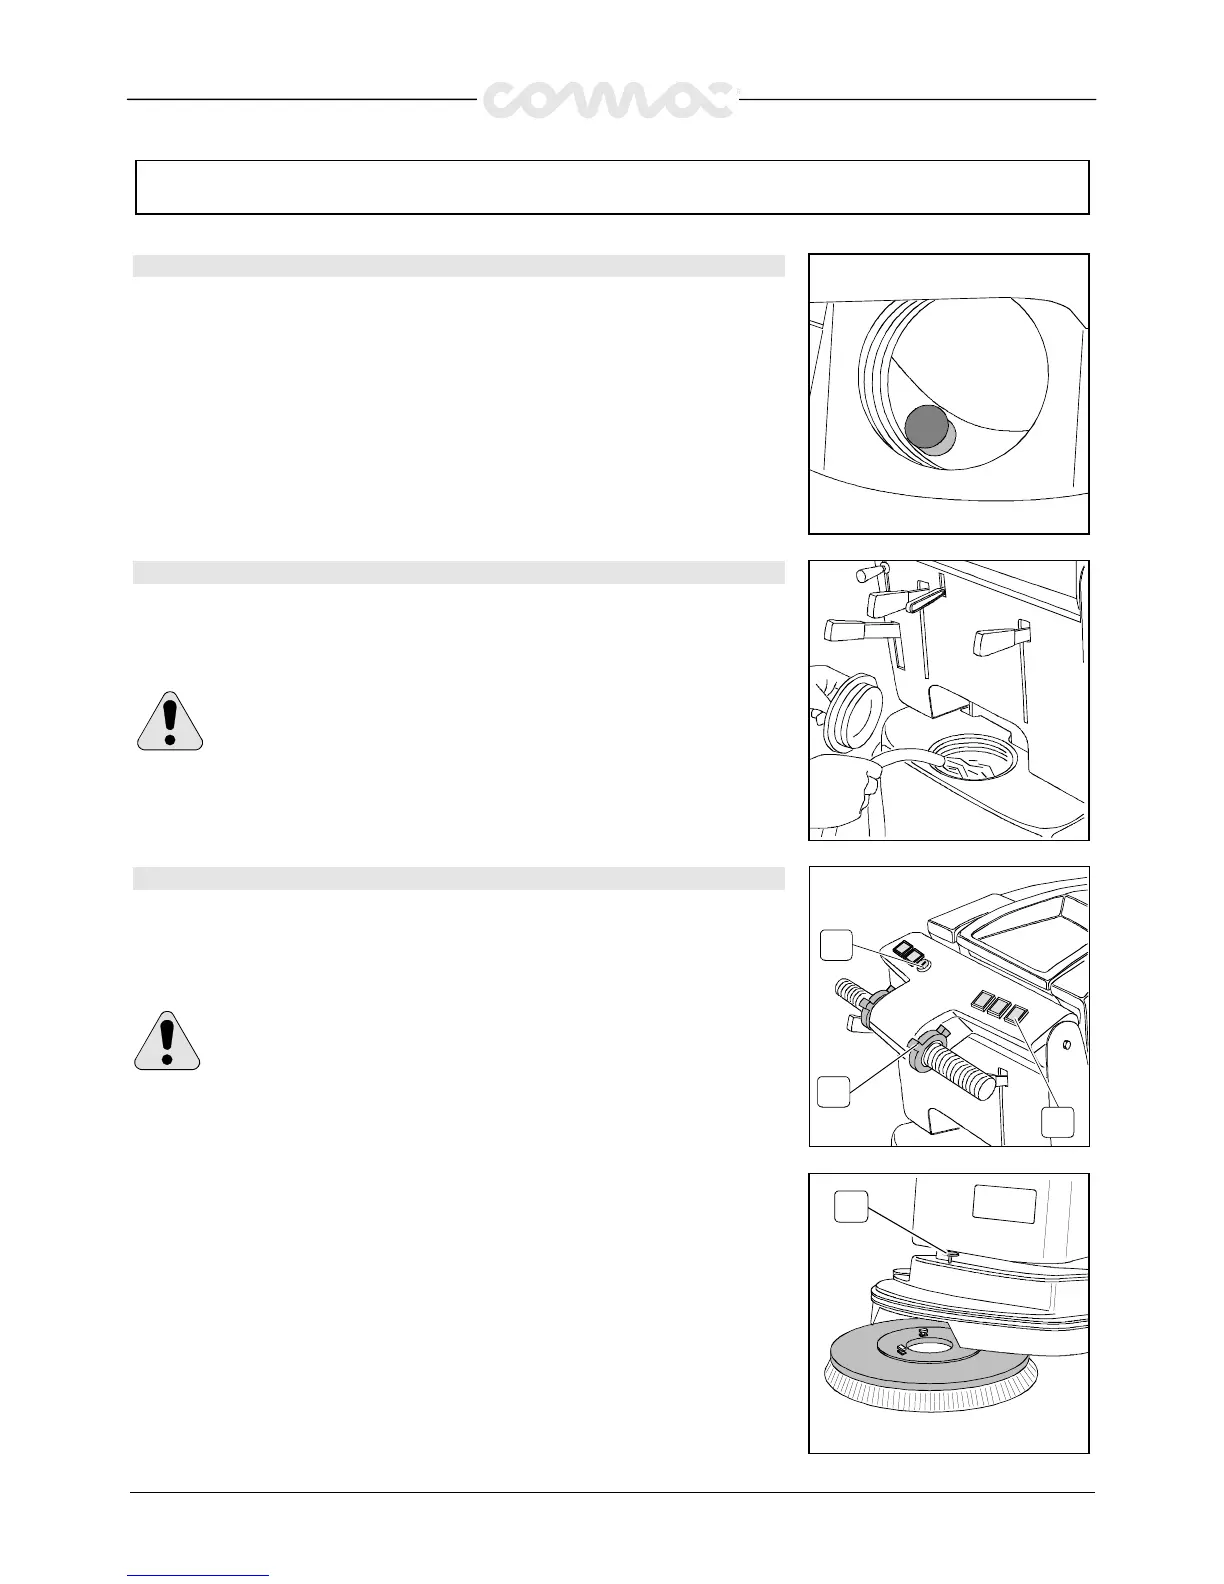
SOLUTION TANK
SOLUTION TANK SOLUTION TANK
SOLUTION TANK
Take off the water inlet plug and check that, the solution filter, placed on the left bottom
side, has been assembled properly.
19.
19.19.
19.
SOLUTION WATER
SOLUTION WATERSOLUTION WATER
SOLUTION WATER
Fill the solution tank with clean water at a temperature not more than 50
°C and add
liquid detergent in the proper concentration following the instructions of the
manufacturer. Excess foam could damage the suction motor, so use only the minimum
amount of detergent necessary. Reassemble the cover.
WARNING!
WARNING!WARNING!
WARNING! Always use low foam detergent. To avoid the production of
foam, before starting to clean, put a minimum quantity of antifoam liquid
into the recovery tank. Never use pure acid
Never use pure acid Never use pure acid
Never use pure acid
20.
20.20.
20.
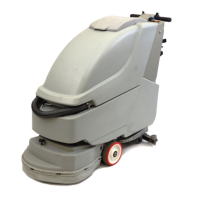
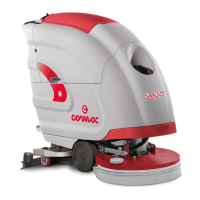
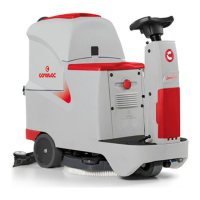
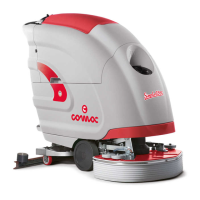
BRUSH ASSEMBLY
BRUSH ASSEMBLY BRUSH ASSEMBLY
BRUSH ASSEMBLY
1.
With the brush base in lifted position, insert the brush placing it in correspondence
with the plate under the brush base.
2.
Lower the brush base, turn the key (1) into position ON, press the brush switch (2),
push the lever (3) on the handle bar. At this point the brush is coupled.
WARNING!
WARNING!WARNING!
WARNING! During this operation make sure that, there are not any
objects or persons close to the brush.
1
3
2
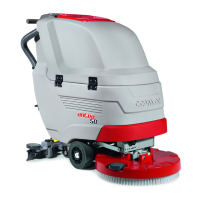
3. Adjust, through the knob (1), the height of the splash guard rubber so that it touch
the floor.
The adjustment has to be repeated regularly depending on the brush wear.
1