CONTENTSINTRODUCTIONINSTALLATION
COMMISSIONING
OPERATION
12
Using the programming menu
The programming menu allows you to configure most aspects of SD3 operation
and perform a series of tests to either: confirm correct operation, or assist with
troubleshooting.
Accessing the programming menu
When the SD3 is in standby mode the display shows the temperature, time and
date, for example:
To access the programming menu
1 From standby, enter the user code (the default code is 1234). When the correct
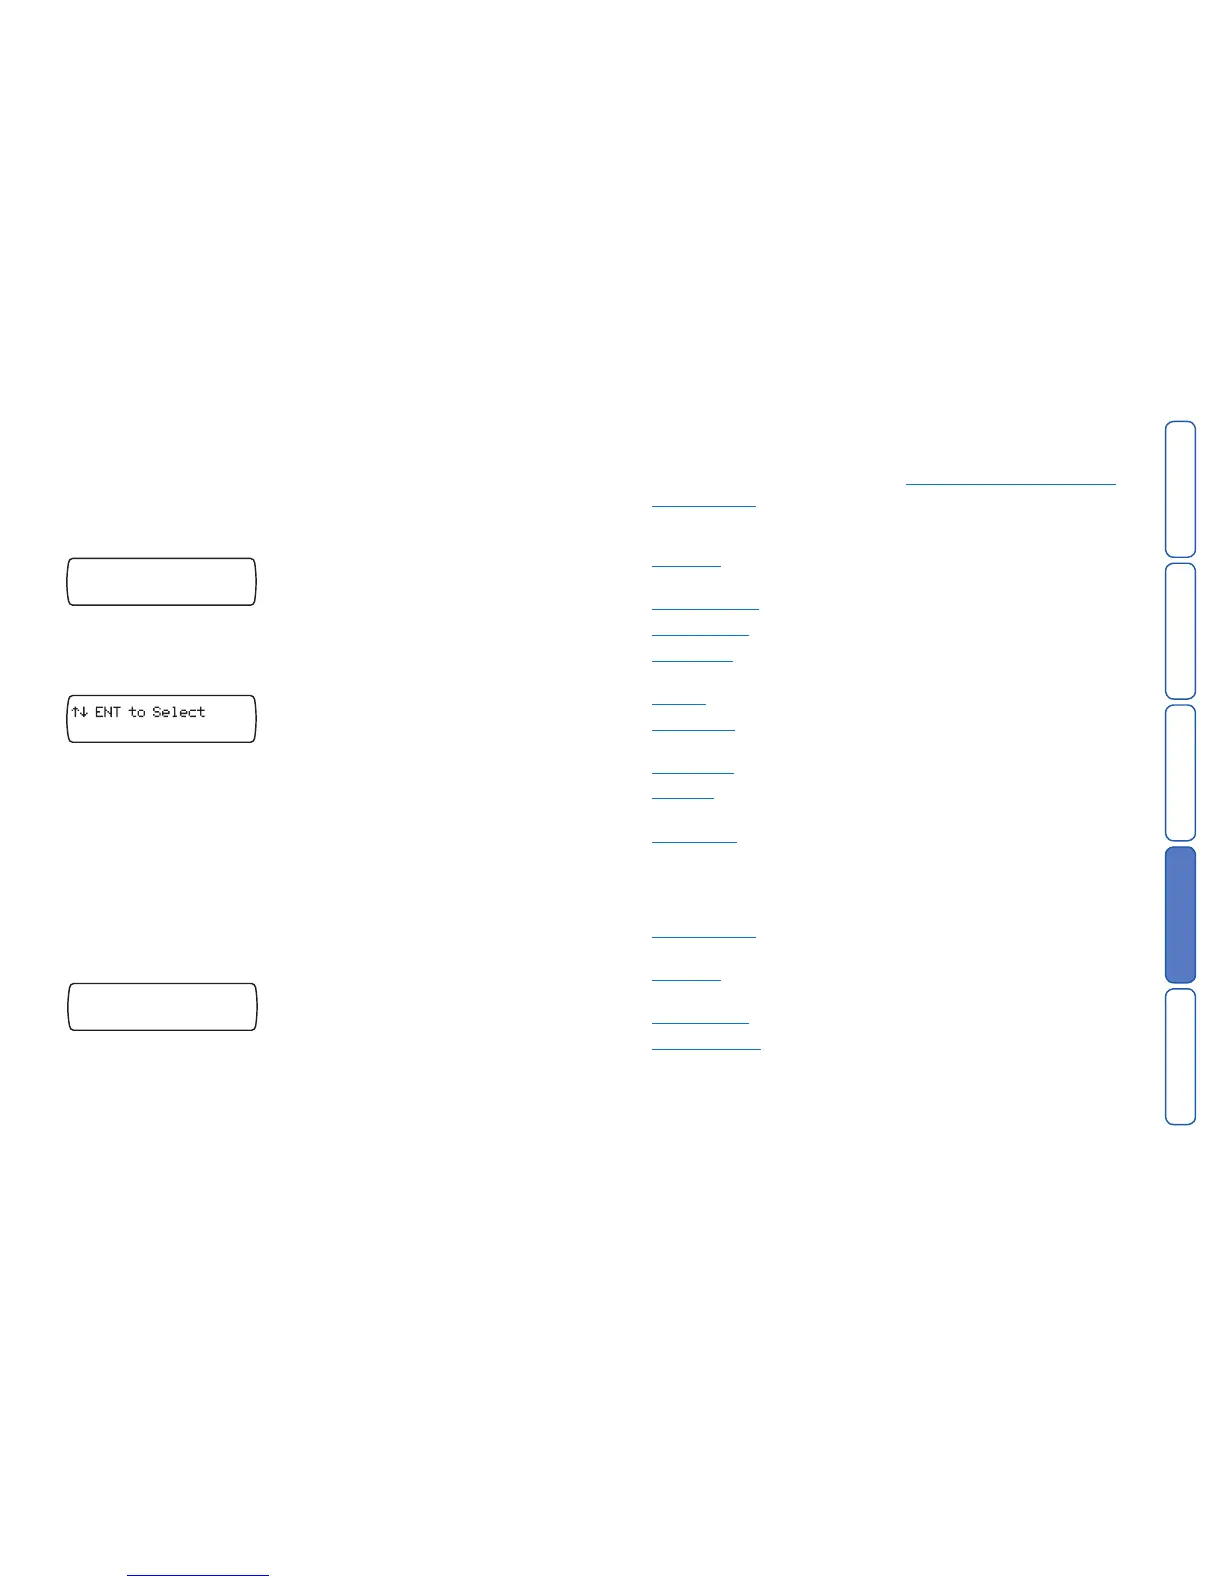
code is entered, the bottom line of the display will show the first item from a menu
of ten programming options:
You can scroll up and down through the programming menu by using the scroll
keys (A or C), or jump directly to an option by pressing the relevant hot key. For
example, to display the log option press 9.
The opposite page shows a list of all ten programming options and their hotkeys.
Exiting from the programming menu
When using the programming menu, the SD3’s trigger inputs are disabled and
therefore the unit will not call out in the event of an alarm.
Note: Please note for correct operation it is necessary to exit the programming in
the manner described below.
To exit from the programming menu
1 From within the programming menu, press F repeatedly until the display shows:
2 Press E to leave the programming menu and return to standby. Alternatively, if
you wish to remain within the programming menu, press E.
Programming menu options
Once you have entered the programming menu, the following options are avail-
able. For a detailed list of all options, see the Programming menu options list.
1 Contact Details Allows you to enter/edit up to ten contact names, their
telephone numbers and the message type that should
be used: Voice or Text.
2 Messages Allows you to create the voice and text messages that
will be sent for each alarm type.
3 System Options Allows you to edit the dialler’s system options.
4 Access Codes Allows you to edit the dialler’s user codes.
5 Ack & Abort Allows you to edit the dialler’s acknowledgement and
abort options.
6 Outputs Allows you to edit the dialler’s two outputs.
7 Call Routing Allows you to edit the dialler’s message routing op-
tions.
8 Date & Time Allows you to edit the dialler’s time and date.
9 View Log Allows you to view the dialler’s time and date-stamped
log.
0 Test Options Allows you to access the dialler’s test features.
Basic setup
In the majority of installations you can set up the SD3’s basic functions by using
only the following programming menu options:
1 Contact Details Set up the telephone numbers that you want the SD3
to call. Label each number with a contact name.
2 Messages Store the text and/or voice messages that the SD3
must send to your chosen contacts.
4 Access Codes Set up your user and programmer access codes.
8 Set Date & Time Key in the date and time so that the log and display
are correct.
By default, when something triggers an input, the SD3 sends the message(s) for
that input to all contacts.
The remaining menu options allow you to program more detailed behaviour. The fol
-
lowing pages tell you how to use each programming option in more detail.

 Loading...