CONTENTSINTRODUCTIONINSTALLATION
COMMISSIONING
OPERATION
14
Contact Details
The SD3 can store up to 10 contacts; each contact is assigned the following
parameters:
Name
Up to 16 characters can be assigned to the contact name.
Telephone No.
Each contact’s telephone number can have up to 24 digits. When programming
the contact’s telephone number the B key can be used to insert the following
command characters:
* Star: Inserts a * into the telephone number.
# Hash: Inserts a # in the telephone number.
, Pause: If the unit is connected to an internal telephone system you normally
have to dial a number to get an external line, wait a couple of seconds, then
dial the actual number. The pause command can be used to insert a 3 second
delay, e.g., (9,) 0161 123456.
Contact Type
The contact type can be programmed to one of the following options:
Voice Only
The SD3 dials the contact telephone number and plays the common phrase plus
the relevant voice message, repeated four times.
Text Only
The SD3 dials the SMS service centre and relays the relevant text message to the
Contact’s telephone number.
To add/change contact details
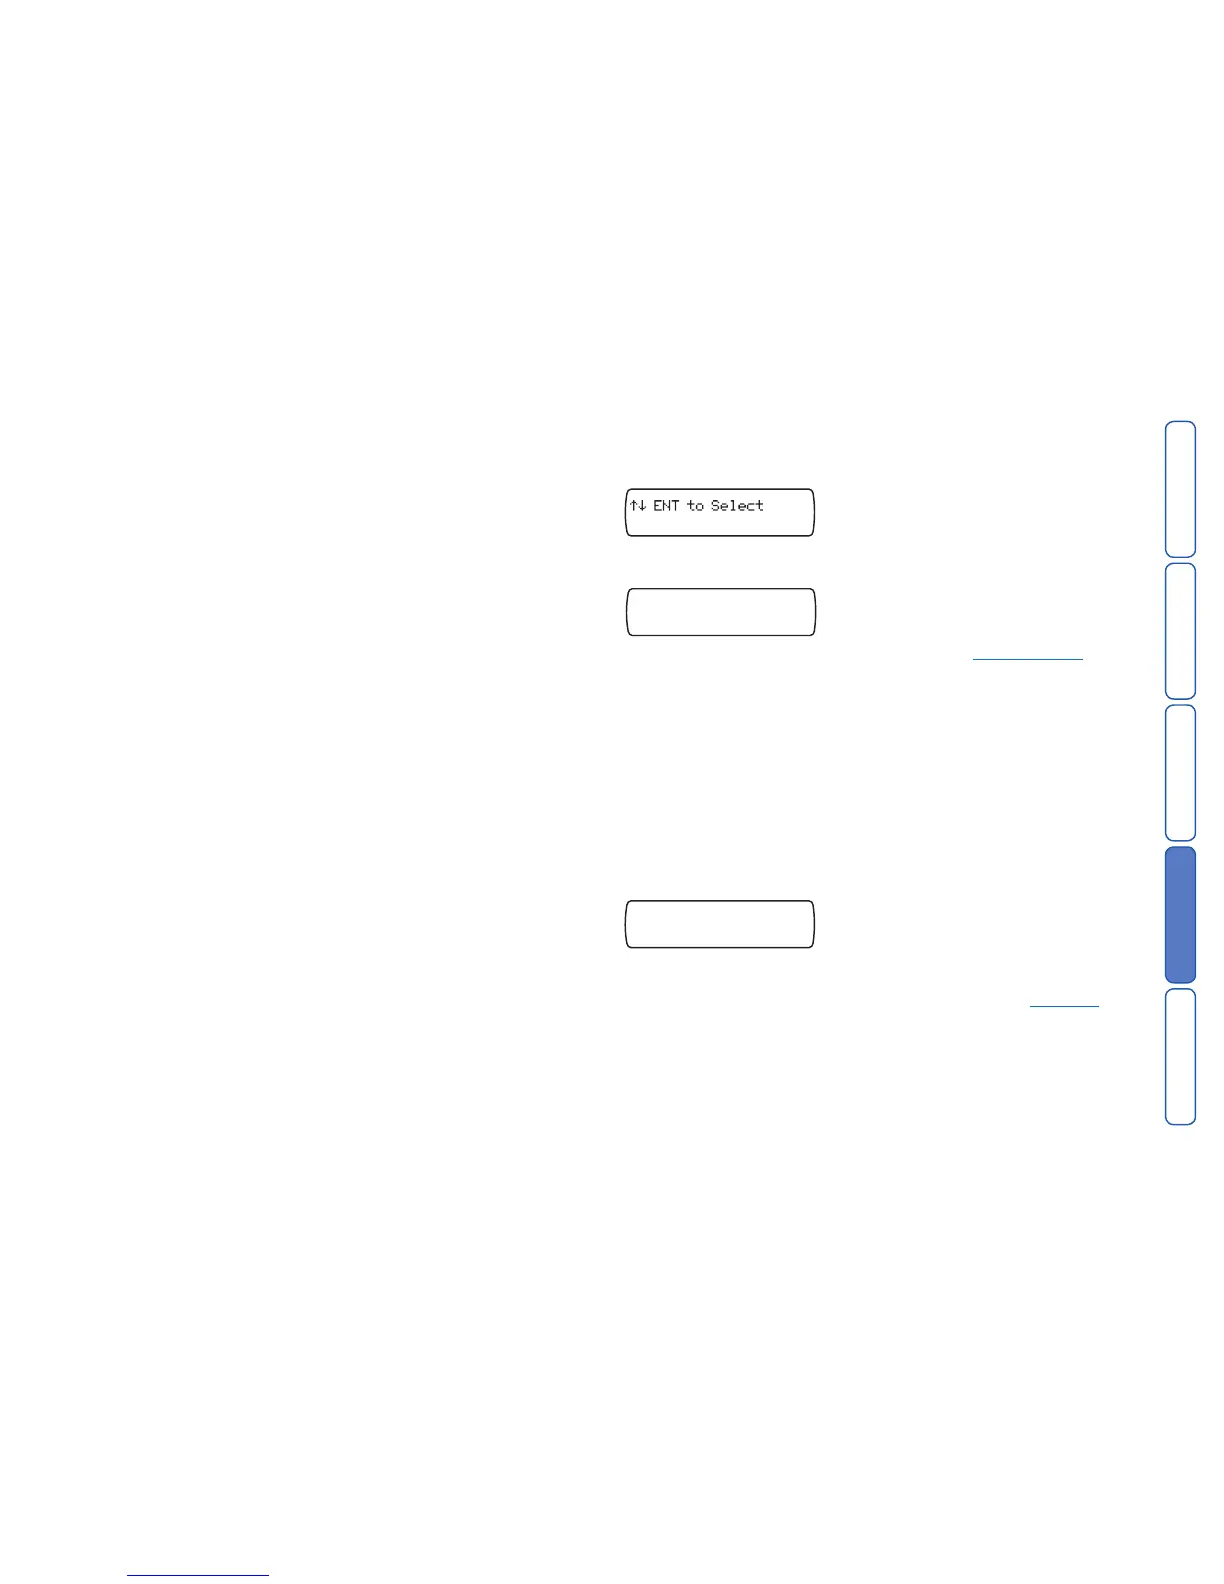
1 From standby, enter the user code, the screen will show the Contact Details
menu:
Press E to select. The screen will show Contact 01.
2 Press the scroll keys (or
1~0) to display the required contact, e.g.: 4:
3 Press
E to begin editing the chosen contact. Use the text editing keys to enter
the contact’s name (maximum of 16 characters).
4 Press
E to accept. You can now enter/edit the contact’s telephone number:
Contact 04 Tel.>
5 Use the keys 0 ~ 9 to enter the telephone number.
• The
B key can be used to insert special characters: * # or ,
• Don’t forget to add a “9” if the unit needs to dial it to get an outside line. Howev-
er, if sending text messages then make sure you program the “9” into the SMS
number and not into this telephone number.
• If a telephone number is already programmed, or a mistake is made during
programming you can clear the last digit by pressing the
D (Clear) key.
6 Press
E to accept the telephone number. The display now shows the contact
message type:
This option allows you to determine whether the SD3 should send either a voice
message or an SMS text message to the chosen contact. Note: Ensure that rel-
evant voice or text messages are stored for all active inputs. See Messages.
7 Press the scroll keys (
A or C) to display the required message type:
VOICE or TEXT.
8 Press
E to accept.
9 Repeat steps 2 – 8 for other contacts or press
F to exit this menu.
 Loading...