CONTENTSINTRODUCTIONINSTALLATION
COMMISSIONING
OPERATION
23
Call Routing Options
Call routing options allow you to determine which contacts should receive certain
(voice or text) messages. For instance, you may require alarm message A to be
sent to contacts 1, 3 and 5, while alarm message B should go only to contacts
2,6, 7 and 8. Similarly, the optional Auto Report, which is sent out every 24 hours,
can be sent to one or more chosen contacts. There are three call routing options
and each is configured in a similar manner:
• Trigger Alarm Determines which contacts (1 to 10) should be called when a
particular alarm is triggered.
• Trigger Restore Determines which contacts (1 to 10) should be called when a
particular alarm returns to its normal state (for example when the alarm system
has been reset after an alarm activation).
• Auto Report Determines which contacts will be notified every 24 hours by the
test call facility.
To program call routing options
1 From standby, enter the user code, then use the scroll keys (A or C) or 7 to
display the Call Routing menu:
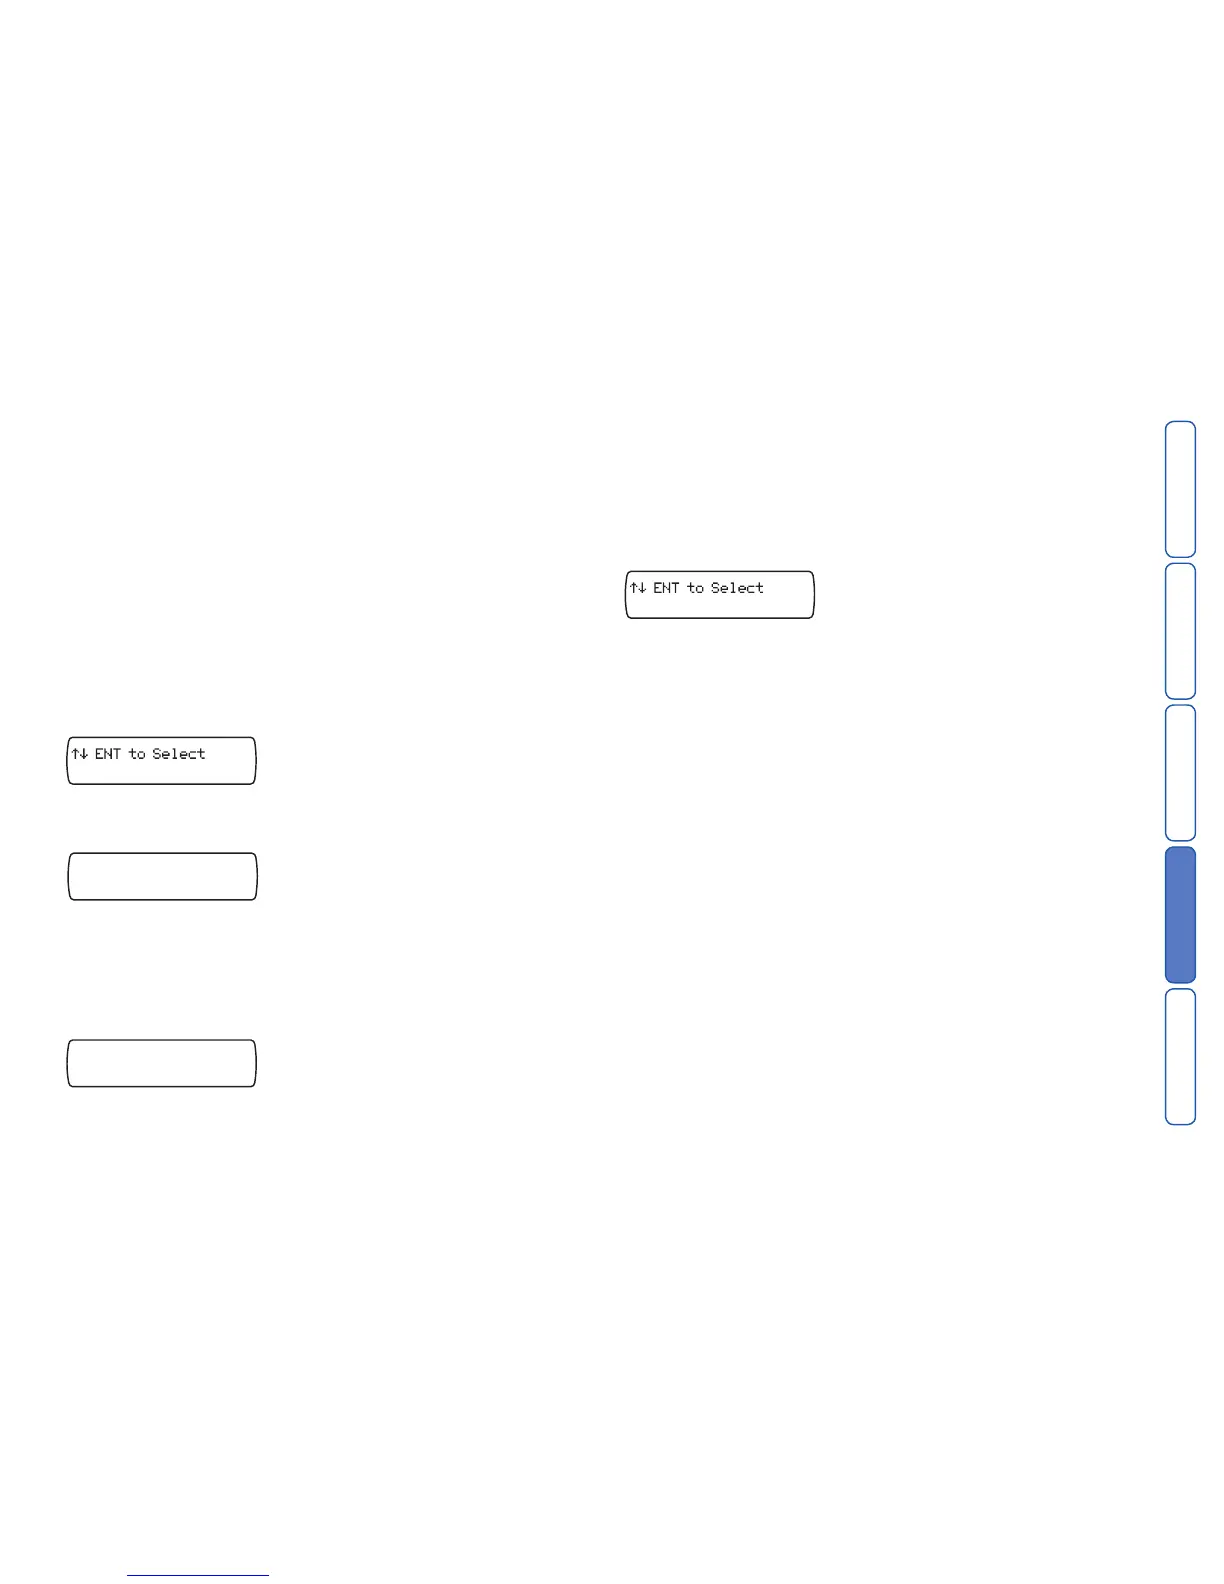
Press E to select. The screen will show: Trigger Alarm. If necessary, use the
scroll keys (A or C) to select the Trigger Restore or Auto Report options.
2 Press
E to select. The screen will show:
To 1234567890
Route A Alarm
Note: Trigger restore mode will show Route A Restore and Auto Report mode
will show: Route Auto Rep.
3 Each number represents a contact (1 to 10). Use the numeric keys (1 to 0) to
include or exclude a contact from the chosen message. If a contact in included,
its number will be shown, whereas, if a contact is excluded, its number will be
replaced by an asterisk (*). In the screen shown below, contacts 2, 5 and 8 have
been excluded from receiving alarm message A.
To 1*34*67*90
Route A Alarm
4 To change to a different alarm message, use the scroll keys (A or C).
5 When all settings have been made, press
E to store and exit. Then press F to
exit from the Call Routing menu.
Set Date and Time
This option allows you to adjust the SD3’s date and time. The clock is in 24-hour
format and is used for providing the date and time stamp for the event log, text
messaging and for the standby display.
Note: The clock is intended as a guide only.
To adjust the date and time
1 From standby, enter the user code, then use the scroll keys (A or C) or 8 to
display the Date & Time menu:
Press E to select. The screen will show the current date setting.
2 Use the numeric keys to enter the date (in the form:
dd/mm/yy) and then press
E. The screen will now show the current time.
3 Use the numeric keys to enter the time (in 24-hour format) and then press
E.
4 Press
F to exit.

 Loading...