STANDARD RECOMMENDED PROCEDURE 003-876 | ISSUE 1 | JANUARY 2012 | PAGE 16 OF 21
5.7.
Remove dust caps from connectors and adapters.
Clean connectors and adapters with the appropriate tools and materials for the connector
type according to manufacturer’s directions and standard company practices.
Mate connectors into adapters, usually beginning from right to left as seen from the rear.
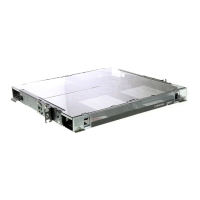
5.8.
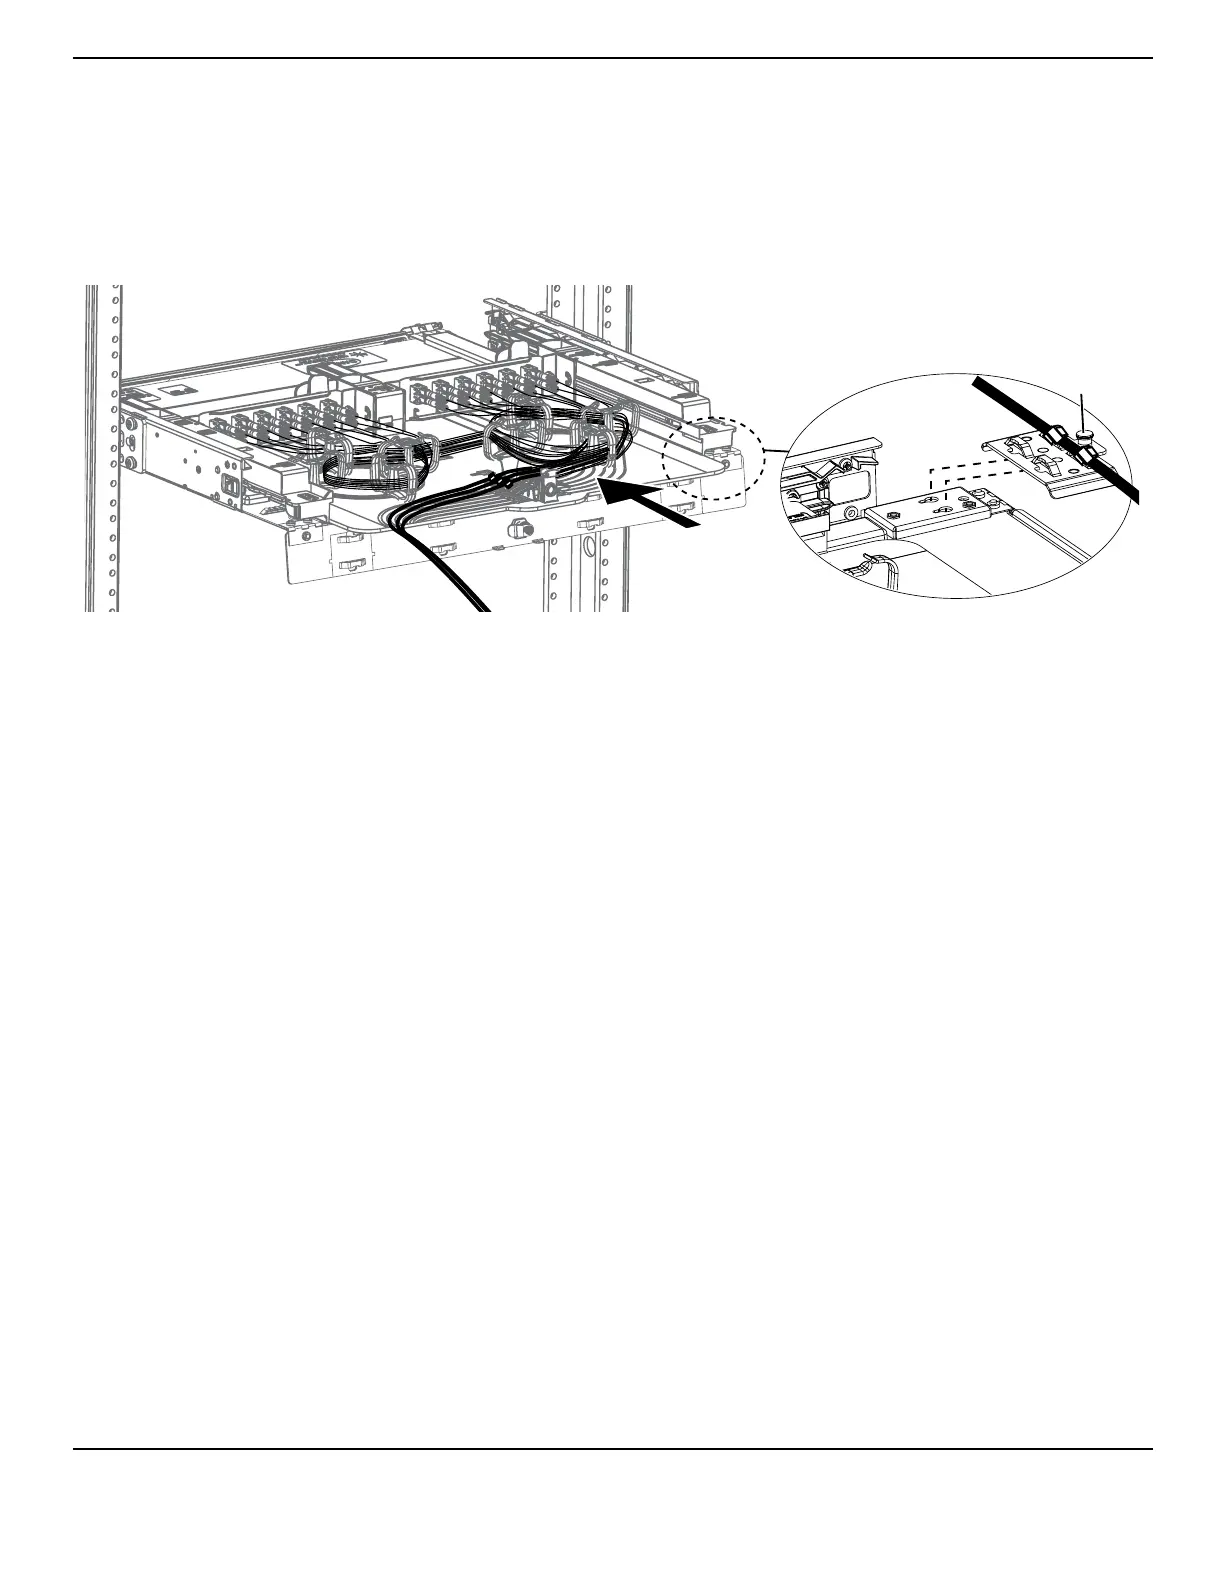
Figure 20
Carefully pick up both the sliding tray and internal strain-relief bracket, if used. Insert
the sliding tray into the housing as shown in Figure 20 until it reaches the second detent
position. Jumper routing guides should be about
1
/
4
-inch behind the front door.
If using the internal strain-relief bracket, slide keyway studs on the bracket into the slots at
the back of the housing. Slide the bracket toward the front of the housing until the plunger
clicks into place.
Slide shelf in.
TPA-3972
Plunger