STANDARD RECOMMENDED PROCEDURE 003-876 | ISSUE 1 | JANUARY 2012 | PAGE 9 OF 21
Set the open-ended slot on the bottom of the mounting brackets onto the installed screws.
(The mounting brackets will support the weight of the housing.)
Tighten the installed screws and insert one more screw per side into the center cut-out of the
mounting bracket. (For CCH-02U and CCH-03U housings: insert additional screws through
the top groove on the mounting brackets and tighten securely.)
Reattach the external or internal strain-relief bracket to the housing.
4.4.
Remove the factory-installed mounting brackets and replace them with the Recess Mount Kit (p/n CCH-
RECESS-KIT-5, ordered separately). Follow the instructions provided with the kit to mount the housing
into a cabinet or enclosure.
5. DIRECT TERMINATION WITHIN THE HOUSING
The housing is factory-prepared for direct termination of cable. If splicing or terminating inside a
cassette, skip to Section 6.
5.1.
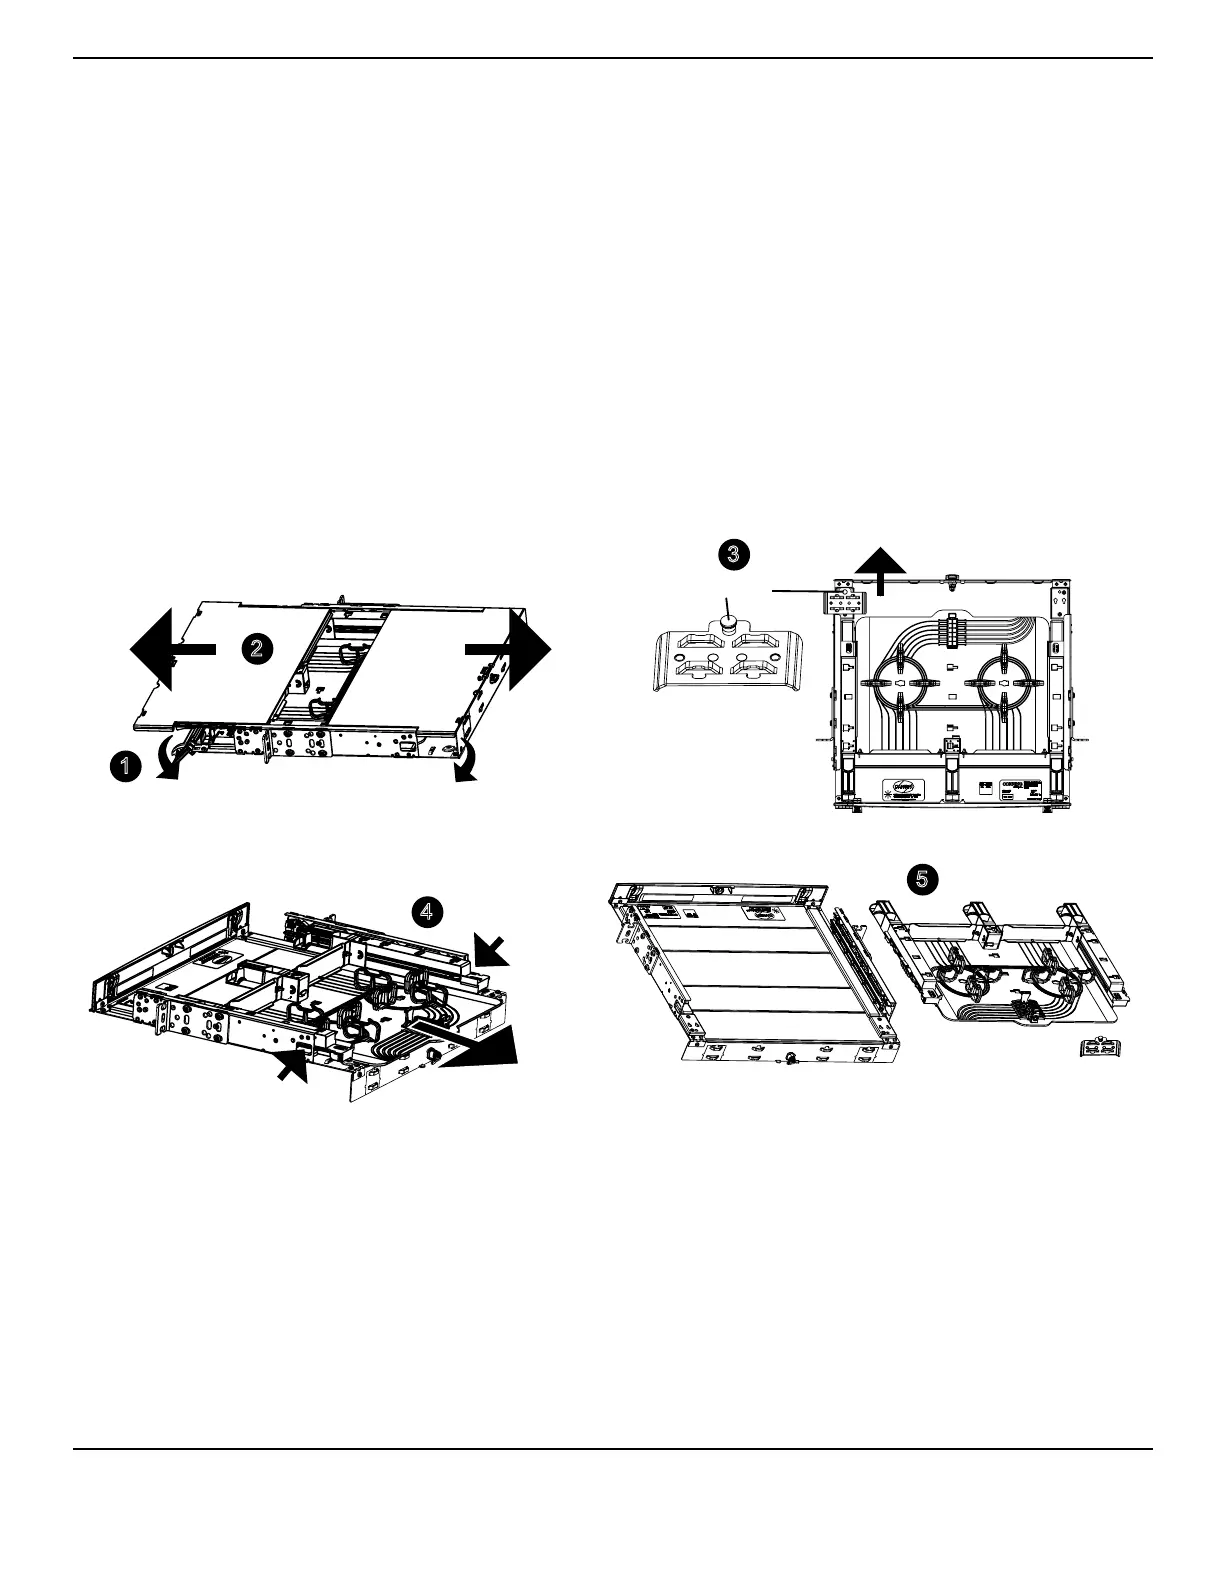
Figure 9
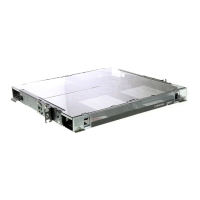
Open the front and rear doors (Figure 9).
Slide the covers apart from the center and remove.
Lift the plunger on the internal strain-relief bracket and remove it.
NOTE: Ensure that the tray is in the forward (second) detent position when reinstalling the internal strain-
relief bracket to avoid interference.
Slide the tray to the rear of the housing until it stops. Through the windows on both sides of
the housing, depress the tab on the exible rail to release the tray and pull it completely out
of the housing.
Set the tray down on a convenient work surface, preferably behind the housing.
2
1
3
5
TPA-3969
4
Press here.
Plunger
Press here.