page-40 EVOLUTION COVER
FIGURE 65: SLEEVE INSTALLATION CHECKING
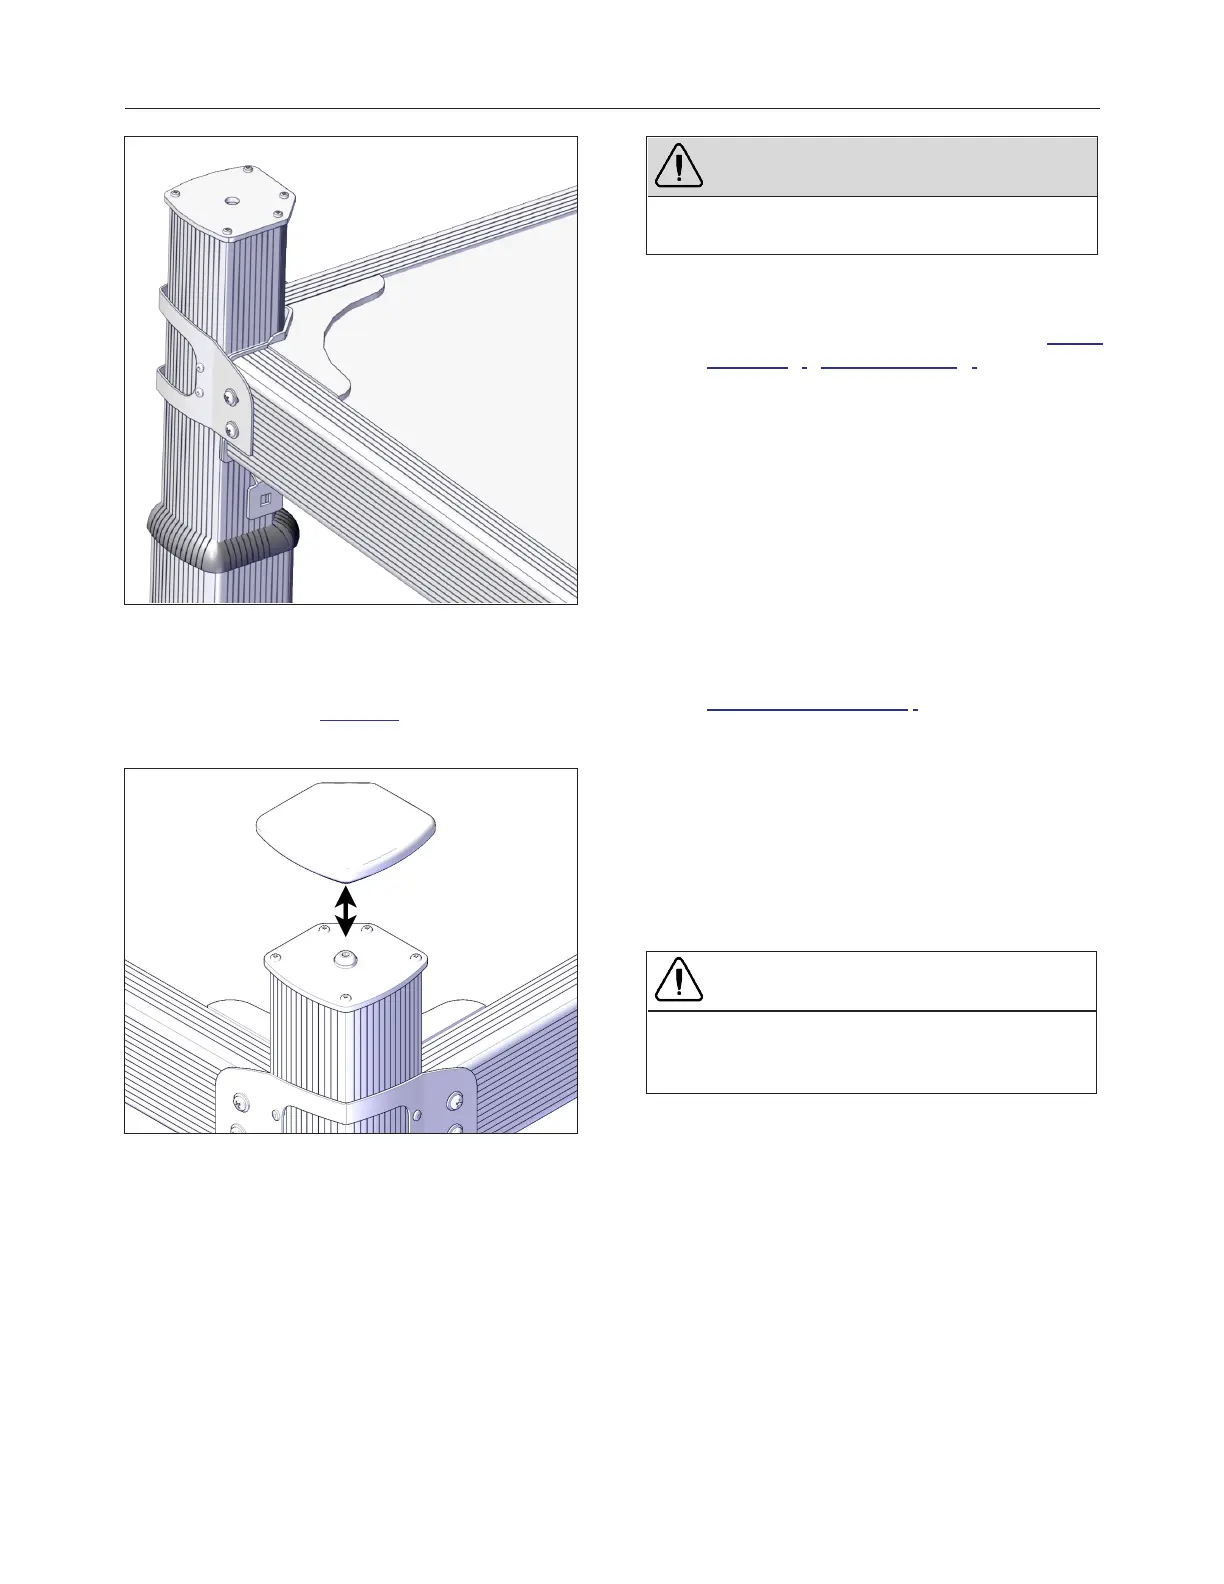
29.
Install the rubber caps on all posts. These
caps protect the post assembly tops from
weathering see Figure 66.
FIGURE 66: RUBBER CAP INSTALLATION
TESTING THE COVER
1.
Plug in the cover. Have a certified electrician
to complete the electrical hook-up and refer to
section Electrical diagrams.
WARNING
All electrical connections must be done by a
certified electrician.
2.
Make sure there is no object directly above
the cover or in its lifting path while performing
this test. Refer to the instructions in the LIMIT
SWITCH ADJUSTMENT section if
adjustment is required.
3.
Use the key in the key switch to lift up the
cover to a maximum of 8 in. (20 cm) and then
stop the lifting. Make sure the cover is lifting
equally (no corners higher than the others).
4.
Lower the cover completely and make sure
the cover is touching all foam spacers on the
spa top perimeter.
5.
Lift the cover all the way up and pay attention
to any unusual sounds (metal screeching or
knocking). If so, consult the
TROUBLESHOOTING section or contact
your local dealer.
6.
Lower the cover and make sure it stops at the
point of contact with all the foam spacers on
the spa. If not, adjust the corner brackets (see
corner bracket installation in section Lifting
Mechanism).
7.
Check if the posts are still leveled before
anchoring. Use a 48″ (122 cm) long level.
CAUTION
When operating the cover, the user must always
have a clear view of the cover and its
surroundings.
WIPER INSTALLATION
1.
Lift the cover halfway up to proceed to the
next steps. The next steps are important for
minimizing water intrusion.
240799 OWNER'S MANUAL REVISION 4