12
Crane Electronics Ltd
The force in torque management
Crane Electronics Ltd
Watling Drive
14 88
-electronics.com
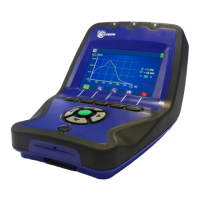
The first screen you will see is as below.
1) Model (Plus or Pro)
2) Transducers available
3) Serial Number S/N, Torque Module latest
release, HMI Module latest release,
Keyboard latest release
4) Advised calibration due date for this data
collector
5) Features unlocked
6) Battery Status
It confirms what version of TorqueStar you have. In the screenshot above it tells you that you can use
Analogue and Digital Transducers only. RF Transducers can only be used with the TorqueStar Pro (future
option).
In the top right-hand corner it will show the current level of battery life and whether it is being charged or not.
Charging is denoted by a lightning flash.
The serial number of the model you have is displayed, along with the latest software release for the Torque
Module, HMI Module and Keyboard. The opening screen also shows the calibration due date of the model you
have.
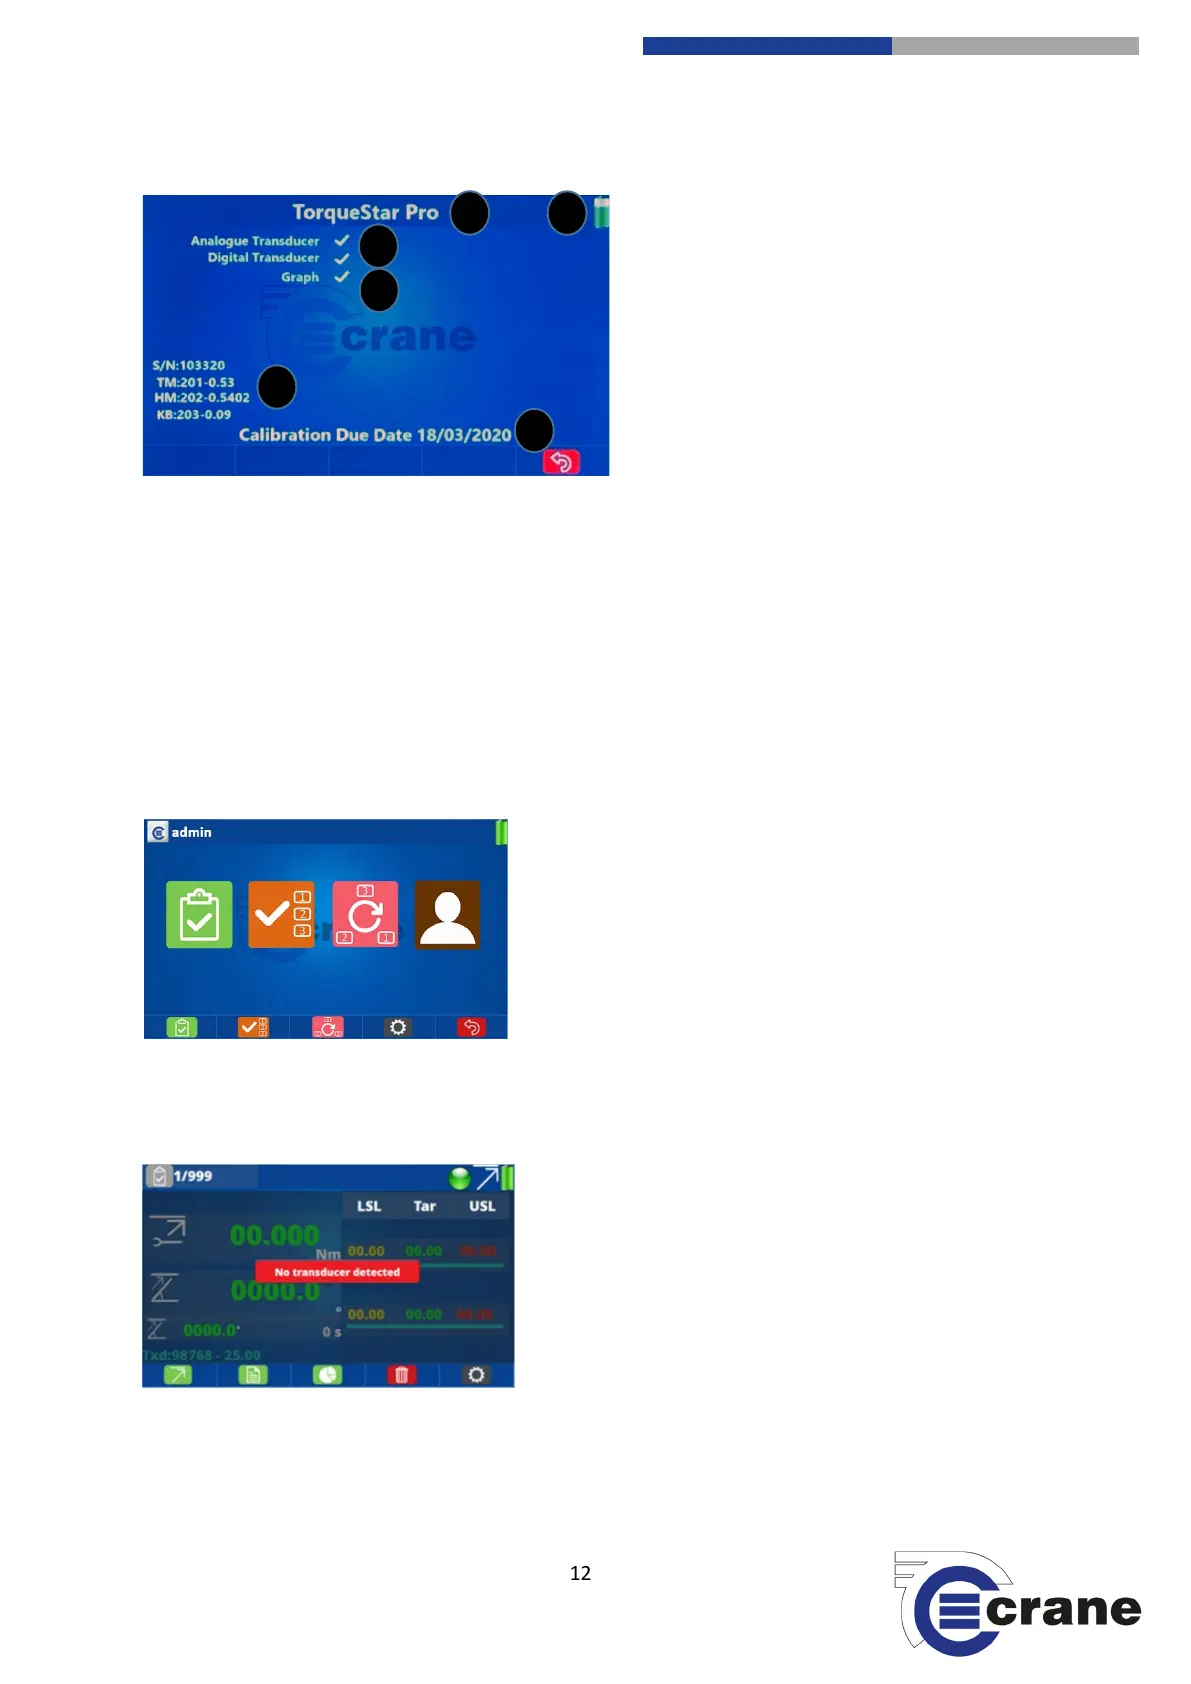
If you press the green button or wait the TorqueStar will load its settings for a few seconds and the Home
screen will be displayed.
You will notice there are 5 aligned keys with icons displayed
along the bottom of the screen. These are soft function keys
and their action depends on the icon displayed. F1 is the left
hand function key, then F2, F3, F4, and F5 is the right hand
function key.
For the TorqueStar Plus, only Check and Settings icons on the
lower part of the display are active. The Jobs and Rounds icons
will be greyed out as they are only active on the TorqueStar Pro.
Press the Check (F1) icon or use Left and Right arrow keys to highlight required function then press green key.
If no transducer is plugged in then this screen will appear.
Please connect a transducer. See ‘Connecting a Transducer’
set up.