HYDRO. DRIVE AND BRAKE SYSTEM
52
4a. Remove the nut using a 3/4” wrench.
An impact wrench with a socket will be most
effective.
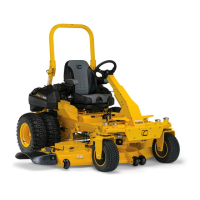
4b. Lift-off the cooling fan.
4c. Remove the pulley. The belt will clear the
belt keepers on top of the transaxle as the
pulley comes up. See Figure 5.72.
5. Loosen, but do not remove the wheel bolts (Dou-
ble-D axles) or lug nuts, using a 1/2” wrench or a
3/4” wrench, respectively.
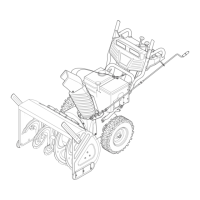
6. Unhook the large return-to-neutral spring from
the back of the tractor frame.
Leave the other end connected to the top of the
return-to-neutral cam. See Figure 5.73.
NOTE: There is a second, shorter return-to-neu-
tral spring that stretches between the cam and
the grooved spacer on the front mounting bolt of
the brake yoke.
7. Release the parking brake.
8. Lift, and safely support the tractor. The rear of
the tractor should be high enough to allow the
transaxle to pass under it.
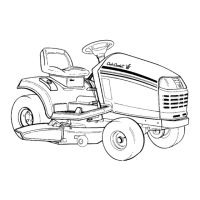
9. Remove the rear wheels. If the tractor has Dou-
ble-D axles, remove the wheel spacers too.
See Figure 5.74.
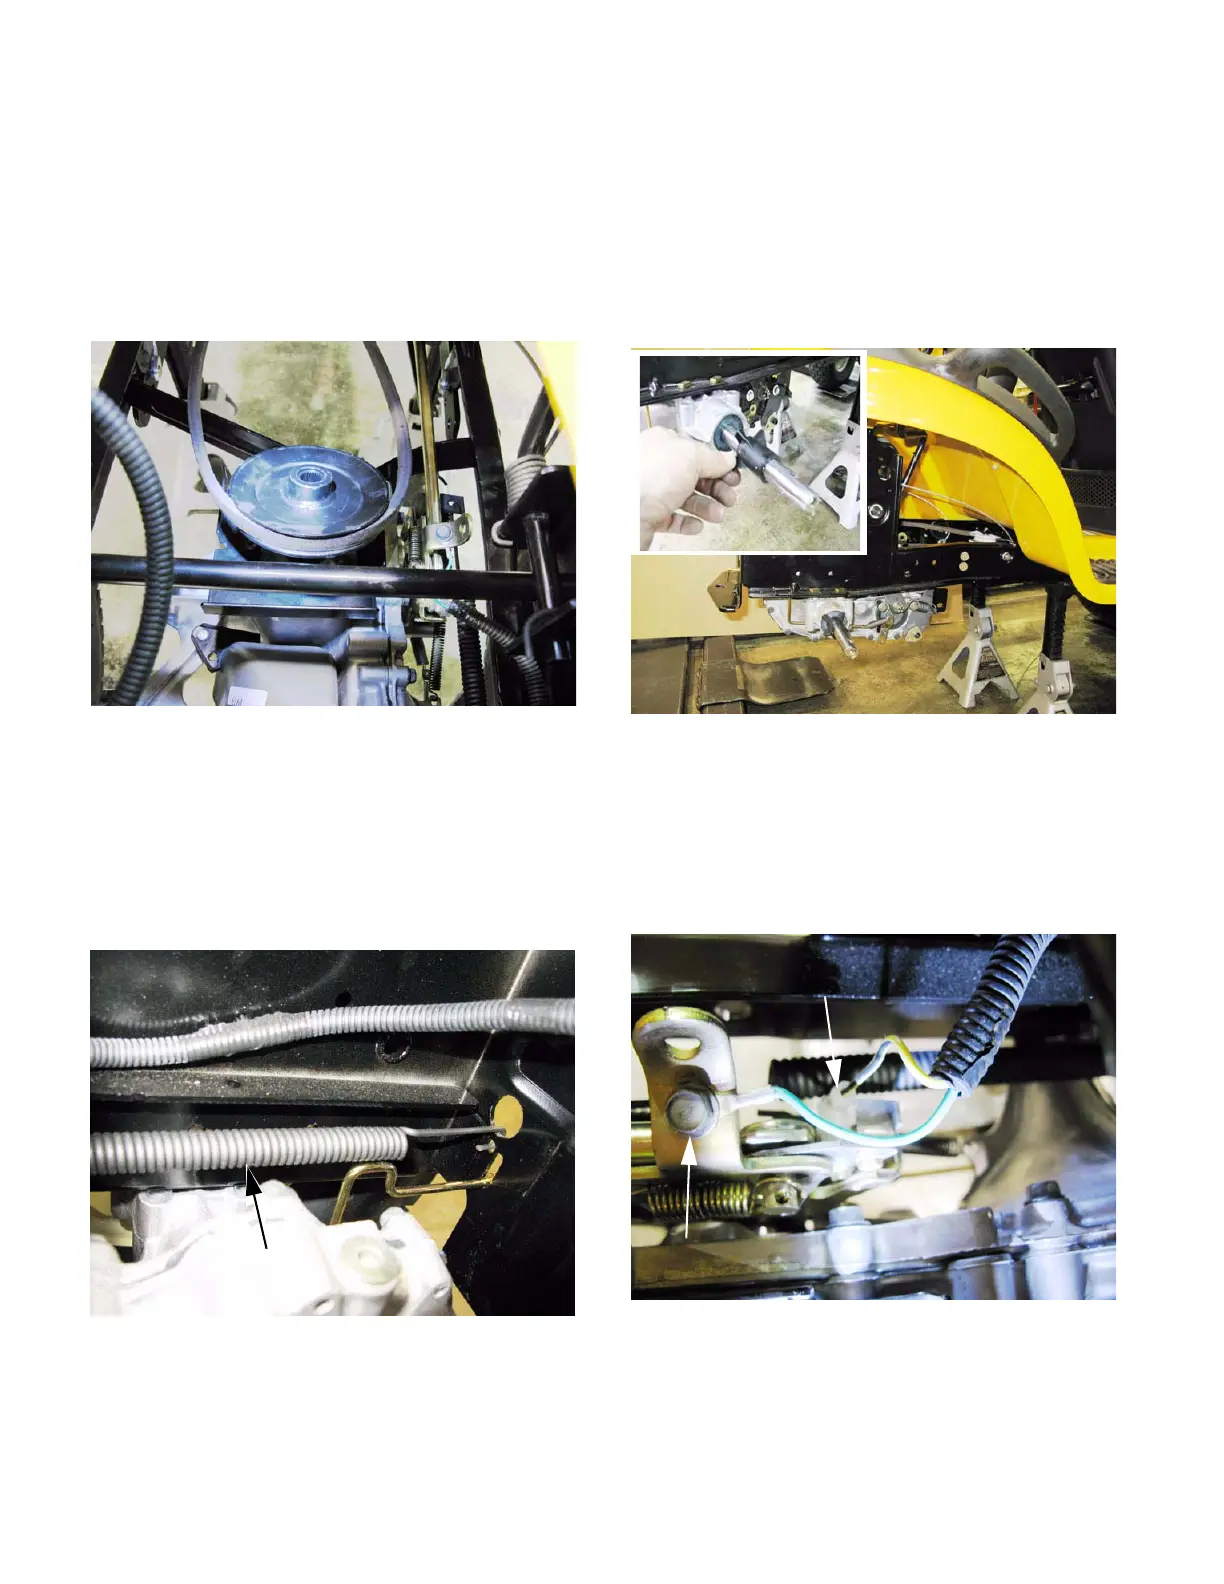
10. Disconnect the wires from the reverse safety
switch. See Figure 5.75.
10a. Unplug the yellow w/black trace wire.
10b. Remove the bolt that holds the green
ground wire using a 3/8” wrench.
Figure 5.72
Figure 5.73
Large r-t-n spring
Figure 5.74
Figure 5.75
Reverse safety switch
(yellow wire)
Trunnion arm
(green wire)
 Loading...