8- MAINTENAN CE
MAINTENANCE
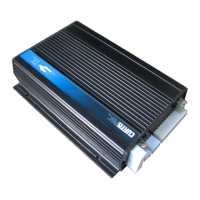
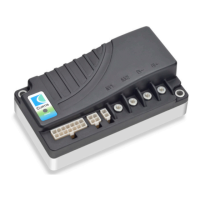
The Real Time Clock battery is the only user serviceable parts in Curtis 1310 Vehicel Syste,m
Controller. This battery is accessed from the rear panel (with the label and status LEDs.)
No attempt should be made to open the front panel, remove the PCB or otherwise modify the
controller. Doing so may damage the controller and will void the warranty. Carefully follow
the procedure below to replace the RTC battery.
It is recommended that the controller and connections be kept clean and dry and that the
controller’s fault history file be checked and cleared periodically.
CLEANING
Periodically cleaning the controller exterior will help protect it against corrosion and possible
electrical control problems created by dirt, grime, and chemicals that are part of the operating
environment and that normally exist in battery powered systems.
When working around any battery powered system, proper safety precautions should be
taken. These include, but are not limited to: proper training, wearing eye protection, and
avoiding loose clothing and jewelry.
Use the following cleaning procedure for routine maintenance. Never use a high pressure
washer to clean the controller.
1. Remove power by disconnecting the battery.
2. Discharge the capacitors in the controller by connecting a load (such as a contactor coil) across
the controller’s B+ and B power tabs.
3. Remove any dirt or corrosion from the power and signal connector areas. The controller
should be wiped clean with a moist rag. Dry it before reconnecting the battery.
4. Make sure the connections are tight and plugs are seated and latched
Replacing the RTC Battery
It is not likely that you will need to replace the RTC battery as it is designed to last 10 + years.
But is the RTC has stopped functioning, the battery may be dead.
1. Remove the 6 Phillips head screws on the rear panel (it has the status LEDs)
2. Carefully slide out the battery, noting the polarity
3. Replace with a identical lithium battery, taking care of the proper polarity
4. Replace rear panel, noting the LED staus is on the lower right.
5. Replace the 6 Phillips screws. You may need to press lightly on the bottom center cover to
align the lower screw holes.
1310 Vehicle Control System Users Manual Release Rev B Page 46 of 51
8