R25/35DV1 Si01-501
204 Removal Procedure
3.7 Removal of Compressor
Procedure Warning Be sure to wait 10 minutes or more after turning off all power supplies
before disassembling work.
Step
Procedure Points
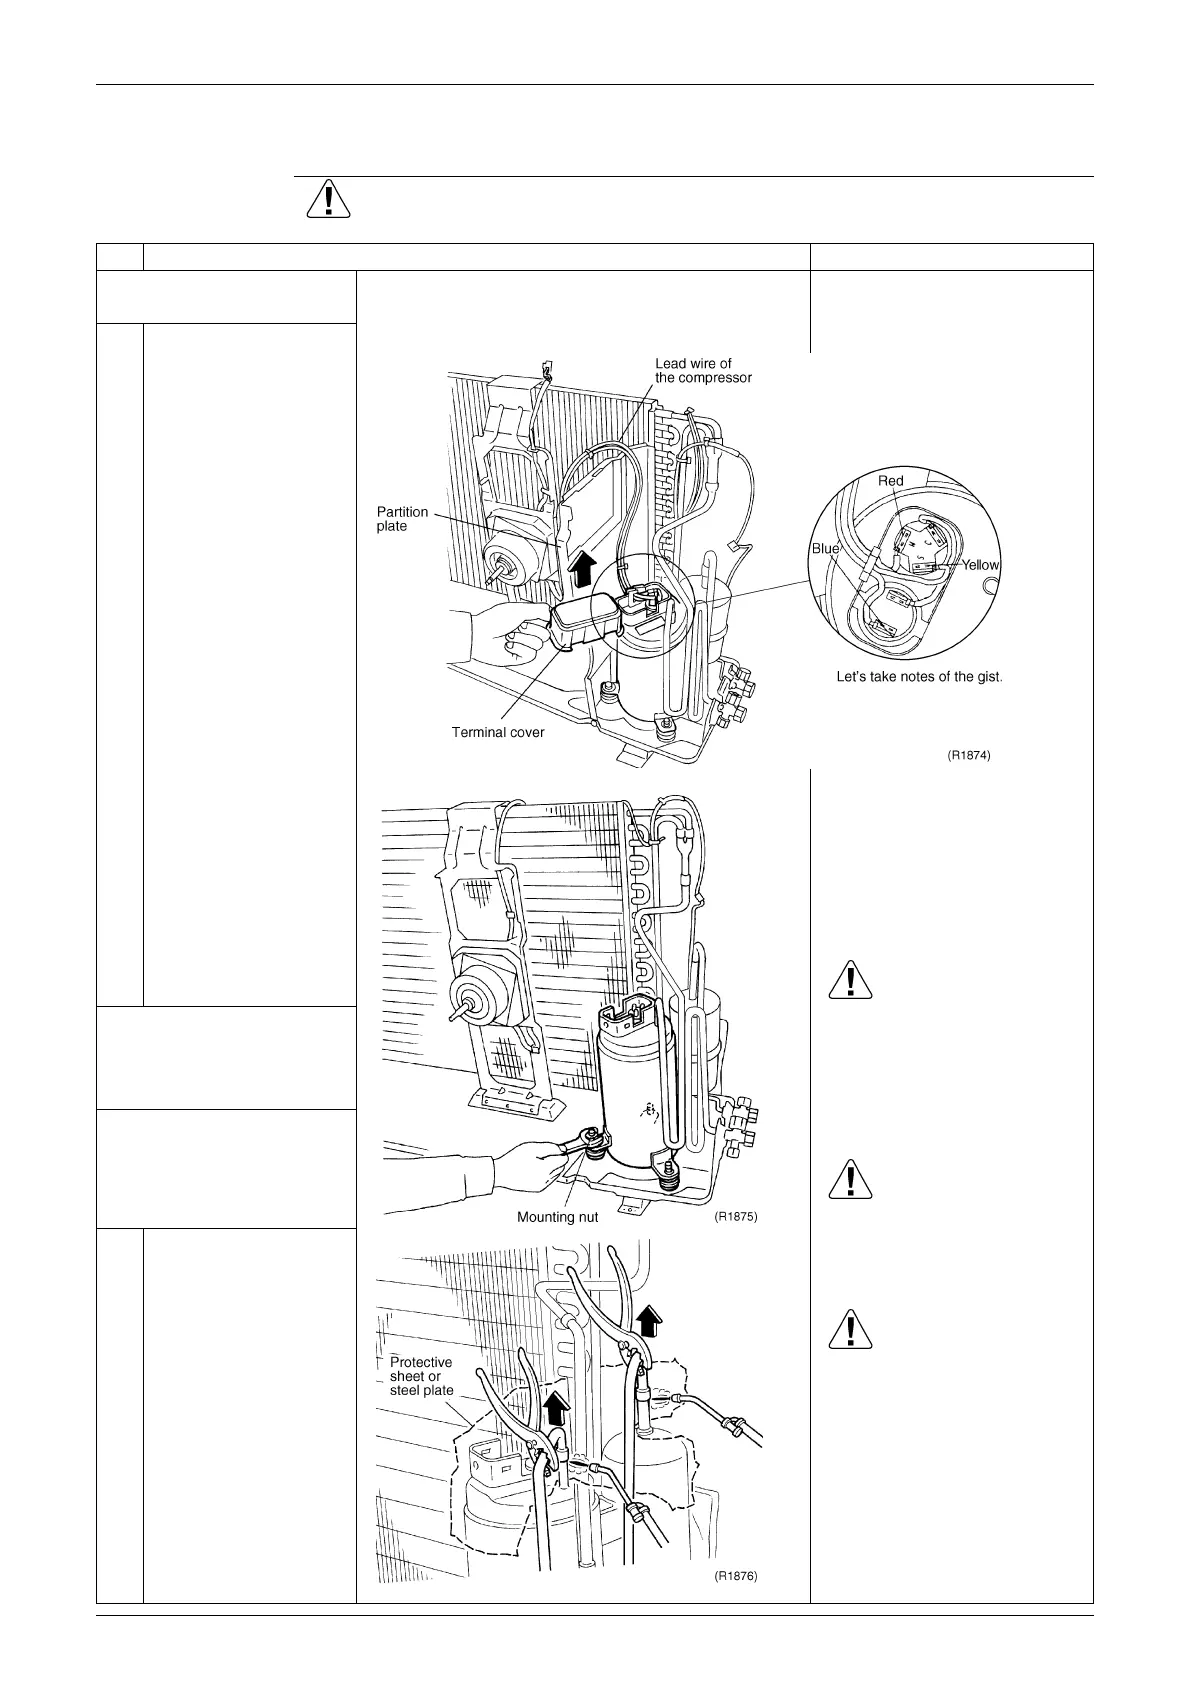
1. Removing the parts
around the compressor.
Be careful so as not to burn
the compressor terminals or
the name plate.
1
Remove the terminal
cover, the lead wires of
the compressor and the
partition plate so as not
to be burnt out by a gas
brazing machine.
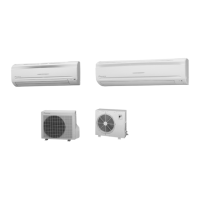
2
The compressor’s
mounting nut to be
removed is one piece.
Warning
Since it may happen that
refrigeration oil in the
compressor will catch fire,
prepare wet cloth so as to
extinguish
fire quickly.
Warning
Ventilate when refrigerant
leaks during the work.(If
refrigerant contacts fire, it will
cause to arise toxic gas).
Caution
Be careful about pipes and so
on, which were heated up by a
gas brazing machine, so as
not to get burnt on your
hands.
Pay attention so that the
heat exchanger’s fins will not
be burnt.
3
Remove the nut by
means of an open-end
wrench.
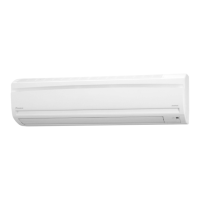
Begin your work after
recognizing complete
empty of refrigerant in the
refrigerant circuit.
Be sure to apply
nitrogen’s permutation
when heating up the
brazing part.
1
Remove the brazing
part on the compressor
discharge side.
2
Heat up the brazing
part on the compressor
suction part and then
remove it.
3
Lift the compressor and
remove it.