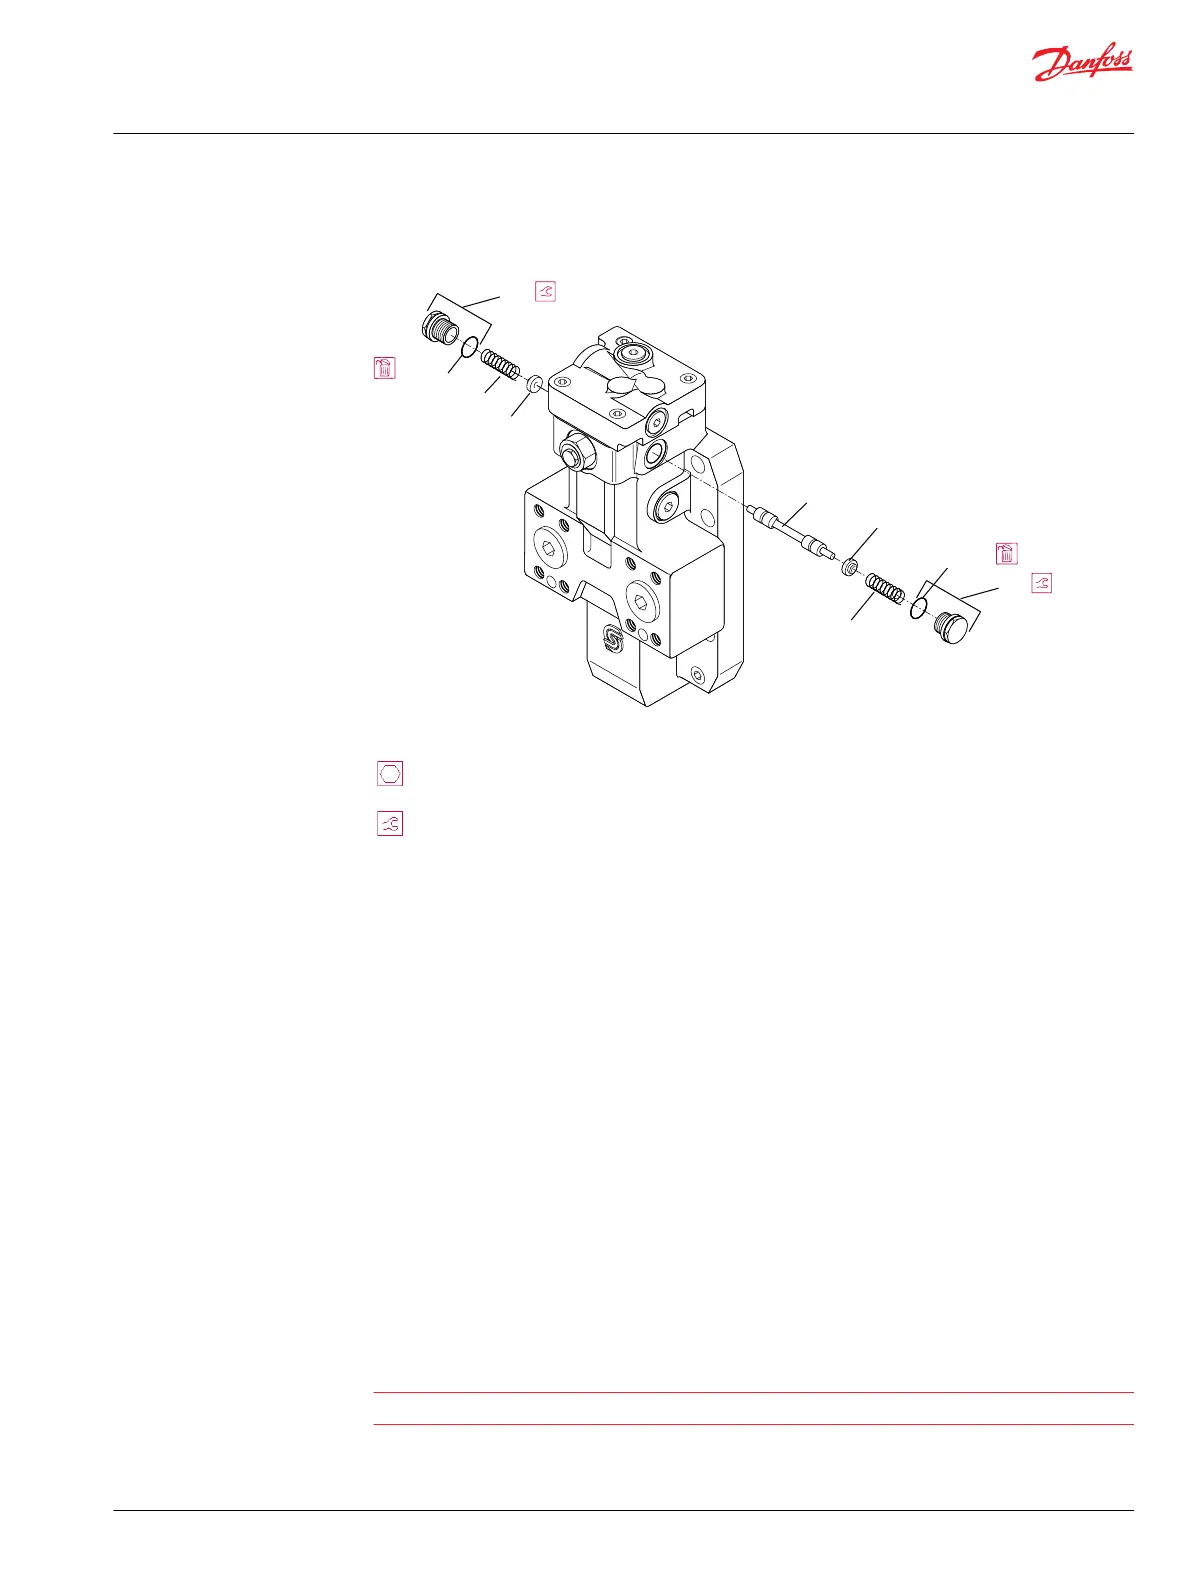
3. Remove the O-rings (G20A) from the hex plugs.
Common parts of loop flushing shuttle valve
G20
G20A
K14
K16
K18
K14
K16
G20A
G20
P101226
Legend for G20
use an 11/16 inch wrench
37 N•m [27 lbf•ft]
4. Discard the O-rings (G20A) after inspecting the new ones to make certain they fit.
5. Remove the springs (K14) and seats (K16) or spring / seat assembly from the cavity.
6. Remove the spool (K18) from the cavity.
Inspection
1. Inspect the spool (K18) and cavity for wear or damage.
2. Clean the spool and cavity.
Reassembly
1. Aafter making certain that you have the exact replacement parts, replace parts as necessary.
2. Install the spring seat (K16) or spring/seat assembly to one end of the spool.
3. Lubricate the spool with clean hydraulic oil.
4. Slide the lubricated spool into the cavity.
5. Install the other spring seat (K14) or spring/seat assembly to the spool from the opposite end.
6. Install new O-rings (G20A) to the hex plugs (G20).
7. Place the K14 springs in to the hex plugs.
8. Install the hex plugs.
9. Torque the hex plugs to 41 N•m [30 lbf•ft] using an 11/16 hex wrench.
Caution
Do not overtorque hex plugs
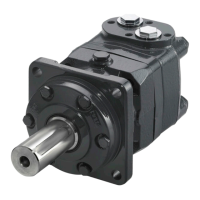
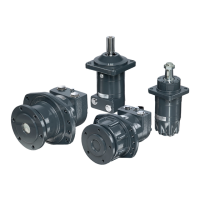
Service Manual
Series 51 and 51-1 Motors
Minor repair
©
Danfoss | March 2016 11008567 | AX00000013en-US0202 | 43
 Loading...