using an 8mm internal hex wrench
23 N•m [17 lbf•ft] for 60 cm³ motors
F10
using a 10mm internal hex wrench
46 N•m [34 lbf•ft] for 80cm³ and 110cm³ motors
F10
using a 8 mm internal hex wrench
78 N•m [58 lbf•ft] for 60cm³, 80cm³ and 110cm³ motors
3. Remove interface (G36) and O-rings (G42) or seal plate.
4. Remove the screw (F10) and spacer (F20), if present, using:
•
an 8mm internal hex wrench for 60cm³ motors and
•
a 10mm internal hex wrench for 80cm³ and 110cm³ motors.
Inspection
Inspect for any contaminants.
Reassembly
1. Clean the endcap and servo piston area.
2. Replace the screw (F10) and spacer (F20) if they were present.
3. Torque displacement limiter screw (F10) to:
•
46 N•m [34 lbf•ft] for the 80 cm³ and 110 cm³ motors using a 10 mm hex wrench.
•
23 N•m [17 lbf•ft] for the 60 cm³ motor using an 8 mm hex wrench.
Caution
Do not overtorque screw
4. Replace all O-rings.
5. Discard all previously used O-rings. Do not discard any O-rings until you are certain that you have the
correct replacement.
6. Install the control.
7. Install the control screws (G24).
8. Torque the control screws (M16) to 78 N•m [58 lbf•ft] using an 8mm hex wrench.
Caution
Do not overtorque screw
Service Manual
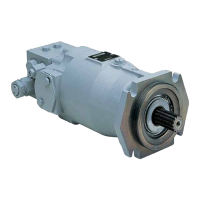
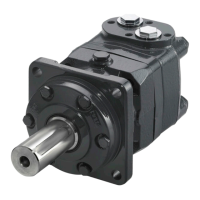
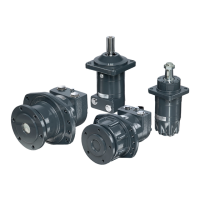
Series 51 and 51-1 Motors
Minor repair
50 |
©
Danfoss | March 2016 11008567 | AX00000013en-US0202